Ana içeriğe geç

HomePodの分解

Adım 10 çevriliyor

İngilizce
Japonca
Adım 10
HomePod Teardown: adım 0, 3 resimden 1. HomePod Teardown: adım 0, 3 resimden 2. HomePod Teardown: adım 0, 3 resimden 3.
  • De-shielding that board shows us some of the fun that's running the light show up top:

  • Texas Instruments TLC5971 LED driver

  • Cypress CY8C4245LQI-483 Programmable System-on-Chip, likely tasked with touch control

  • ON Semiconductor FPF1039 slew-rate-controlled load switch

  • Texas Instruments TPS62135 4 A step-down converter

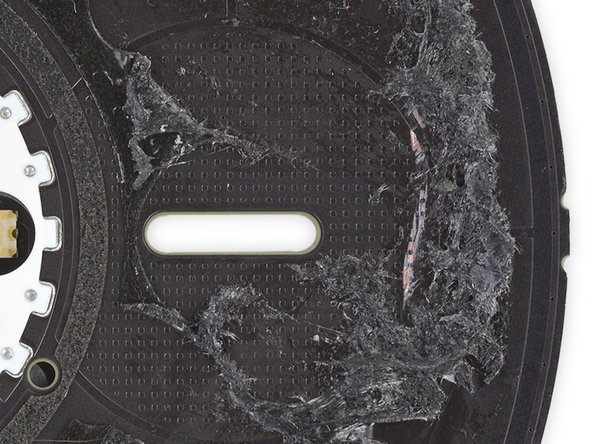
  • The flip side of the board houses the LEDs and the diffuser that gives the indicator its cloudy look.

  • The plus and minus symbols are cut straight through the board, and each has its own little triad of LEDs plus a light guide to aim the photons where they're needed most.

  • The top side of the board (second photo) sports a neatly organized pattern of tiny divots—possibly a capacitive grid, like on the Google Home, for registering your taps and touches on the surface above.

本体上部で楽しいライトの投影をしてくれる基板を取り出せます。基板上のチップは以下の通りです。

Texas Instruments TLC 5971 LEDドライバー

CypressCY8C4245LQI-483プログラム可能なSystem-on-Chip。タッチコントロールと同様のタスク。

ON Semiconductor FPF1039スルーレート制御型ロードスイッチ

Texas InstrumentsTPS62135 4 A 降圧コンバータ

基板裏側はLEDとインジケーターをスモーク効果のようにさせるディフューザーがあります。

プラスとマイナスの記号は基板上からそのまま直接表示されます。プラスとマイナスどちらも3つの小さなLEDライトと、光を四方に散らさず上部に向けてライトを照らすためのライトガイドが付いています。

基板の上部(2番目の画像)には綺麗に整列された小さなディボットが搭載されています。これはおそらくGoogle Homeでも使われていた容量性グリッドだと思われます。これにより表面上のタップやタッチをセンシングできます。

Katkılarınız, açık kaynak Creative Commons lisansı altında lisanslanmaktadır.