Adım 2 çevriliyor
Adım 2


-
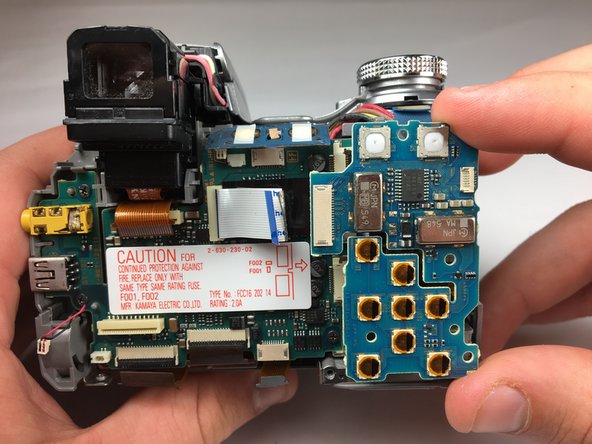
Using a Phillips #0 screwdriver, unscrew the four 4.24 mm black screws off the blue panel on the right side.
-
Disconnect the white conductive tape.
-
Remove the blue panel.
-
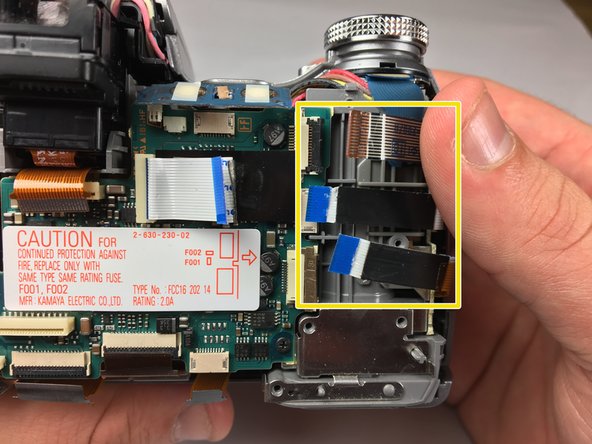
Use tweezers to remove the three conductive tape strips on the right side.
| [* red] Using a Phillips #0 screwdriver, unscrew the four 4.24 mm black screws off the blue panel on the right side. | |
| [* orange] Disconnect the white conductive tape. | |
| [* black] Remove the blue panel. | |
| - | [* yellow] Use tweezers to remove the three conductive tape strips on the right side. |
| + | [* yellow] Use [product|IF145-020|tweezers] to remove the three conductive tape strips on the right side. |
Katkılarınız, açık kaynak Creative Commons lisansı altında lisanslanmaktadır.