Ana içeriğe geç

iPad 3 4G Front Panel entfernen

Uyarı: Ön koşul olan bir kılavuzu düzenliyorsunuz. Yapacağınız herhangi bir değişiklik bu adımın yer aldığı bütün 153 kılavuzları etkileyecektir.

İngilizce
Almanca
Adım 9
Removing iPad 3 4G Front Panel: adım 0, 3 resimden 1. Removing iPad 3 4G Front Panel: adım 0, 3 resimden 2. Removing iPad 3 4G Front Panel: adım 0, 3 resimden 3.
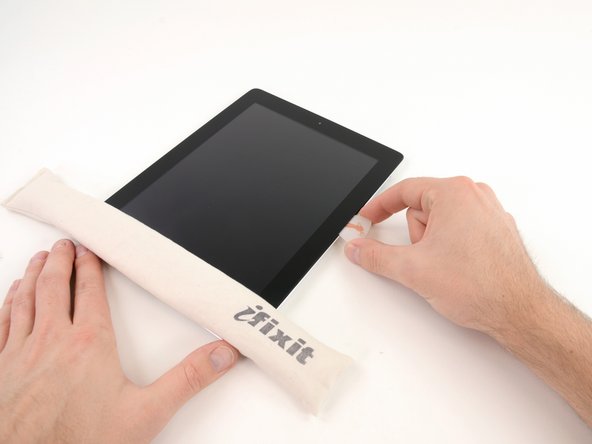
  • It may be necessary to move the heated iOpener back onto the right edge of the iPad as you release the adhesive. This depends on how long the iPad has been able to cool while you were working on it.

  • If the opening pick gets stuck in the adhesive, "roll" the pick along the side of the iPad, continuing to release the adhesive.

Um den Kleber zu lösen, kann es notwendig sein, den erhitzten iOpener nochmal auf auf der rechten Kante des iPads aufzulegen. Das hängt davon ab, wieweit dein iPad schon wieder heruntergekühlt ist, während du daran gearbeitet hast.

Wenn das Opening Pick im Kleber hängen bleibt, "walze" das Pick entlang der Seitenkante des iPads und löse dabei weiter den Kleber.

Katkılarınız, açık kaynak Creative Commons lisansı altında lisanslanmaktadır.