Ana içeriğe geç

Retirer le panneau frontal de l'iPad 3 4G

Uyarı: Ön koşul olan bir kılavuzu düzenliyorsunuz. Yapacağınız herhangi bir değişiklik bu adımın yer aldığı bütün 153 kılavuzları etkileyecektir.

İngilizce
Fransızca
Adım 9
Removing iPad 3 4G Front Panel: adım 0, 3 resimden 1. Removing iPad 3 4G Front Panel: adım 0, 3 resimden 2. Removing iPad 3 4G Front Panel: adım 0, 3 resimden 3.
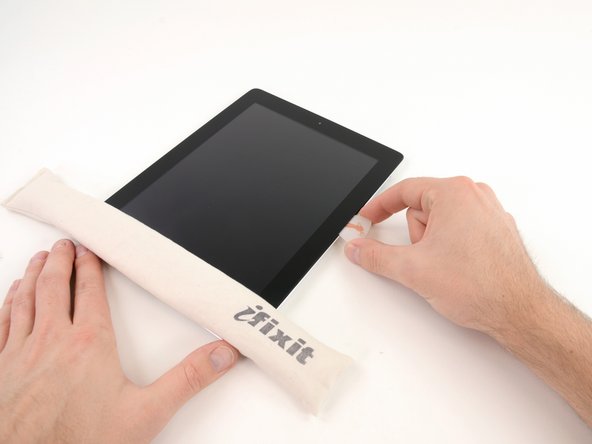
  • It may be necessary to move the heated iOpener back onto the right edge of the iPad as you release the adhesive. This depends on how long the iPad has been able to cool while you were working on it.

  • If the opening pick gets stuck in the adhesive, "roll" the pick along the side of the iPad, continuing to release the adhesive.

Il sera peut-être nécessaire de reposer l'iOpener chauffé sur le bord droit de l'iPad au cours de la procédure. Cela dépend du temps que l'iPad a pu refroidir pendant que travaillez dessus.

Si le médiator reste pris dans l'adhésif, faites-le "pivoter" le long du bord de l'iPad, en continuant ainsi à enlever l'adhésif.

Katkılarınız, açık kaynak Creative Commons lisansı altında lisanslanmaktadır.