Adım 10 çevriliyor
Adım 10

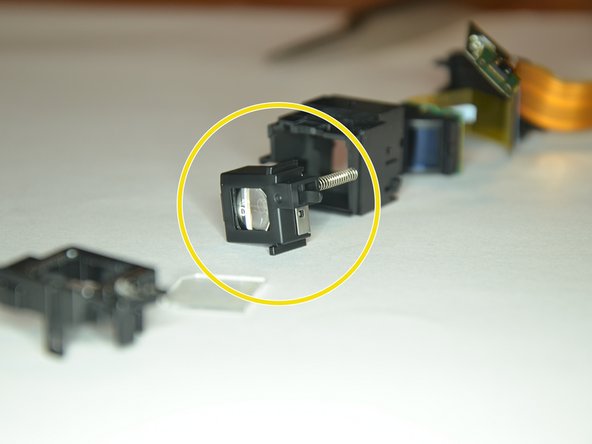


Viewfinder Insides
-
Frontglass holder
-
Frontglass, you may want to clean it, if you have disassembled it
-
Lens with spring. This is used to give you a sharp view into the viewfinder. The small nib is pushed in different positions by the small dial on the case to adjust the focus for your eyes
-
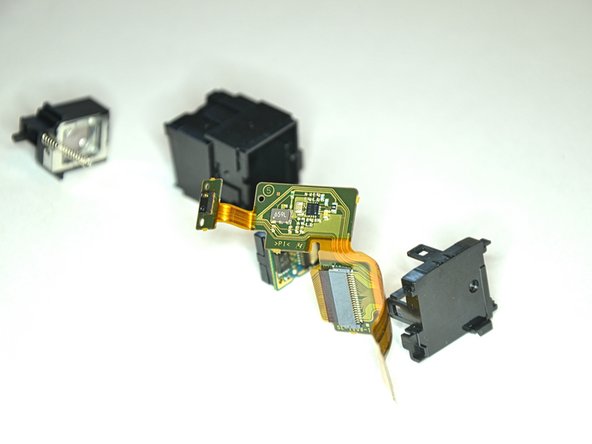
Monitor, a very small monitor. Looks much like the image sensor.
-
Proximity sensor for detecting your eye and therefore switching to the viewfinder.
-
PCB with 2 unidentified ICs (659L and 3232 615)
-
Backcover
Katkılarınız, açık kaynak Creative Commons lisansı altında lisanslanmaktadır.