Ana içeriğe geç

Nintendo Switch リアパネルの交換

Uyarı: Ön koşul olan bir kılavuzu düzenliyorsunuz. Yapacağınız herhangi bir değişiklik bu adımın yer aldığı bütün 22 kılavuzları etkileyecektir.

Adım 1 çevriliyor

İngilizce
Japonca
Adım 1
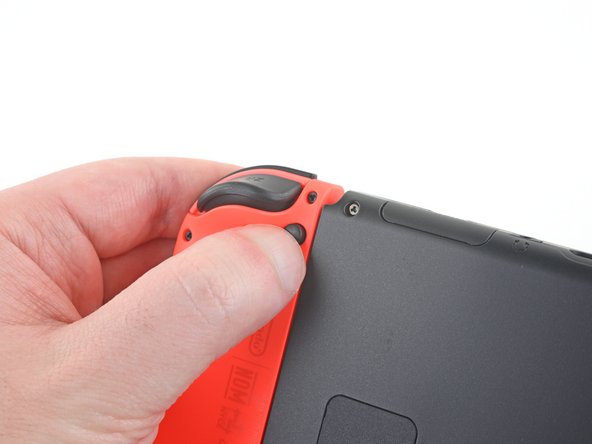
Nintendo Switch Rear Panel Replacement, Release the Joy Con controller locking tabs: adım 0, 3 resimden 1. Nintendo Switch Rear Panel Replacement, Release the Joy Con controller locking tabs: adım 0, 3 resimden 2. Nintendo Switch Rear Panel Replacement, Release the Joy Con controller locking tabs: adım 0, 3 resimden 3.
Release the Joy Con controller locking tabs
  • Before you begin this repair, make sure the device is completely powered off.

  • Press and hold down the small round button on the back of the Joy Con controller.

  • While you hold down the button, slide the controller upward.

作業を始める前に、デバイスの電源が切れているか必ず確認してください。

Joy Conコントローラーの裏面上の小さな丸いボタンを押します。

ボタンを押しながら、コントローラーを上側に向けてスライドします。

Katkılarınız, açık kaynak Creative Commons lisansı altında lisanslanmaktadır.