Ana içeriğe geç

Reemplazo del panel frontal del iPod Touch 5ª Generación

Uyarı: Ön koşul olan bir kılavuzu düzenliyorsunuz. Yapacağınız herhangi bir değişiklik bu adımın yer aldığı bütün 21 kılavuzları etkileyecektir.

İngilizce
İspanyolca
Adım 5
iPod Touch 5th Generation Front Panel Replacement: adım 0, 3 resimden 1. iPod Touch 5th Generation Front Panel Replacement: adım 0, 3 resimden 2. iPod Touch 5th Generation Front Panel Replacement: adım 0, 3 resimden 3.
  • In the following steps, you will be loosening and freeing the plastic frame that surrounds the screen. It is connected to the rear case with several clips.

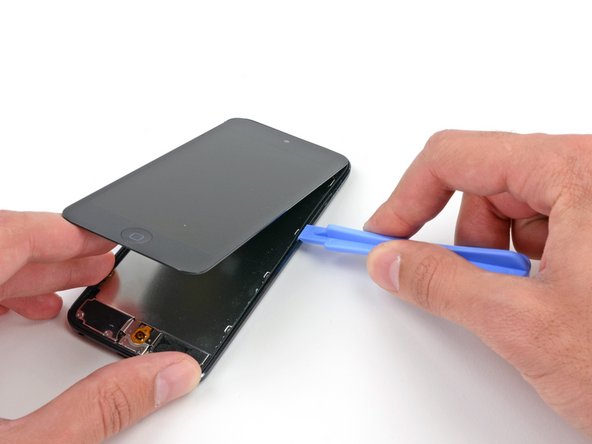
  • Starting at the top right of the device, insert a plastic opening tool into the gap between the plastic frame and the aluminum rear case.

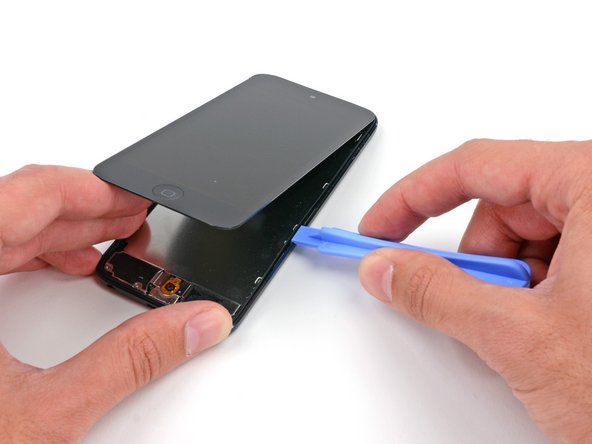
  • Slide the tool down this crack, loosening the frame from the case.

En los siguientes pasos, aflojarás y liberará el marco de plástico que rodea la pantalla. Está conectado a la caja trasera con varios clips.

Comenzando en la parte superior derecha del dispositivo, inserta una herramienta de apertura de plástico en el espacio entre el marco de plástico y la carcasa trasera de aluminio.

Desliza la herramienta por esta grieta, aflojando el marco de la caja.

Katkılarınız, açık kaynak Creative Commons lisansı altında lisanslanmaktadır.