Ana içeriğe geç

Viewsonic VG1930wm disassembly and capacitor replacement

Adım 10 çevriliyor

İngilizce
Fransızca
Adım 10
Viewsonic VG1930wm disassembly and capacitor replacement: adım 0, 3 resimden 1. Viewsonic VG1930wm disassembly and capacitor replacement: adım 0, 3 resimden 2. Viewsonic VG1930wm disassembly and capacitor replacement: adım 0, 3 resimden 3.
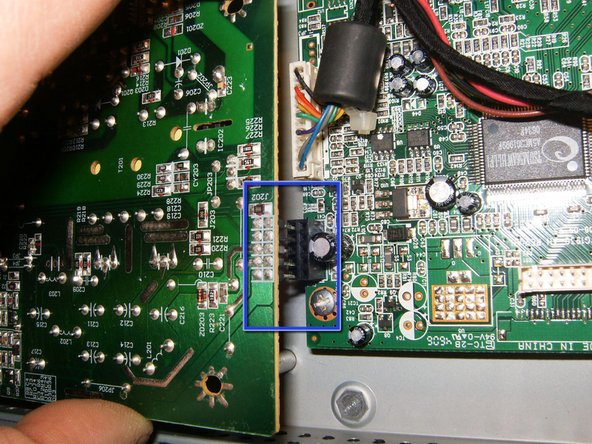
  • Here is the electronics for the panel. Power board is to the left and video board to the right

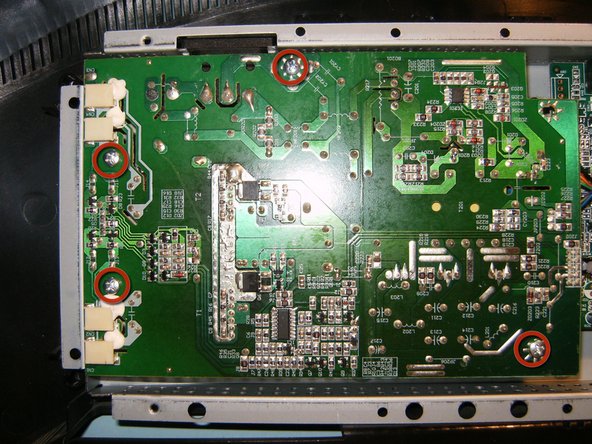
  • The power board is fastened with 4 1/4 inch Phillips screws. Remove those.

  • Gently lift the board straight up, watch the connector on the right hand side.

Çeviri buraya girin

Çeviri buraya girin

Çeviri buraya girin

Katkılarınız, açık kaynak Creative Commons lisansı altında lisanslanmaktadır.