Adım 15 çevriliyor
Adım 15


-
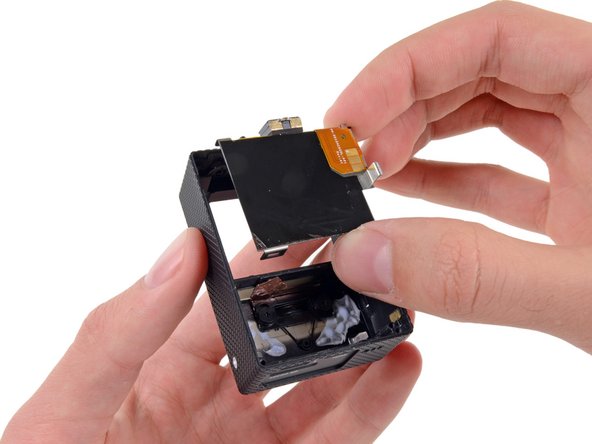
There are only a few components left around the device casing.
-
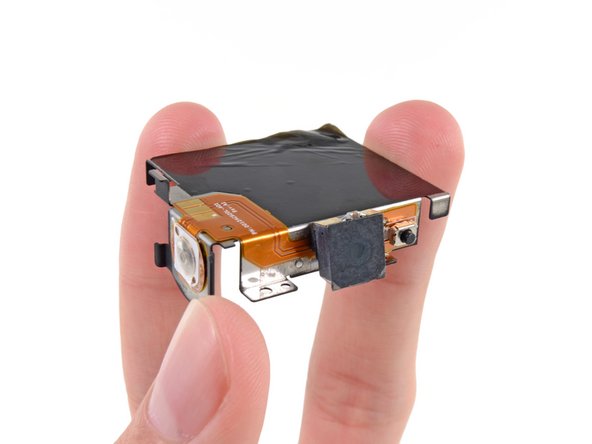
Last on the midframe is the LCD and its soldered-on cable. Repairability takes a hit here, when we have to pull out a heat gun and metal spudger to loosen the adhesive securing this cable to the midframe.
-
The rear case's last component is the button/speaker assembly which is attached to the backing of the battery compartment. A couple of screws and some tape hold it in place.
Katkılarınız, açık kaynak Creative Commons lisansı altında lisanslanmaktadır.