Adım 8 çevriliyor
Adım 8


-
These two screws hold the logic board.
-
When removing the board, be careful about some remaining ribbon cables.
-
The board is out!
-
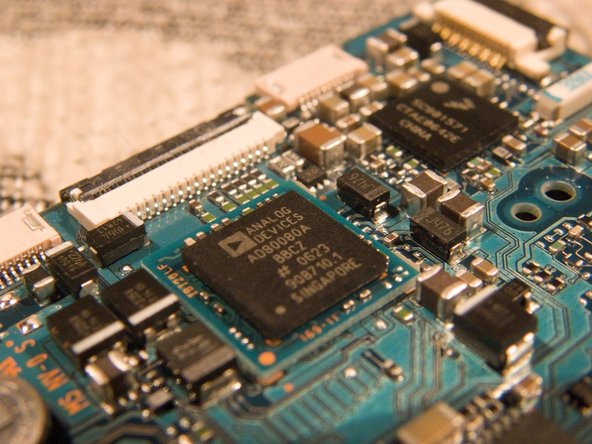
On one side we see the AD80080A chip from Analog devices responsible for capturing the analog signal from the CCD
-
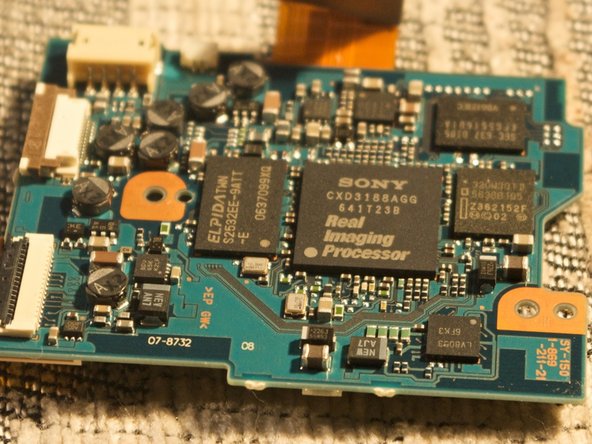
On the other side, we see the Sony "Real Imaging Processor" that converts raw photo data into nice and human-viewable .jpg files.
-
The analog cable connecting the CCD to the logic board is screened with some pieces of metal to reduce noise.
Katkılarınız, açık kaynak Creative Commons lisansı altında lisanslanmaktadır.