Ana içeriğe geç

HomePod auseinander bauen

Adım 24 çevriliyor

İngilizce
Almanca
Adım 24
HomePod Disassembly, Main Ribbon Cable Removal: adım 0, 3 resimden 1. HomePod Disassembly, Main Ribbon Cable Removal: adım 0, 3 resimden 2. HomePod Disassembly, Main Ribbon Cable Removal: adım 0, 3 resimden 3.
Main Ribbon Cable Removal
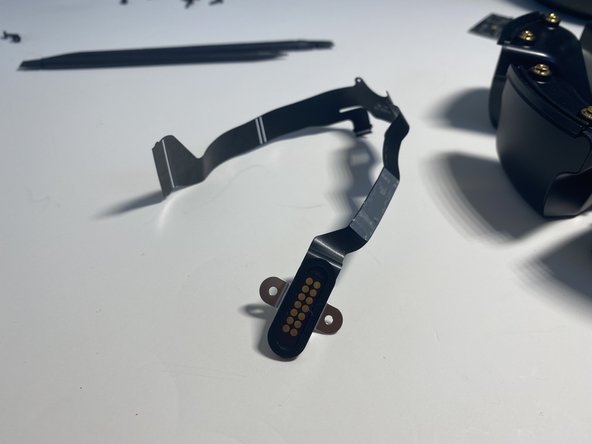
  • Remove the two T6 screws securing the diagnostic port to the bottom housing

  • Careful peel the ribbon cable from the wall of the HomePod. Take care not to tear this cable.

  • Remember it helps to heat the outside of the housing near the ribbon cable with a hair dryer to soften the adhesive securing this ribbon cable in place.

Entferne die zwei Torx T6 Schrauben die den Wartungsanschluss an den unteren Gehäuseteil befestigen.

Entferne das Flachbandkabel sehr vorsichtig von der Gehäusewand und achte darauf es nicht zu verletzen.

Denk' daran – es hilft, die Aussenseite des Gehäuses zu erwärmen, um den dahinter liegenden Klebstoff elastisch werden zu lassen. So lässt er sich besser lösen.

Katkılarınız, açık kaynak Creative Commons lisansı altında lisanslanmaktadır.