Adım 24 çevriliyor
Adım 24


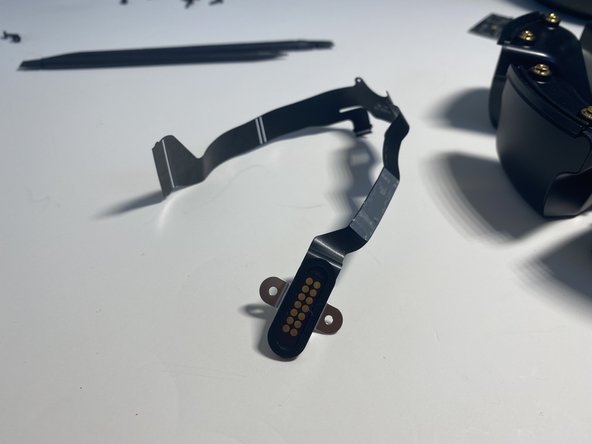


Main Ribbon Cable Removal
-
Remove the two T6 screws securing the diagnostic port to the bottom housing
Katkılarınız, açık kaynak Creative Commons lisansı altında lisanslanmaktadır.