Ana içeriğe geç

Démontage du HomePod

Adım 24 çevriliyor

İngilizce
Fransızca
Adım 24
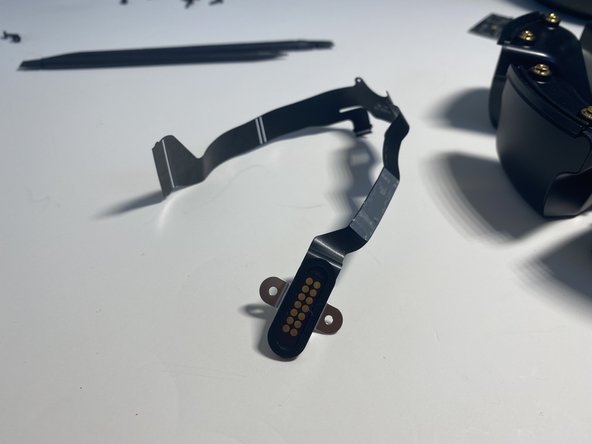
HomePod Disassembly, Main Ribbon Cable Removal: adım 0, 3 resimden 1. HomePod Disassembly, Main Ribbon Cable Removal: adım 0, 3 resimden 2. HomePod Disassembly, Main Ribbon Cable Removal: adım 0, 3 resimden 3.
Main Ribbon Cable Removal
  • Remove the two T6 screws securing the diagnostic port to the bottom housing

  • Careful peel the ribbon cable from the wall of the HomePod. Take care not to tear this cable.

  • Remember it helps to heat the outside of the housing near the ribbon cable with a hair dryer to soften the adhesive securing this ribbon cable in place.

Retirez les deux vis T6 qui fixent le port de diagnostic au boîtier inférieur.

Décollez avec précaution le câble ruban de la paroi du HomePod. Veillez à ne pas déchirer ce câble.

N'oubliez pas qu'il est utile de chauffer l'extérieur du boîtier près du câble plat avec un sèche-cheveux pour ramollir l'adhésif qui maintient ce câble plat en place.

Katkılarınız, açık kaynak Creative Commons lisansı altında lisanslanmaktadır.