Ana içeriğe geç

Raptor X Axis Linear Rail Install

İngilizce
Flemenkçe

Adım 10 çevriliyor

Adım 10
Raptor X Axis Linear Rail Install, Assembly 1d. Attaching the X Axis cont.: adım 0, 3 resimden 1. Raptor X Axis Linear Rail Install, Assembly 1d. Attaching the X Axis cont.: adım 0, 3 resimden 2. Raptor X Axis Linear Rail Install, Assembly 1d. Attaching the X Axis cont.: adım 0, 3 resimden 3.
Assembly 1d. Attaching the X Axis cont.
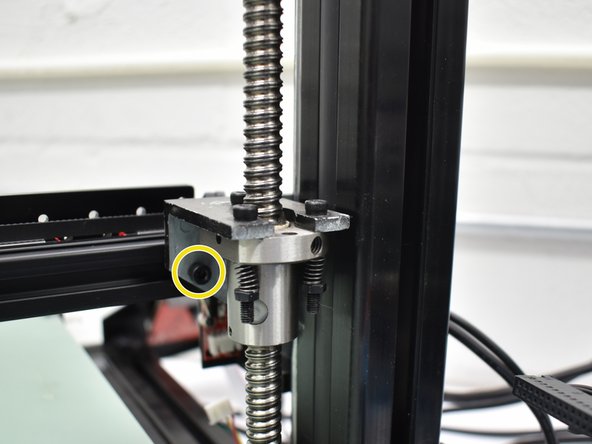
  • There are 4 cap screw/ t nuts securing the X Axis in place. Using an M3 hex key, you can tighten the 4 screws (inner and outer + left and right)

  • You can line the right side (idler) so it is flush with the X/Z bracket.

Çeviri buraya girin

Çeviri buraya girin

Katkılarınız, açık kaynak Creative Commons lisansı altında lisanslanmaktadır.