Adım 15 çevriliyor


-
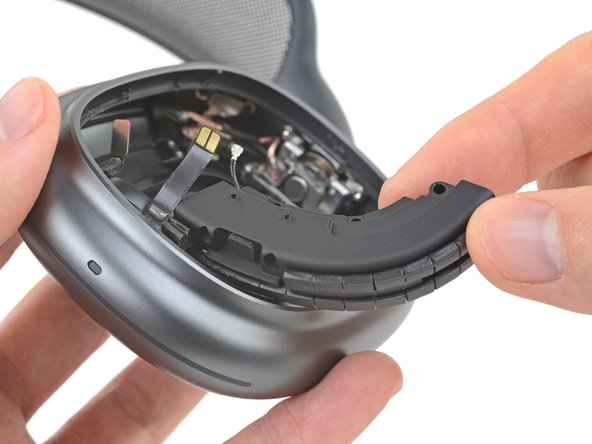
Hiding beneath that antenna line on the left ear cup is... a big antenna. We had a thought this might be some sort of counterweight, to offset the batteries in the opposite ear cup—but it weighs next to nothing.
-
Here's an X-ray if you'd like a deeper look.
-
The upper microphones are secured with little metal brackets, screwed and plastic-riveted into place. Every turn of this teardown is just riveting.
-
A soldering iron makes quick work of these rivets by melting the top off. But this is not a very repair-friendly way to go.
-
Right next door, we find some mechanical button hardware. The button and ribbon cable come free easily enough, but the rest is secured with two tiny hex nuts that are smaller than anything in our toolkit.
Katkılarınız, açık kaynak Creative Commons lisansı altında lisanslanmaktadır.