Adım 26 çevriliyor


-
The 2.39 Wh battery lives next to the driver on the backside. Long wires connect to a control board—but the connection is soldered.
-
Mixed news: The headband has screws for removal, but doesn't fully detach without desoldering. Better news: the 2.5 mm aux jack is modular, held down with screws.
-
Bad news: the microphones are embalmed in glue. Other bad news: the USB-C control board is modular, but held down with plastic rivets for some reason?
-
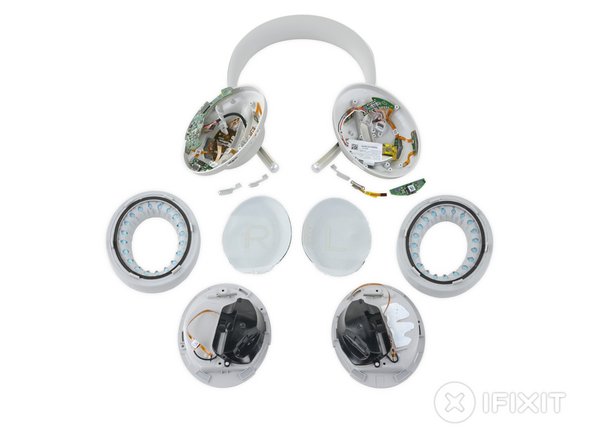
To sum it all up:
-
Ear cushions, drivers, 2.5 mm aux jack, and buttons are accessible and replaceable.
-
The battery is easily accessible, but gluey—and its connection to the circuit board in the left ear cup is soldered.
-
Lots o' hot glue prevents microphones and some peripheral circuitry from being removed; the USB-C port is held down with single-use fasteners; the headband is a little confusing to disconnect and can't be fully removed without (extensive) soldering.
Katkılarınız, açık kaynak Creative Commons lisansı altında lisanslanmaktadır.