Adım 8 çevriliyor
Adım 8


Final Results
-
It's a good idea to remove the PSU entirely. Remove the 4x phillips screws.
-
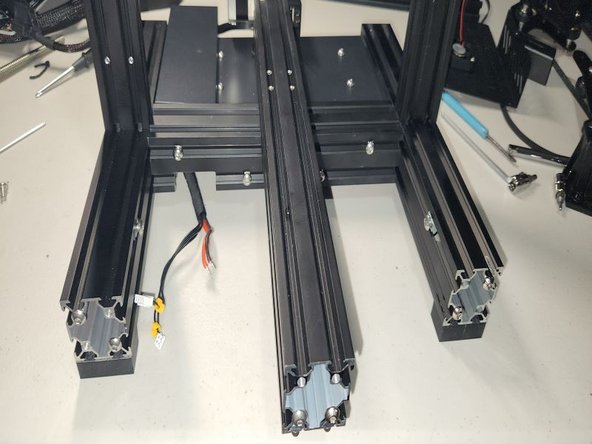
This is how your frame should look at this point.
-
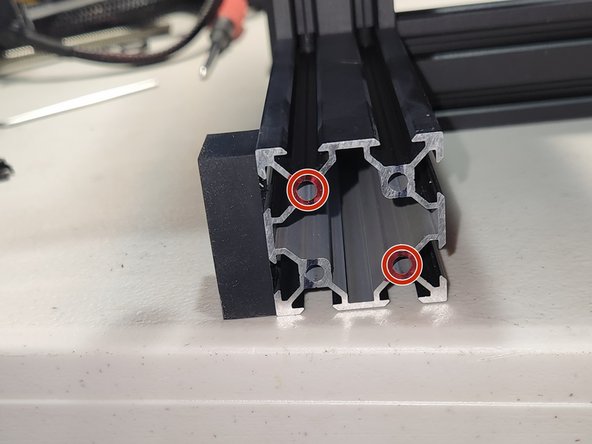
If you're going to be using my SKR3 EZ mount you will need to tap these 2 holes on the right front side of the 4040 extrusion with a M5 tap.
Katkılarınız, açık kaynak Creative Commons lisansı altında lisanslanmaktadır.