Adım 3 çevriliyor
Adım 3


-
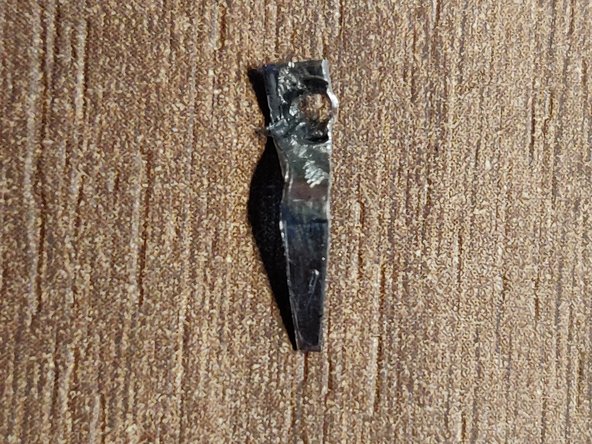
Now you have to cut your strip, so it can fit in that small space. Thats the tricky part. Some tricks that might help you:
-
Don't make it to long. Theres a thicker part of plasic on the right side of the hinge. So make sure your aluminium sheet is shorter than that.
-
Make sure, that you can get your battery in and out without problems. So don't make it too wide.
-
In the end take that screw and screw your new replacement in there. If you're using thicker aluminium, you might need to change that screw with a longer one. It worked for me with 0.5 mm thickness.
Katkılarınız, açık kaynak Creative Commons lisansı altında lisanslanmaktadır.