Uyarı: Ön koşul olan bir kılavuzu düzenliyorsunuz. Yapacağınız herhangi bir değişiklik bu adımın yer aldığı bütün 5 kılavuzları etkileyecektir.
Adım 2 çevriliyor
Adım 2

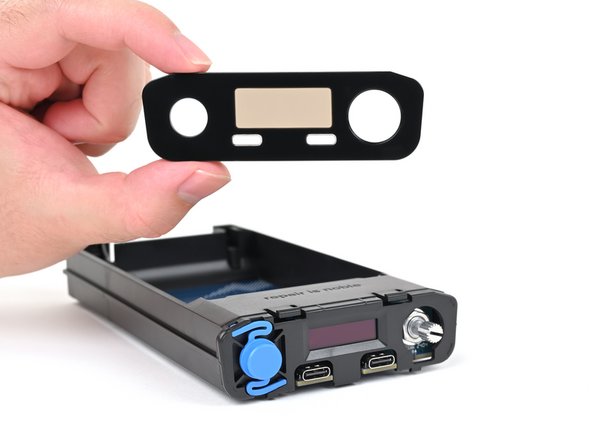


Remove the front panel
-
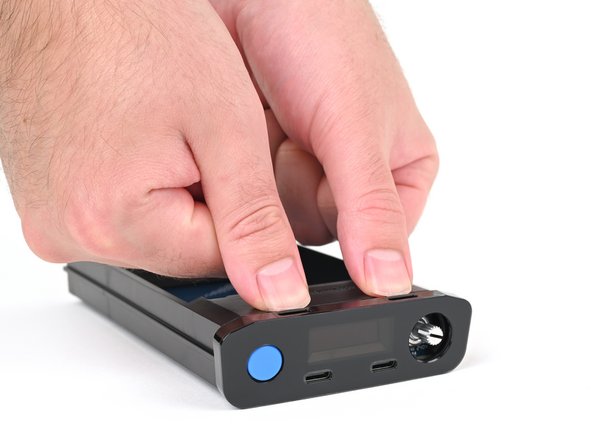
Use your fingers to depress the two locking tabs holding the front panel in place.
-
While pressing the tabs down, push the front panel away from the chassis and remove it.
-
Hook in the bottom edge of the front panel first, then push the top edge until it clicks into place.
Katkılarınız, açık kaynak Creative Commons lisansı altında lisanslanmaktadır.