Uyarı: Ön koşul olan bir kılavuzu düzenliyorsunuz. Yapacağınız herhangi bir değişiklik bu adımın yer aldığı bütün 5 kılavuzları etkileyecektir.
Adım 6 çevriliyor
Adım 6

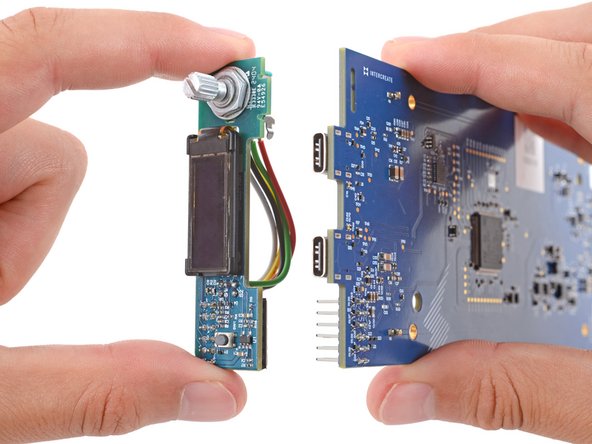


Remove the UI board
-
With one hand, hold on to the main board.
-
With your free hand, grip the UI board by its edges and firmly pull it straight away from the main board to disconnect it.
-
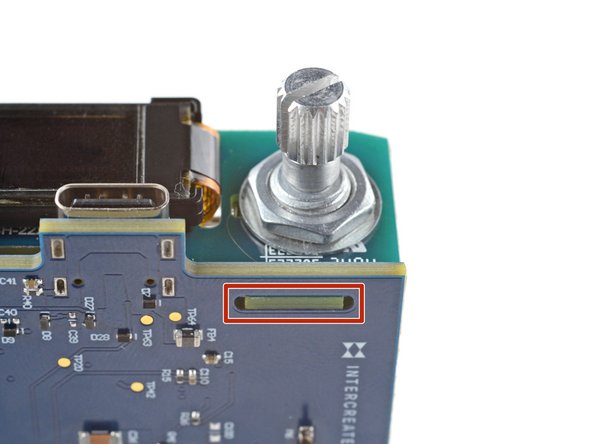
When pushing the UI board back into place, make sure the side opposite the sockets goes into its cutout on the main board. Otherwise, it will prevent the UI board from fully seating.
Katkılarınız, açık kaynak Creative Commons lisansı altında lisanslanmaktadır.