Uyarı: Ön koşul olan bir kılavuzu düzenliyorsunuz. Yapacağınız herhangi bir değişiklik bu adımın yer aldığı bütün 17 kılavuzları etkileyecektir.
Adım 9 çevriliyor
Adım 9

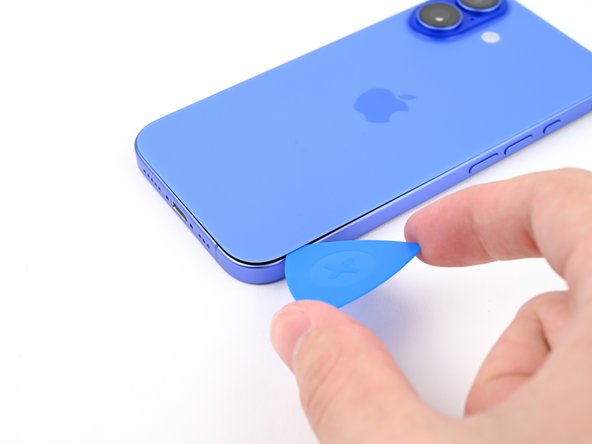


Separate the bottom right adhesive
-
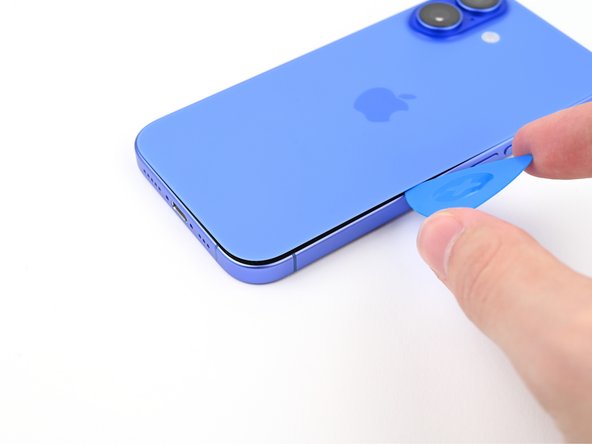
Slide your pick around the bottom right corner and to the volume down button to separate the adhesive and release the metal clip.
-
Leave this pick inserted to prevent the adhesive from resealing.
Katkılarınız, açık kaynak Creative Commons lisansı altında lisanslanmaktadır.