Ana içeriğe geç

Instalación del cristal trasero del iPhone 16

Uyarı: Ön koşul olan bir kılavuzu düzenliyorsunuz. Yapacağınız herhangi bir değişiklik bu adımın yer aldığı bütün 8 kılavuzları etkileyecektir.

İngilizce
İspanyolca
Adım 7
iPhone 16 Back Glass Installation, Apply the adhesive: adım 0, 3 resimden 1. iPhone 16 Back Glass Installation, Apply the adhesive: adım 0, 3 resimden 2. iPhone 16 Back Glass Installation, Apply the adhesive: adım 0, 3 resimden 3.
Apply the adhesive
  • Once the adhesive is pressed into place, you can't reposition it—you'll have to remove it and start over with new adhesive.

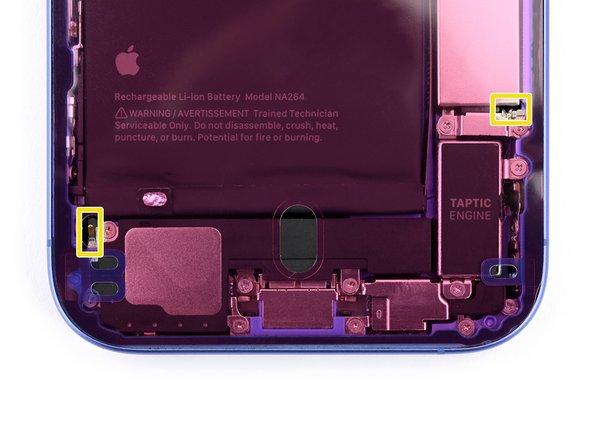
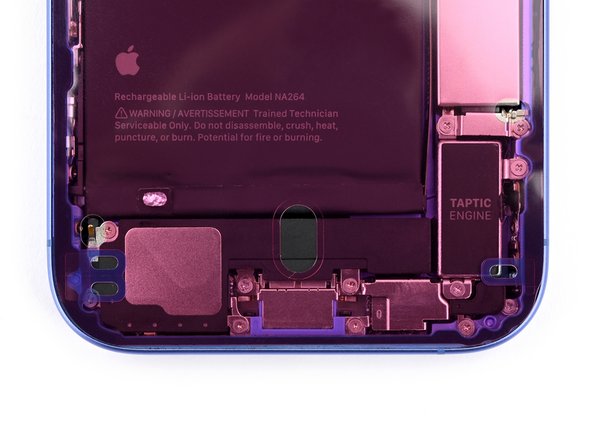
  • Hold the blue liner out of the way and align the adhesive with the bottom edge of the iPhone.

  • Lay the bottom edge of the adhesive into its recess in the frame, making sure the iPhone's spring contacts are aligned with their cutouts in the liner.

Una vez que el adhesivo esté colocado en su lugar, no podrás volver a colocarlo; tendrás que quitarlo y comenzar de nuevo con un adhesivo nuevo.

Sujeta el protector azul a un lado y alinea el adhesivo con el borde inferior del iPhone.

Coloca el borde inferior del adhesivo en su hueco en el marco, asegurándote de que los contactos de resorte del iPhone estén alineados con sus cortes en el protector.

Katkılarınız, açık kaynak Creative Commons lisansı altında lisanslanmaktadır.