Uyarı: Ön koşul olan bir kılavuzu düzenliyorsunuz. Yapacağınız herhangi bir değişiklik bu adımın yer aldığı bütün 8 kılavuzları etkileyecektir.
Adım 11 çevriliyor
Adım 11


-
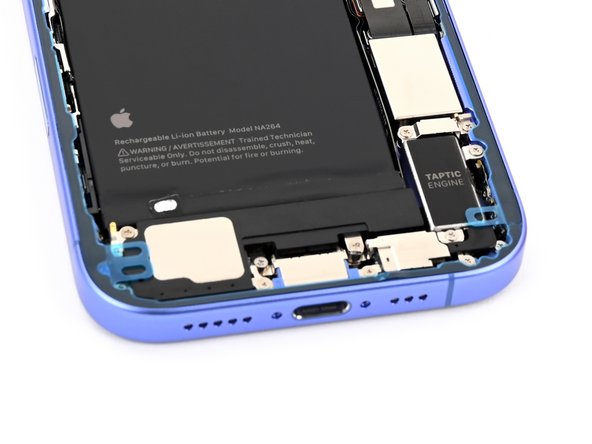
Once the top liner is removed, there should be three narrow liners on top of the adhesive with pull tabs near the bottom edge.
-
If you don't see these pull tabs, you may have accidentally removed the thin liners in the previous step. If the adhesive is clean and properly aligned, you may proceed, just be careful not to touch anything to the exposed adhesive until you are ready to install the back glass.
Katkılarınız, açık kaynak Creative Commons lisansı altında lisanslanmaktadır.