Uyarı: Ön koşul olan bir kılavuzu düzenliyorsunuz. Yapacağınız bütün değişiklikler bu adımın yer aldığı diğer kılavuzları da etkileyecektir.
Adım 3 çevriliyor
Adım 3


-
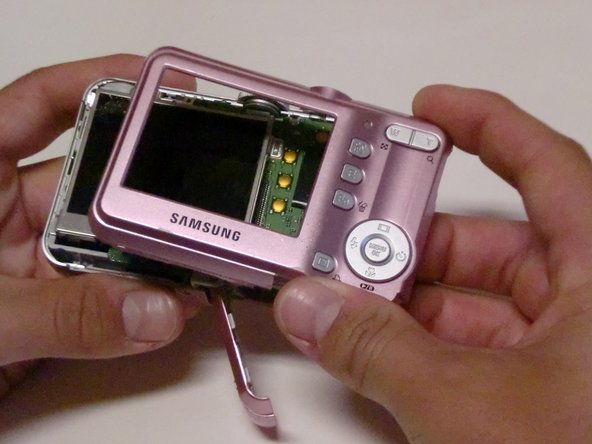
Carefully pull the back of the camera (the LCD screen side) away from the front.
-
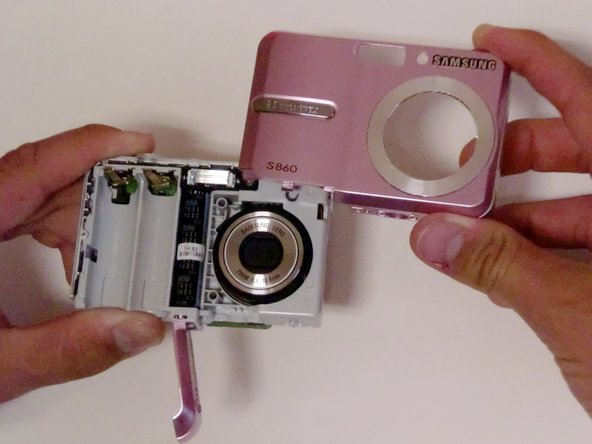
Turn the camera to the front (the flash side) and pull the case off.
-
There are clips on both sides of the case that secure it to the camera, so you may need to use a bit of force to remove the case.
| [* black] Carefully pull the back of the camera (the LCD screen side) away from the front. | |
| - | [* black] There are clips securing the top of the back case. Do not be afraid to use the proper amount of force to remove the back case. |
| - | [* black] Turn the camera to the front (the flash side). Carefully remove. |
| - | [* black] There are clips on this side as well. Again, do not be afraid to use force. |
| + | [* black] Turn the camera to the front (the flash side) and pull the case off. |
| + | [* black] There are clips on both sides of the case that secure it to the camera, so you may need to use a bit of force to remove the case. |
Katkılarınız, açık kaynak Creative Commons lisansı altında lisanslanmaktadır.