Adım 1 çevriliyor
Adım 1


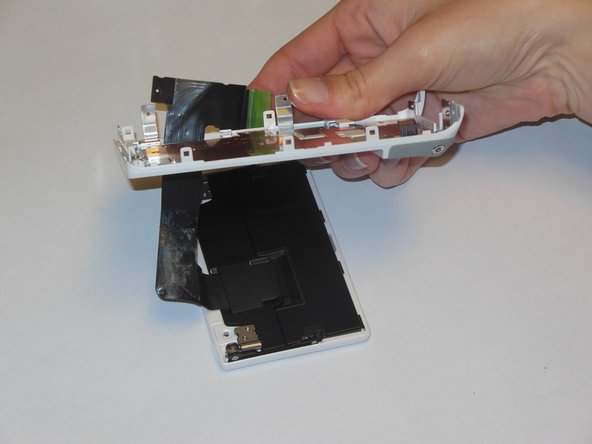


Remove the LCD Screen
-
Using a Phillips #00 precision screwdriver, remove the four 1mm screws that are holding the black supports to the panel.
-
Remove the little ribbon tab from the contact pad using tweezers or your fingers, then peel off the black ribbon from the metallic panel.
-
Feed the ribbon through the slot on the back panel to free the LCD Screen. You need to bend the ribbon to get the small tabs through it.
| [title] Remove the LCD Screen | |
| [* red] Using a Phillips #00 precision screwdriver, remove the four 1mm screws that are holding the black supports to the panel. | |
| - | [* orange] Remove the little ribbon tab from the contact pad using tweezers or your fingers, then peel off the black ribbon from the metallic panel. |
| + | [* orange] Remove the little ribbon tab from the contact pad using [product|IF145-020|tweezers] or your fingers, then peel off the black ribbon from the metallic panel. |
| [* black] Feed the ribbon through the slot on the back panel to free the LCD Screen. You need to bend the ribbon to get the small tabs through it. |
Katkılarınız, açık kaynak Creative Commons lisansı altında lisanslanmaktadır.