Adım 3 çevriliyor
Adım 3


-
We'll get back to that crystal chamber a bit later. For now, we set out to open the saber itself.
-
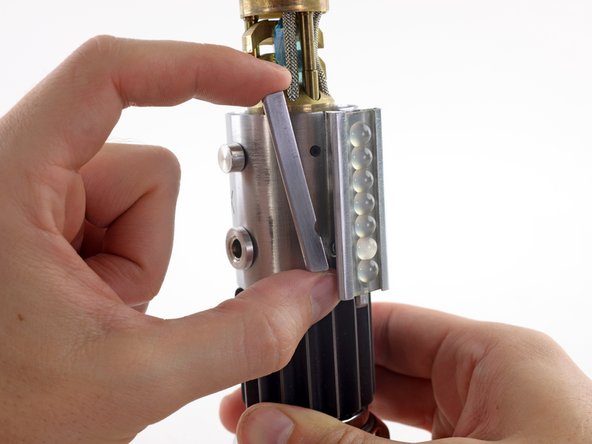
Let's start by unscrewing this clamp pin that secures the switch housing cover.
-
With the pin removed, we're able to lift the clamp brackets out with no trouble.
-
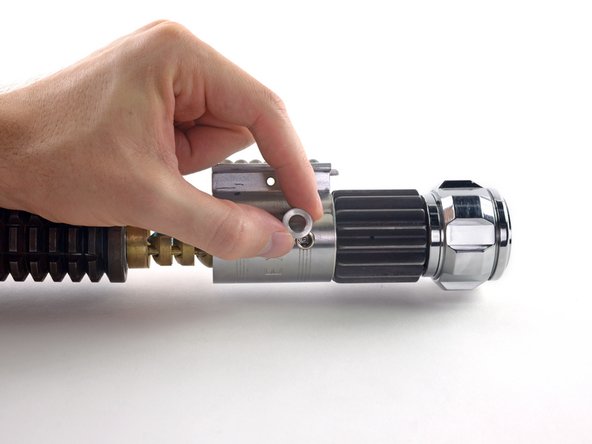
Unscrewing this small retaining ring loosens the port from the housing cover.
Katkılarınız, açık kaynak Creative Commons lisansı altında lisanslanmaktadır.