Ana içeriğe geç

Sony a7R II 拆机

Adım 14 çevriliyor

İngilizce
Çince
Adım 14
Sony a7R II Teardown: adım 0, 3 resimden 1. Sony a7R II Teardown: adım 0, 3 resimden 2. Sony a7R II Teardown: adım 0, 3 resimden 3.
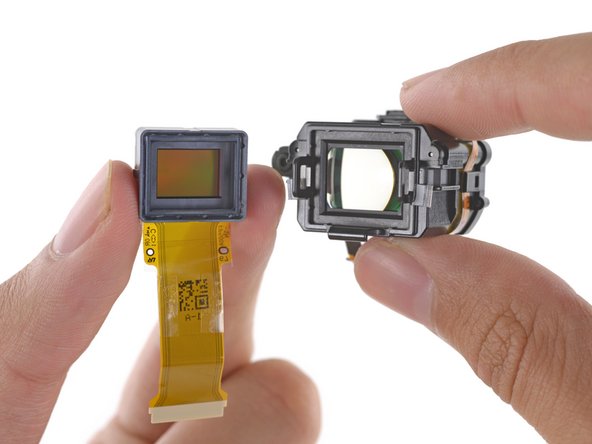
  • Back to the viewfinder—turns out we can pull it straight out of its cavity. With its frame previously dispatched, it was only held in place by a gummy thermal pad.

  • Why the thermal pad? Might have something to do with the 1.3 cm XGA OLED. With 1024 x 768 pixels in half an inch, that's 2,560 ppi. Wowza.

  • After removing the OLED, we take a peek through the lens assembly. A set of four optical lenses improve the field of view while minimizing distortion.

  • The lens assembly even works as a standalone upside-down-maker! Aren't optics cool? That logo sure is.

我们回到取景器——原来我们可以直接将其从安装孔位拉出来。介于在此之前框架已经拆下,取景器只由一片粘性散热贴固定。

为什么使用散热贴呢?也许这和1.3厘米的XGA OLED有关。0.5英寸的体积上拥有1024 x 768像素,这可是2,560 ppi。哇哦。

取下OLED后,我们可以看一下镜片组。四个光学镜片的镜头组提高了可视范围,同时将畸变最小化。

镜头组甚至可以作为独立的图像反转器件!光学是不是很酷呢?这logo肯定是很酷的。

Katkılarınız, açık kaynak Creative Commons lisansı altında lisanslanmaktadır.