Ana içeriğe geç

Replacing the Carriage in the Photosmart All In One Printer

İngilizce
Korece
Adım 3
Replacing the Carriage in the Photosmart All In One Printer: adım 0, 3 resimden 1. Replacing the Carriage in the Photosmart All In One Printer: adım 0, 3 resimden 2. Replacing the Carriage in the Photosmart All In One Printer: adım 0, 3 resimden 3.
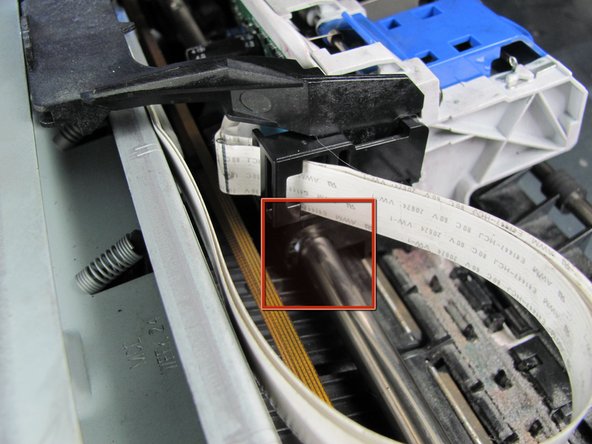
  • Slide the printer carriage to the center of the printer.

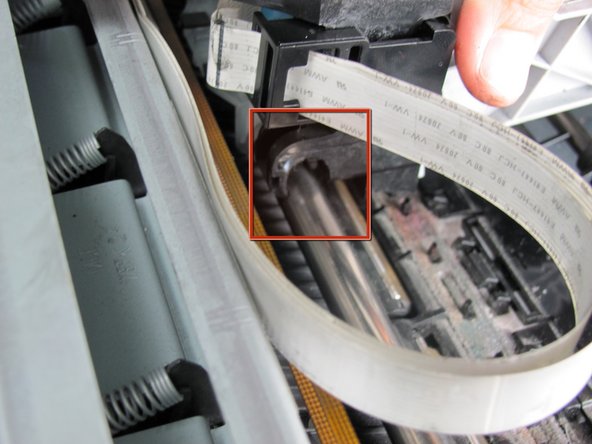
  • Disconnect the printer carriage from the rod one side at a a time by pulling upward from the bottom.

  • Unhooking the printer carriage is difficult and will require a fair amount of force.

  • The plastic strip that guides the carriage is fragile and can be broken easily.

Çeviri buraya girin

Çeviri buraya girin

Çeviri buraya girin

Çeviri buraya girin

Katkılarınız, açık kaynak Creative Commons lisansı altında lisanslanmaktadır.