Ana içeriğe geç

Replacing the Carriage in the Photosmart All In One Printer

İngilizce
Çince

Adım 5 çevriliyor

Adım 5
Replacing the Carriage in the Photosmart All In One Printer: adım 0, 3 resimden 1. Replacing the Carriage in the Photosmart All In One Printer: adım 0, 3 resimden 2. Replacing the Carriage in the Photosmart All In One Printer: adım 0, 3 resimden 3.
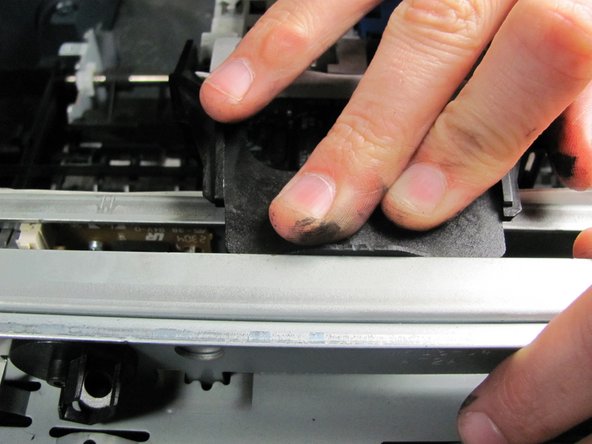
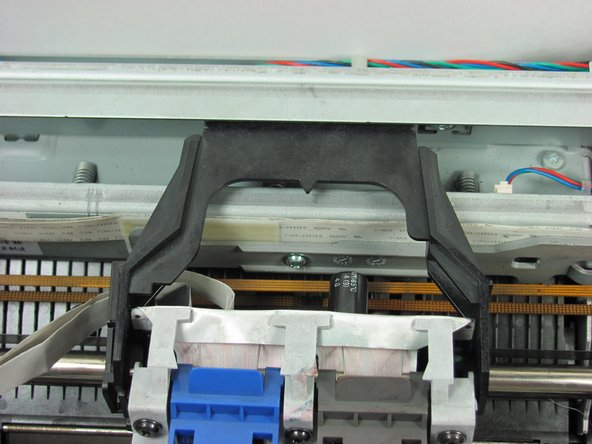
  • Place new printer carriage on the carriage rod one side at a time.

  • For proper reassembly, place the printer carriage’s black lip beneath the overhanging metal flap located at the back of the printer.

Çeviri buraya girin

Çeviri buraya girin

Katkılarınız, açık kaynak Creative Commons lisansı altında lisanslanmaktadır.