Uyarı: Ön koşul olan bir kılavuzu düzenliyorsunuz. Yapacağınız bütün değişiklikler bu adımın yer aldığı diğer kılavuzları da etkileyecektir.
Adım 1 çevriliyor
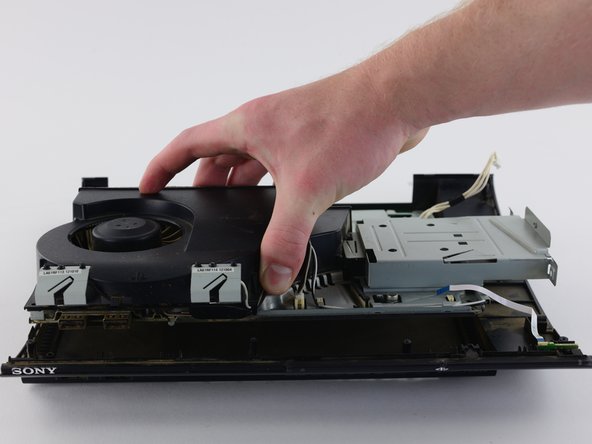
Adım 1


-
Locate the white flex ribbon cable that connects the power button to the motherboard. Pull this cable out from the motherboard end.
-
Remove the five black 8.3mm long screws with a Phillips #1 screwdriver.
-
Remove the two silver 12.8mm long screws with a Phillips #1 screwdriver.
-
Remove the device from the bottom shell casing.
Katkılarınız, açık kaynak Creative Commons lisansı altında lisanslanmaktadır.