Uyarı: Ön koşul olan bir kılavuzu düzenliyorsunuz. Yapacağınız herhangi bir değişiklik bu adımın yer aldığı bütün 9 kılavuzları etkileyecektir.
Adım 1 çevriliyor
Adım 1


-
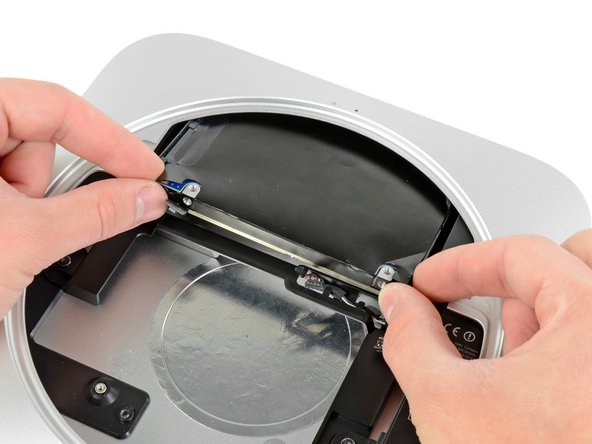
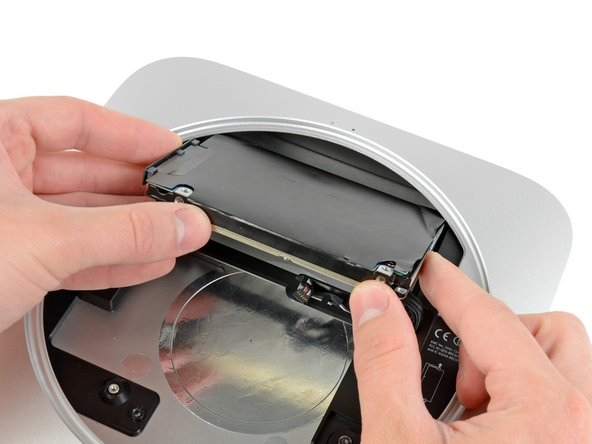
Pull the hard drive away from the front edge of the mini and remove it from the outer case.
| [* black] Pull the hard drive away from the front edge of the mini and remove it from the outer case. | |
| [* icon_note] During reassembly, there are two pins on the inside edge of the hard drive that fit into the case. The holes have rubber grommets around them, so it may be difficult to tell when you have seated the hard drive correctly. | |
| + | [* icon_note] There are two pairs of holes in the case. Insert the pins into the holes closest to the bottom of the case. |
Katkılarınız, açık kaynak Creative Commons lisansı altında lisanslanmaktadır.