Adım 2 çevriliyor
Adım 2


-
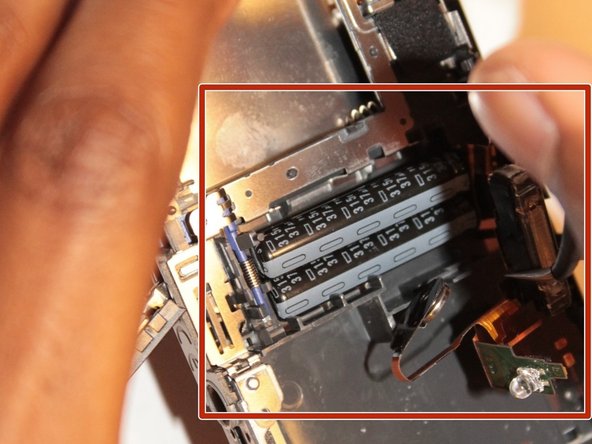
Carefully remove the Memory card circuit board. You will then be able to see the flash with the capacitors connected.
-
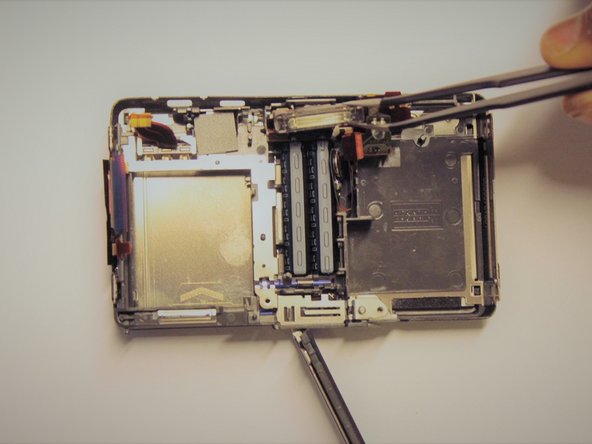
Using tweezers, carefully remove the components. They are all connected together.
| [* black] Carefully remove the Memory card circuit board. You will then be able to see the flash with the capacitors connected. | |
| - | [* red] Using tweezers, carefully remove the components. They are all connected together. |
| + | [* red] Using [product|IF145-020|tweezers], carefully remove the components. They are all connected together. |
| [* icon_caution] The circuit board should come out with little force. If it does not, make sure all connections are disconnected. |
Katkılarınız, açık kaynak Creative Commons lisansı altında lisanslanmaktadır.