Adım 4 çevriliyor
Adım 4


-
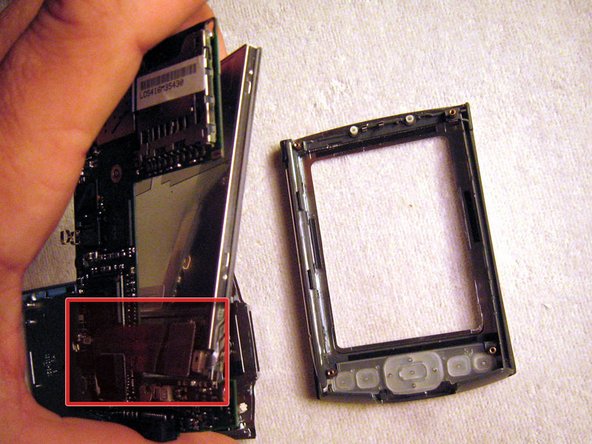
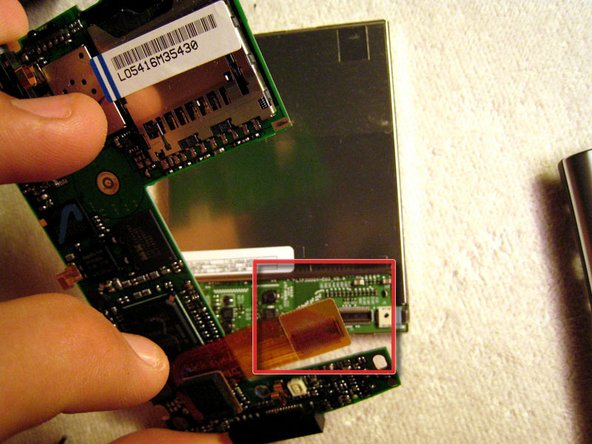
The back panel has been removed, note the small red rectangle which highlights the battery terminal. The circuit board and the screen can now be separated. They are connected by the brownish flat cable which is clipped into the clippydohah on the screen. Unclip and proceed.
Katkılarınız, açık kaynak Creative Commons lisansı altında lisanslanmaktadır.