Ana içeriğe geç

why! W650SZ CPU Fan Replacement

Neye ihtiyacın var

  1. why! W650SZ CPU Fan Replacement, Battery: adım 1, 3 resimden 1. why! W650SZ CPU Fan Replacement, Battery: adım 1, 3 resimden 2. why! W650SZ CPU Fan Replacement, Battery: adım 1, 3 resimden 3.
    • Slide the latch on the right to the unlocked position.

    • Slide the latch on the left to the unlocked position.

    • Remove the battery pack from the slot.

  2. why! W650SZ CPU Fan Replacement, why! W650SZ Bottom Cover Replacement: adım 2, 3 resimden 1. why! W650SZ CPU Fan Replacement, why! W650SZ Bottom Cover Replacement: adım 2, 3 resimden 2. why! W650SZ CPU Fan Replacement, why! W650SZ Bottom Cover Replacement: adım 2, 3 resimden 3.
    • With your #0 Philips screwdriver remove the 2 screws from the bottom panel.

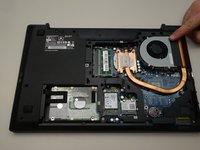
    • Now you can remove the bottom cover.

  3. why! W650SZ CPU Fan Replacement, CPU Fan: adım 3, 3 resimden 1. why! W650SZ CPU Fan Replacement, CPU Fan: adım 3, 3 resimden 2. why! W650SZ CPU Fan Replacement, CPU Fan: adım 3, 3 resimden 3.
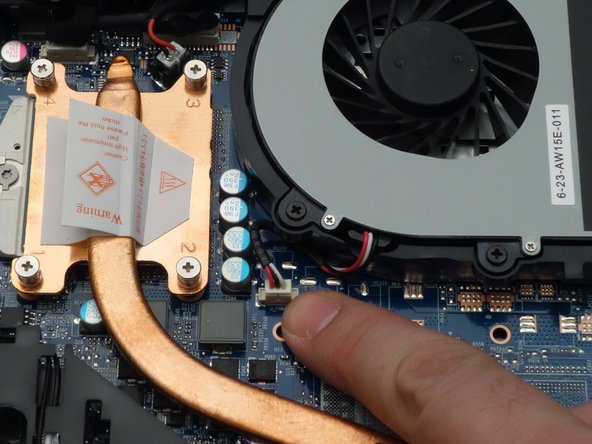
    • Start by locating the fan.

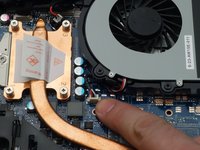
    • Unplug the power cable from the motherboard.

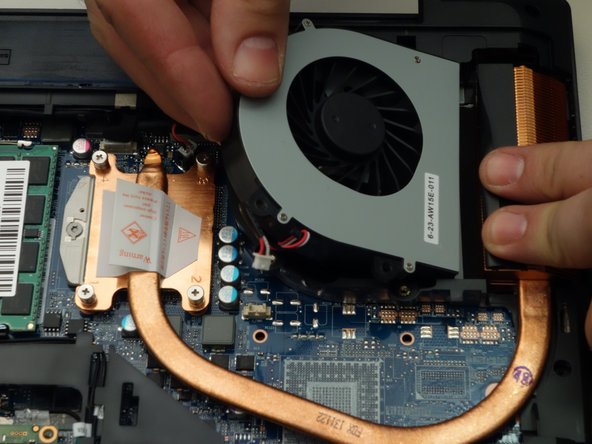
    • Remove the three screws that secure the fan.

  4. why! W650SZ CPU Fan Replacement: adım 4, 2 resimden 1. why! W650SZ CPU Fan Replacement: adım 4, 2 resimden 2.
    • Pry the fan up slightly with a flat blade screwdriver.

    • Lift the fan up to remove it.

Sonuç

To reassemble your device, follow these instructions in reverse order.

Bu çevirmenlere özel teşekkürler:

fr en

100%

Jerry Wheeler dünyayı onarmamıza yardım ediyor! Katkıda bulunmak ister misiniz?
Çeviriye Başlayın ›

Felice Suglia

Üyelik tarihi: 06/15/13

30.908 İtibar

264 adet Kılavuz yazıldı

0 Yorum

Yorum Ekle

İstatistikleri Görüntüle:

Son 24 Saat: 0

Son 7 gün: 0

Son 30 gün: 4

Her zaman: 116