It’s nearly Halloween! Time for ghosts, goblins, and werewolves to terrify their neighborhoods in the glorious pursuit of candy. We’re not nearly as afraid of the dark as we used to be, but we know one thing that scares just about everybody: the impossible repair!
Believe it or not, no repair is impossible. And some of the scariest repairs are easier than you’d think. To help build your courage, we’ve collected some simple tips for handling the scariest small electronics repairs around. Just like creepy basements, frightening repairs are a lot less scary in the light.
1. Don’t Freak Out!

It’s a dark and stormy night. You flop down on the couch to watch Monster Squad and—craaack! There goes your new tablet. Or phone. Or laptop. Facing the aftermath of any device mishap can be frightening. But no matter how bad it looks, it’s important to stay calm. Remember, in every monster movie, it’s the person screaming loudest that gets eaten first. So don’t freak out. You can get through this, and we’ll help.
Thousands of people fix their devices every day—even with no prior repair experience. In fact, check out some of these stories from people that have repaired their own broken devices for inspiration.
2. Troubleshoot those Gremlins
The most important part of any scary repair actually happens before the repair itself. Spend a little time figuring out what’s actually wrong before you start digging parts out of your device. It’s worth the effort!
The repair community can help you diagnose problems with thousands of devices, ranging from iPhones, to laptops, to Xbox controllers. Troubleshooting pages, like this Kindle 7th Generation troubleshooting page, help you find the best solution for an ailing device. If you can’t find a troubleshooting page for your particular device, check out iFixit’s Answers forum. Thousands of community members on iFixit ask and answer repair questions there every day. You can also check the support section of the manufacturer’s website or enthusiast forums for related devices.
3. Prep for Repair

After you’ve got a clear idea of the task you’re facing, do your research. See if anyone else has ever tackled the particular repair that you’re facing—or a repair that involves a similar process with the same device. That’s where we come in. We have thousands of repair manuals for some of the most popular devices in the world. A quick search on iFixit will usually turn up guides for your device—or one like it. A well-written repair guide will lead you through the entire process of fixing your device. Even reading through a guide for a similar device can help you prepare for a successful repair.
If we don’t have the guide you’re looking for, try out YouTube for how-to tutorials, or check with the manufacturer. Some companies—like Dell, Lenovo and Patagonia—post service manuals online, so you can repair your devices at home.
4. Become Frankenstein
We sell many of the parts that you need to repair your broken device, and nearly all of the tools you’ll ever need for small electronics—but there are millions of devices in the world, and we don’t carry parts for everything. In the event that iFixit’s store doesn’t carry a particular part, you can also check out other resources, like eBay, Amazon, and Craigslist for both parts and broken devices that you can potentially cannibalize (be sure to look at the seller reviews if you’re buying from eBay though—when it comes to replacement parts, you want quality, tested goods). Broken devices are great sources of parts, especially for older devices. They’re great for the environment too; when you use somebody else’s discarded device to fix your own, you help to minimize e-waste production!
5. Take Your Time Fixing the Monster
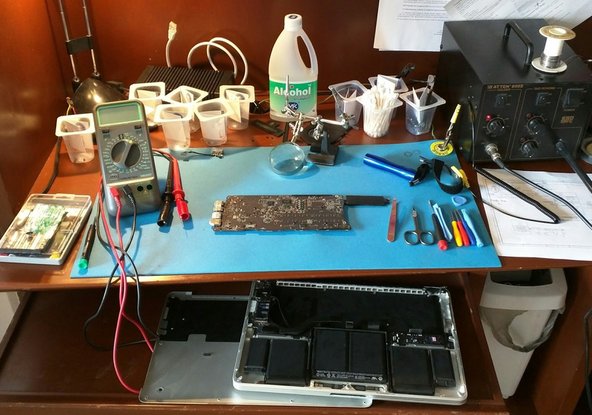
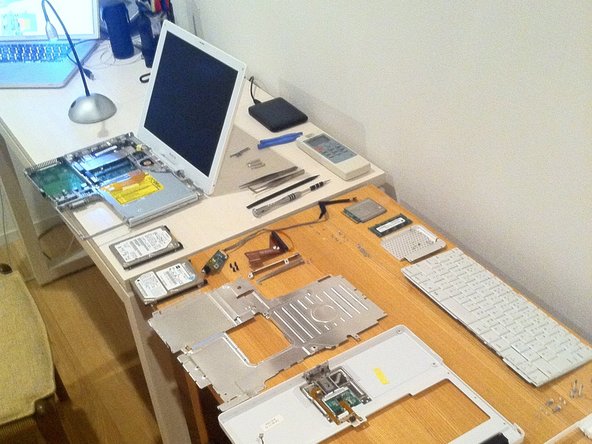
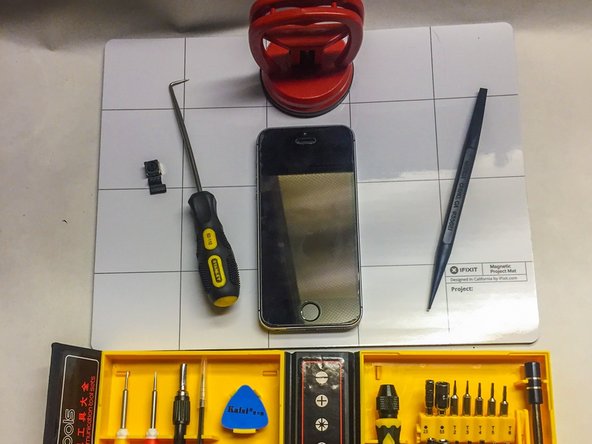
Like any mad scientist, you’ll eventually have to get your hands dirty. Once you’ve got the parts, tools, and information, there’s only one thing left to do: find yourself a clean, well-lit workspace and get to it! Be sure to have an organization system in place to help you keep track of the parts and screws you take out of your device, in the order they were removed. (We suggest the FixMat, but—in a pinch—an egg carton will work, too.)
Go slowly. In modern electronics, there are lots of delicate cables that can tear if you pull them the wrong way—so refer to the instructions often. And be sure to give yourself some time to enjoy the process. In the video above, iFixit community member Ben Orozco needed to replace the display assembly of his MacBook. This edited video might make the repair look like a snap, but in reality it took about two hours. Ben’s advice: “Patience. Patience. Patience.”
Your device probably won’t bite, but if you take the opportunity to explore and learn about it, you won’t feel as rushed—and the whole process will go a lot smoother. What’s more, when you give yourself the time to enjoy even the scariest repair, it makes the rest of those monsters in the dark seem a little less frightening.
6. Don’t Panic!
Sometimes your device won’t work immediately after a repair. But don’t worry—if you went through the process carefully, you probably didn’t break anything. When a device doesn’t work after a repair, it could be because of a missed or loose connection. Small electronics, especially, have a plethora of tiny connections—and it’s easy to miss one while reassembling your device. Take the time to go back inside and check your connections to make sure they’re secure. The extra bit of attention is usually all you need to bring your ghostly gadget back to life.


0 Yorum