Ana içeriğe geç

Neye ihtiyacın var

Bu teardown bir tamir kılavuzu değildir. Acer Liquid E1 cihazınızı onarmak için, servis kılavuzumuzu kullanın.

  1. Acer Liquid E1 Teardown, Acer Liquid E1 Teardown: adım 1, 1 resimden 1.
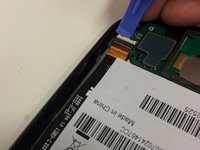
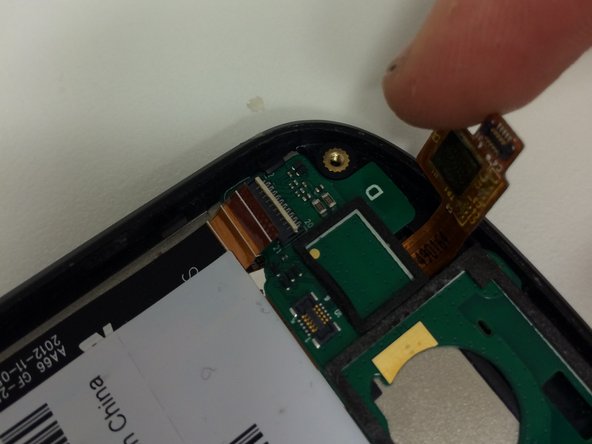
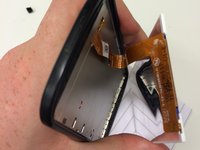
    • Remove the plastic back and the exposed battery.

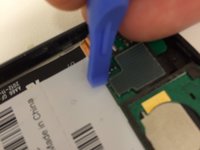
    • Do not forget to remove sim- and SD-cards

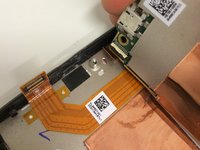
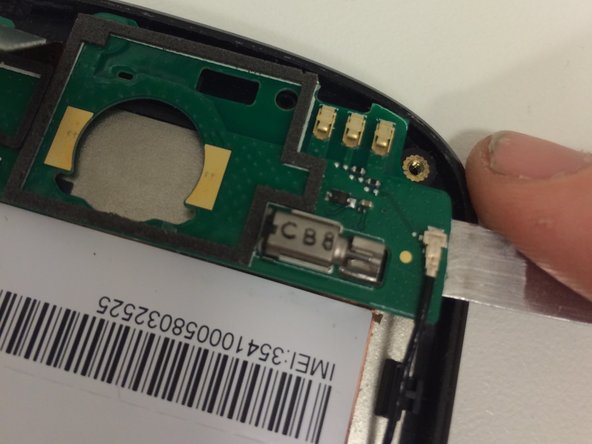
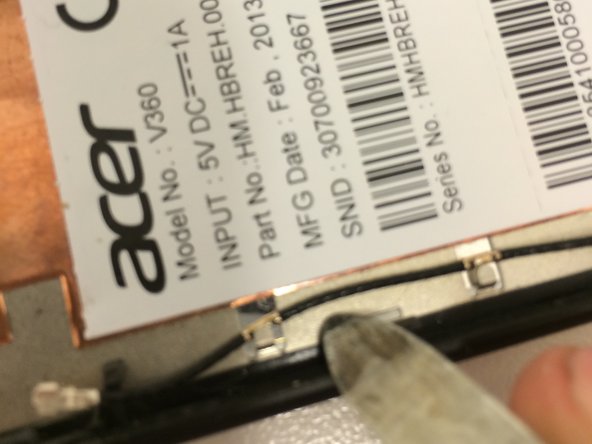
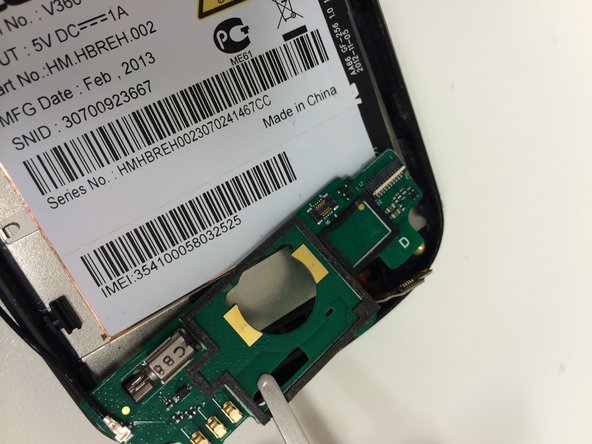
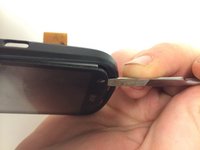
    • Use a torx t5 to unscrew all screws. This will be the first and last time you'll use a screwdriver with this device.

  2. Acer Liquid E1 Teardown: adım 2, 2 resimden 1. Acer Liquid E1 Teardown: adım 2, 2 resimden 2.
    • Use a plastic opening tool or spudger

    • Pry around the side to release the backframe from the middleframe

    • Be careful as the frame is quite fragile

  3. Acer Liquid E1 Teardown: adım 3, 3 resimden 1. Acer Liquid E1 Teardown: adım 3, 3 resimden 2. Acer Liquid E1 Teardown: adım 3, 3 resimden 3.
    • To free the main board, remove the connector and antenna-cable

    • Use a plastic spudger

    • Be careful not to chip components

  4. Acer Liquid E1 Teardown: adım 4, 3 resimden 1. Acer Liquid E1 Teardown: adım 4, 3 resimden 2. Acer Liquid E1 Teardown: adım 4, 3 resimden 3.
    • Tilting the main board will reveal this connection

    • Use a plastic spudger to open the lock

    • Carefully pull the flex cable out of it

    • Don't put alot of stress on it

  5. Acer Liquid E1 Teardown: adım 5, 3 resimden 1. Acer Liquid E1 Teardown: adım 5, 3 resimden 2. Acer Liquid E1 Teardown: adım 5, 3 resimden 3.
    • At the bottom, use a pair of tweezers to remove the yellow tape from the connector

    • Use a plastic spudger to unlock

    • Pull the flexcable out carefully

  6. Acer Liquid E1 Teardown: adım 6, 2 resimden 1. Acer Liquid E1 Teardown: adım 6, 2 resimden 2.
    • Next, use a platic spudger to remove the flex cable from its connection

  7. Acer Liquid E1 Teardown: adım 7, 3 resimden 1. Acer Liquid E1 Teardown: adım 7, 3 resimden 2. Acer Liquid E1 Teardown: adım 7, 3 resimden 3.
    • Use a spudger to remove the bottom-plate from the frame.

    • Be careful when using metal tools (like I did)

    • Make sure the antenna cable isn't attached to anything except it's socket

  8. Acer Liquid E1 Teardown: adım 8, 3 resimden 1. Acer Liquid E1 Teardown: adım 8, 3 resimden 2. Acer Liquid E1 Teardown: adım 8, 3 resimden 3.
    • Let the remaining heat at 95°C for about 3-5 minutes to soften the adhesive

    • Use an opening tool to pry at the top, between your digitizer and the middleframe

    • Open it from the top, your digitizer-flex runs at the bottom

    • Be careful when using a heat-gun. Heat-guns don't distribute heat evenly and LCD-burns may occur

  9. Acer Liquid E1 Teardown: adım 9, 3 resimden 1. Acer Liquid E1 Teardown: adım 9, 3 resimden 2. Acer Liquid E1 Teardown: adım 9, 3 resimden 3.
    • To remove the LCD, remove the sticker on the back of the midframe. It conseals the LCD-flex

    • Be careful when removing the sticker. It's glued tightly and too much stress will tear the LCD-flex

    • Remove the LCD by pulling the whole cable through the midframe.

  10. Acer Liquid E1 Teardown: adım 10, 1 resimden 1.
    • All done

    • I hope you enjoyed it as much as I did

Maxim

Üyelik tarihi: 04/30/14

2.297 İtibar

3 adet Kılavuz yazıldı

Ekip

iFixers Belgium iFixers Belgium üyesi

Business

1 Üye

5 adet Kılavuz yazıldı

Bir Yorum

Great Manual.. it work fine! thanks,,

JoeTech - Yanıt

Yorum Ekle

İstatistikleri Görüntüle:

Son 24 Saat: 0

Son 7 gün: 13

Son 30 gün: 16

Her zaman: 6,761