Ana içeriğe geç

Neye ihtiyacın var

Bu teardown bir tamir kılavuzu değildir. Canon EOS M5 cihazınızı onarmak için, servis kılavuzumuzu kullanın.

  1. Canon EOS M5 Teardown, Remove Strap: adım 1, 1 resimden 1.
    • Canon EOS M5

    • Remove the strap, Or, it WILL cause mess during the teardown/repair. Remove it unless you are as SKILLFUL (lazy) as I am.

  2. Canon EOS M5 Teardown, Bottom: adım 2, 3 resimden 1. Canon EOS M5 Teardown, Bottom: adım 2, 3 resimden 2. Canon EOS M5 Teardown, Bottom: adım 2, 3 resimden 3.
    • FIRST remove battery and SD card.

    • remove 1 self-tap screw
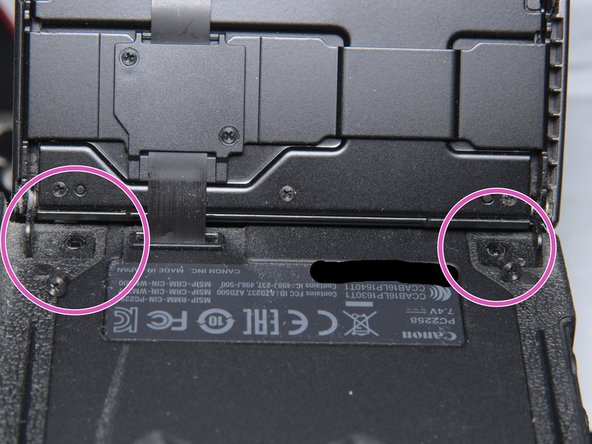
    • remove 6 screws

    • These 2

    • And these 4

  3. Canon EOS M5 Teardown, Bottom Case: adım 3, 2 resimden 1. Canon EOS M5 Teardown, Bottom Case: adım 3, 2 resimden 2.
    • Remove bottom cover

    • This is the NFC antenna(coil).

  4. Canon EOS M5 Teardown, Back Case, left: adım 4, 1 resimden 1.
    • Left side:

    • Remove metal thread screw

    • Remove self-tap screw

  5. Canon EOS M5 Teardown, Back Case, right: adım 5, 1 resimden 1.
    • Remove 1 screw.

  6. Canon EOS M5 Teardown, Back Case, back: adım 6, 2 resimden 1. Canon EOS M5 Teardown, Back Case, back: adım 6, 2 resimden 2.
    • Remove 4 metal thread screw.

  7. Canon EOS M5 Teardown, Back Case, Detach FPC: adım 7, 2 resimden 1. Canon EOS M5 Teardown, Back Case, Detach FPC: adım 7, 2 resimden 2.
    • Gently, lift (towards back) and slide the back cover towards left (THE LEFT when you holding the camera)
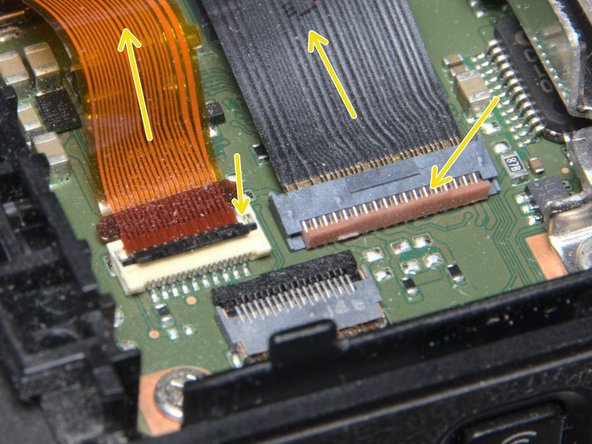
    • Disconnect 2 FPC.

  8. Canon EOS M5 Teardown, The Back Case & Touch LCD.: adım 8, 3 resimden 1. Canon EOS M5 Teardown, The Back Case & Touch LCD.: adım 8, 3 resimden 2. Canon EOS M5 Teardown, The Back Case & Touch LCD.: adım 8, 3 resimden 3.
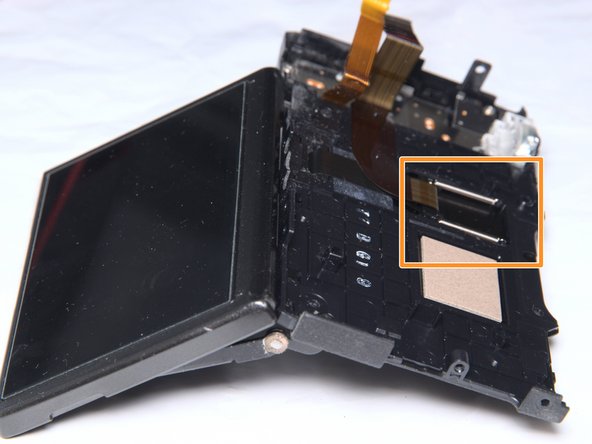
    • The back case with LCD assembly.

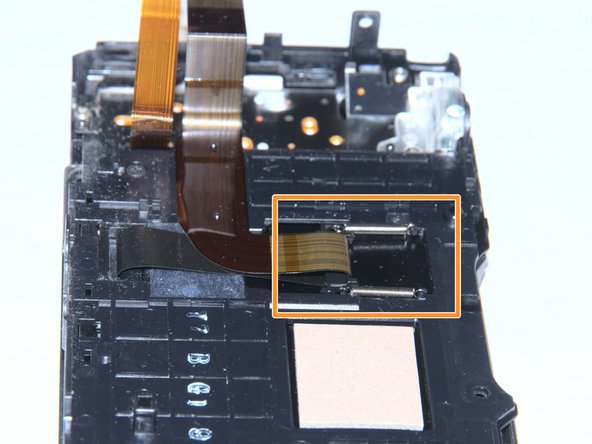
    • The beautiful LCD FPC stretcher

  9. Canon EOS M5 Teardown, Inside The Camera, Back: adım 9, 1 resimden 1.
    • We are in side the camera.

  10. Canon EOS M5 Teardown, Screw, Screw, Screw, Screw: adım 10, 3 resimden 1. Canon EOS M5 Teardown, Screw, Screw, Screw, Screw: adım 10, 3 resimden 2. Canon EOS M5 Teardown, Screw, Screw, Screw, Screw: adım 10, 3 resimden 3.
    • Remove 3 screws near the EVF. REMEMBER lengths and hole positions. The center one is longer. The left holes.

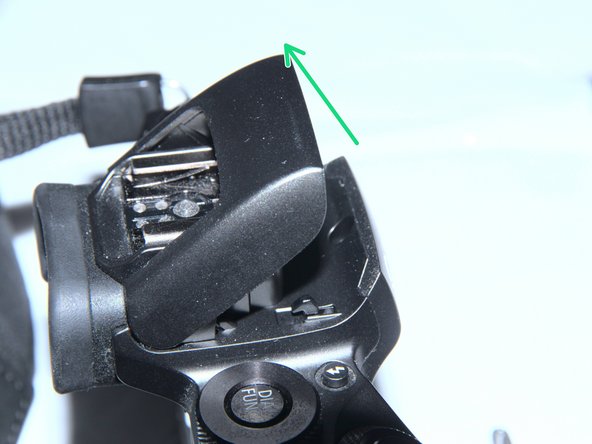
    • Pop the speedlight (flash)

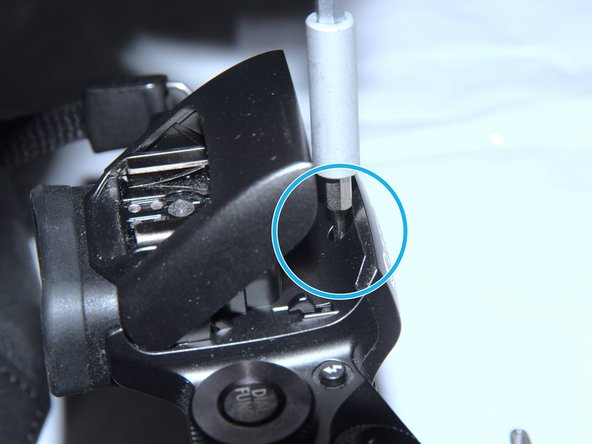
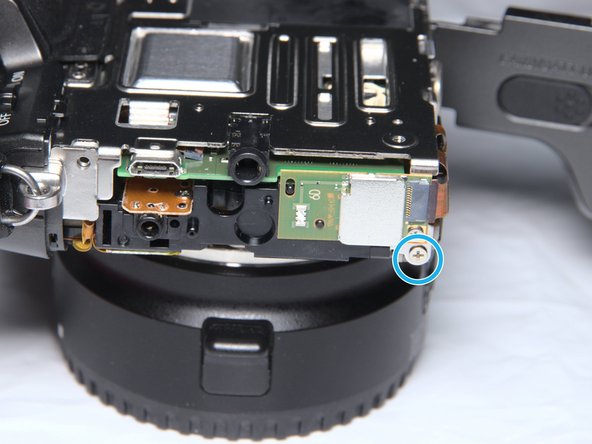
    • Remove the screw covered by the speedlight.

  11. Canon EOS M5 Teardown, More Screw, Battery Compartment: adım 11, 1 resimden 1.
    • Remove 1 screw in battery bay.

    • There's only one. Trust me.

  12. Canon EOS M5 Teardown, Remove Front Case: adım 12, 3 resimden 1. Canon EOS M5 Teardown, Remove Front Case: adım 12, 3 resimden 2. Canon EOS M5 Teardown, Remove Front Case: adım 12, 3 resimden 3.
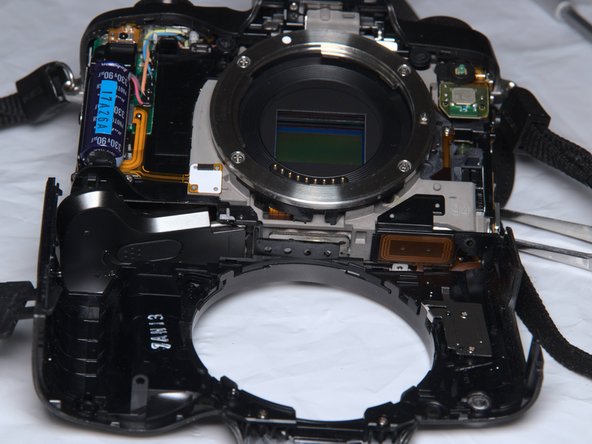
    • Now the front case comes off.

    • There are some clips, be gentle and patient.

  13. Canon EOS M5 Teardown, Front Case and Inside.: adım 13, 3 resimden 1. Canon EOS M5 Teardown, Front Case and Inside.: adım 13, 3 resimden 2. Canon EOS M5 Teardown, Front Case and Inside.: adım 13, 3 resimden 3.
    • Please keep body cap on as possible, for shielding again dust.

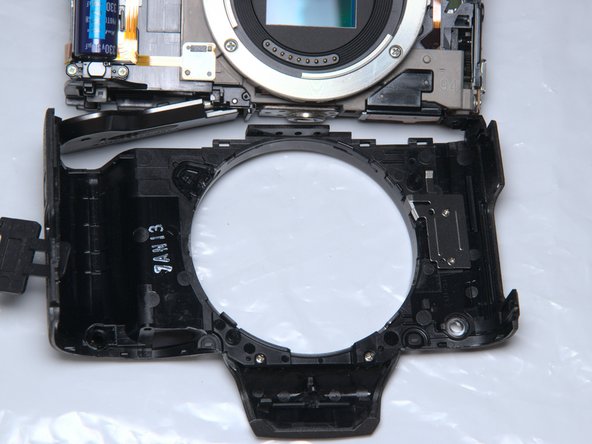
    • Front cover comes off with 2 small parts. Don't loose them.

  14. Canon EOS M5 Teardown, DISCHARGE the Capacitor!!!: adım 14, 1 resimden 1.
    • When you see the speedlight resevoire capacitor.

    • The capacitor

    • To avoid electric shock and damage, DISCHARGE IT with a 2kohm~10kohm resistor for more than 15 seconds, ASAP!!!

  15. Canon EOS M5 Teardown, Metal Frame, left, right: adım 15, 2 resimden 1. Canon EOS M5 Teardown, Metal Frame, left, right: adım 15, 2 resimden 2.
    • Right side, remove 1 screw.

    • Left side: remove 1 screw.

  16. Canon EOS M5 Teardown, Metal Frame, back: adım 16, 1 resimden 1.
    • Remove 3 metal thread screw

    • Remove 1 self-tap screw.

  17. Canon EOS M5 Teardown, EVF Case: adım 17, 3 resimden 1. Canon EOS M5 Teardown, EVF Case: adım 17, 3 resimden 2. Canon EOS M5 Teardown, EVF Case: adım 17, 3 resimden 3.
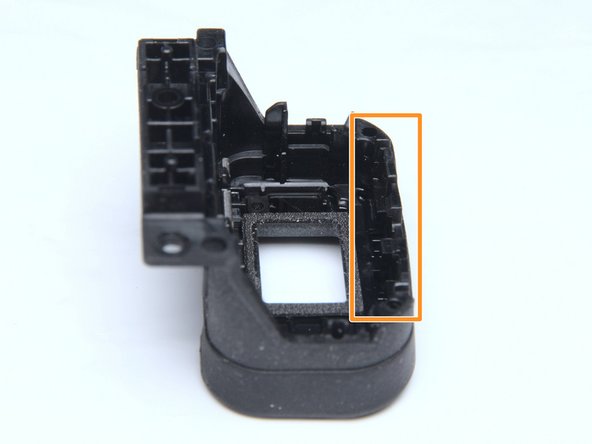
    • Remove EVF plastic case.

    • There are some clips.

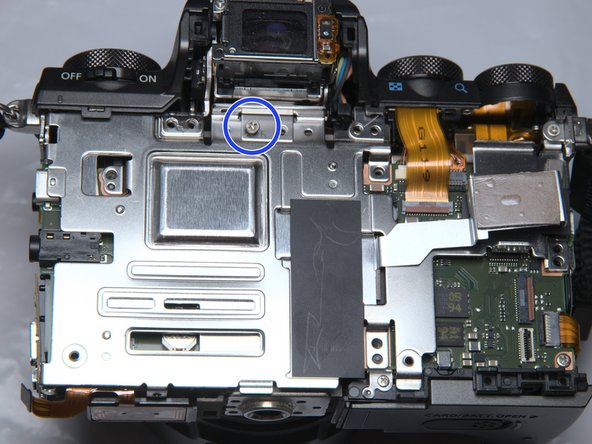
    • Remove 1 screw, REMEMBER from which hole!

  18. Canon EOS M5 Teardown, Top Case, right: adım 18, 1 resimden 1.
    • Right side.: Remove 1 screw

  19. Canon EOS M5 Teardown, Top Case, FPC: adım 19, 1 resimden 1.
    • Detach FPC.

    • Be gentle enough We do NOT remove top case. Because it's kind of messy with some adhesive...

  20. Canon EOS M5 Teardown, Metal Frame: adım 20, 3 resimden 1. Canon EOS M5 Teardown, Metal Frame: adım 20, 3 resimden 2. Canon EOS M5 Teardown, Metal Frame: adım 20, 3 resimden 3.
    • When the top case is loosen. remove the metal frame.

    • Or you can remove this BlueTooth board if not being lazy.

  21. Canon EOS M5 Teardown, Main PCB, 11 FPC's: adım 21, 3 resimden 1. Canon EOS M5 Teardown, Main PCB, 11 FPC's: adım 21, 3 resimden 2. Canon EOS M5 Teardown, Main PCB, 11 FPC's: adım 21, 3 resimden 3.
    • IF you can count to 5:

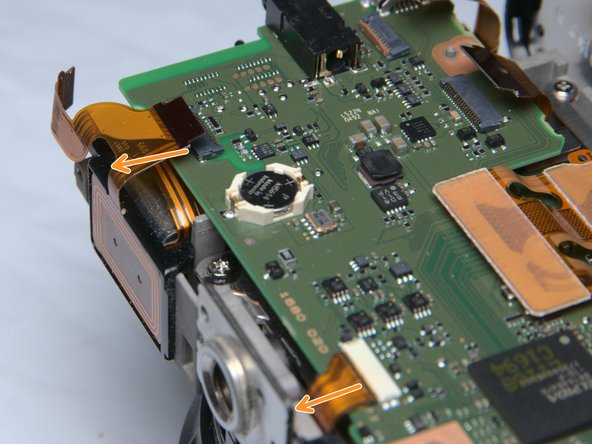
    • PCB top left, detach 2 FPC. 1 ZIF, 1 non-ZIF

    • PCB top right, detach 4 FPC and 1 cable connector

    • PCB top center. detach sensor cable.

  22. Canon EOS M5 Teardown, Main PCB, more FPC's and screw: adım 22, 2 resimden 1. Canon EOS M5 Teardown, Main PCB, more FPC's and screw: adım 22, 2 resimden 2.
    • PCB right bottom.

    • Remove 1 screw

    • Detach 1 FPC

    • Detach 2 FPC

  23. Canon EOS M5 Teardown, Enjoy (or Replace) the Main PCB: adım 23, 2 resimden 1. Canon EOS M5 Teardown, Enjoy (or Replace) the Main PCB: adım 23, 2 resimden 2.
    • Ladies and gentlemen, the mother board

    • Digic and RAM

    • RTC battery

    • Some Flash

    • SD socket

    • Some power supply

  24. Canon EOS M5 Teardown, Under Main PCB.: adım 24, 1 resimden 1.
    • EVF

    • Sensor assemly

    • Shutter assembly

    • Without proper measuring devices, I did not mess with the sensor assembly. otherwise the back focal will be ruined.

Terrance

Üyelik tarihi: 11/17/09

6.368 İtibar

17 adet Kılavuz yazıldı

10 Yorum

Anyone know where to purchase parts for the M5? I.e. Touch LCD assembly?

bflores - Yanıt

China’s market, they recycle broken devices and sells parts.

Terrance -

Thank You!!

Is there a way to remove and replace the rubber eye cup without disassembly?

Donald Weldon - Yanıt

I'm not quite sure, I sticks very tight. possibly glued or even moulded together

Terrance -

Does anybody know where to buy screws shown on step 6 or what size they are? One of those fell out of my camera.

Alexandr Kobzar - Yanıt

Yorum Ekle

İstatistikleri Görüntüle:

Son 24 Saat: 1

Son 7 gün: 11

Son 30 gün: 47

Her zaman: 5,823