Sökmek
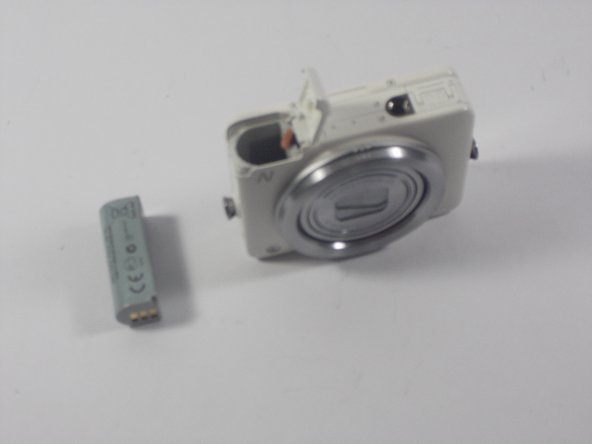
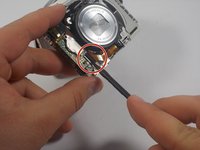
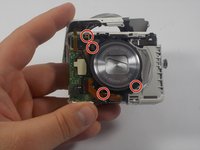
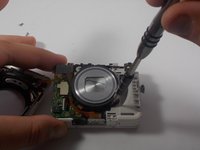
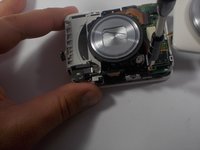
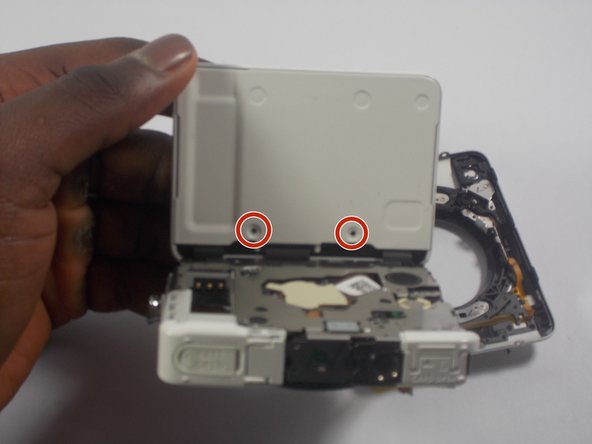
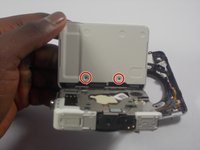
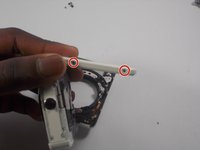
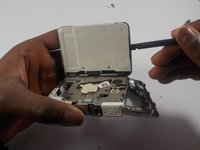
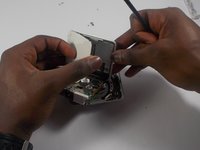
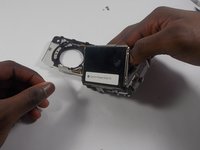
We are going to teach you how to take apart and put back together a Cannon Powershot N.
Bu teardown bir tamir kılavuzu değildir. Canon PowerShot N cihazınızı onarmak için, servis kılavuzumuzu kullanın.
Locate battery housing cover.
Place finger on the textured portion of battery housing cover and slide cover in the direction indicated.
Find beige tab and push it away from the battery.
Remove battery from battery slot with fingers.
Using a PH000 size screwdriver, unscrew four screws beneath screen.
Remove 2 screws on the bottom of the camera.
Remove 2 screws from the side of the camera with the on and off buttons.
Remove the back plate.
Locate 2 screws on “on/off” side of the camera and unscrew them.
Locate 2 screws on the other side of the camera and remove them.
Remove one screw from the bottom of the camera.
Remove front plate from motherboard so that one ribbon cable is exposed.
Locate the second ribbon cable.
Using plastic spudger, push tab to release the ribbon cable.
Locate screw under released ribbon cable and remove it.
With the camera lens facing you, remove 4 screws around the lens.
Flip over and remove 1 screw from side with playback/phone options .
Unscrew 2 screws from top, bottom, and both sides of screen.
Pull off white cap which edges the screen.
Remove white metal plate behind screen (tip: try not to bend).
Push out LCD screen.
4 tane daha katılımcı ile
Üyelik tarihi: 03/04/16
313 İtibar
1 Kılavuz yazıldı
Rozetler: 2
UMASSD-BHUSAL-S16S6G5
3 Üyeler
Bu kılavuzu, sitenizin / forumunuzun içine küçük bir parçacık olarak yerleştirmek için, bir boyut seçin ve aşağıdaki kodu kopyalayın.
Son 24 Saat: 0
Son 7 gün: 4
Son 30 gün: 40
Her zaman: 1,467