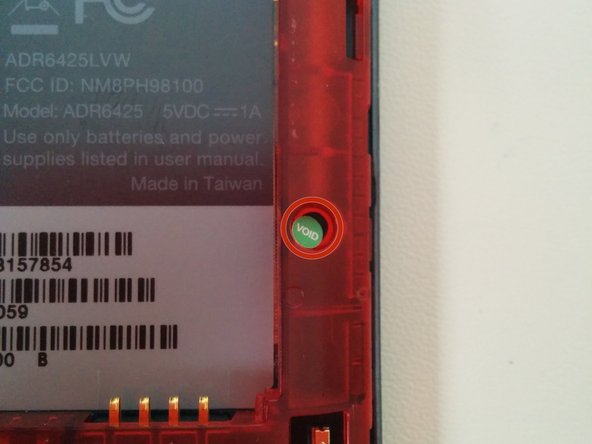
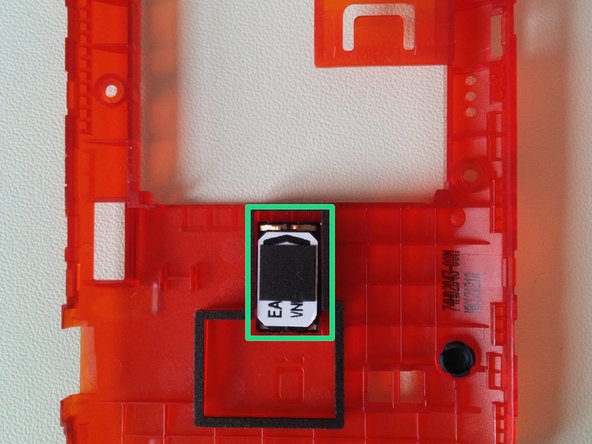
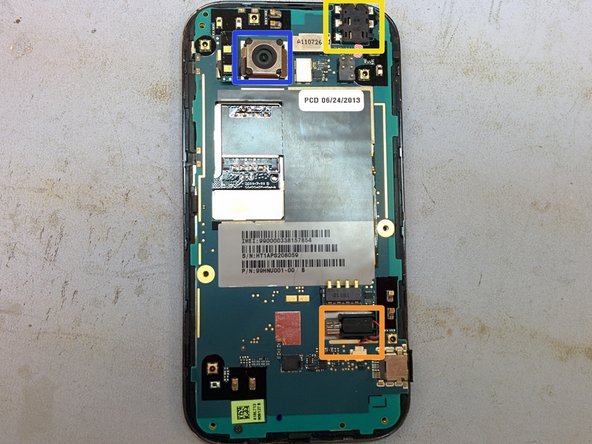
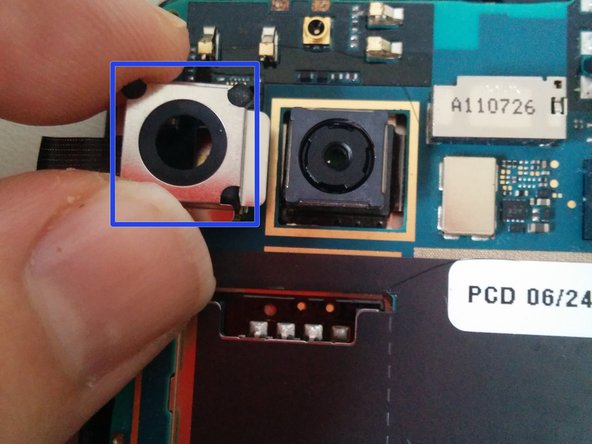
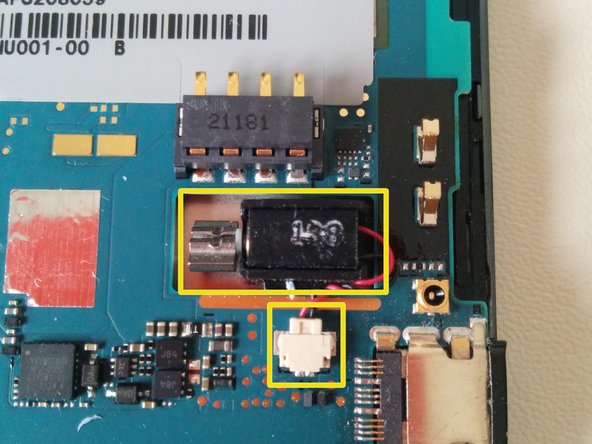
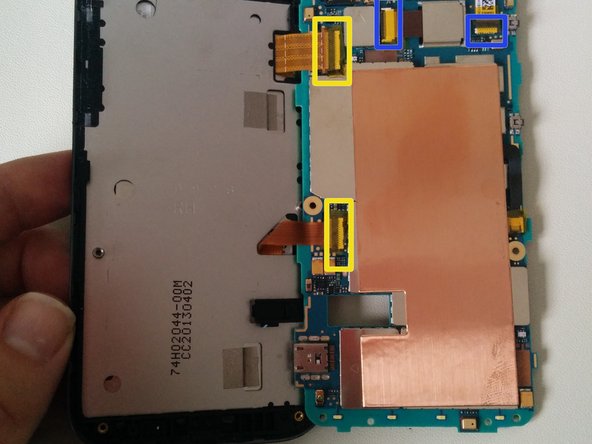
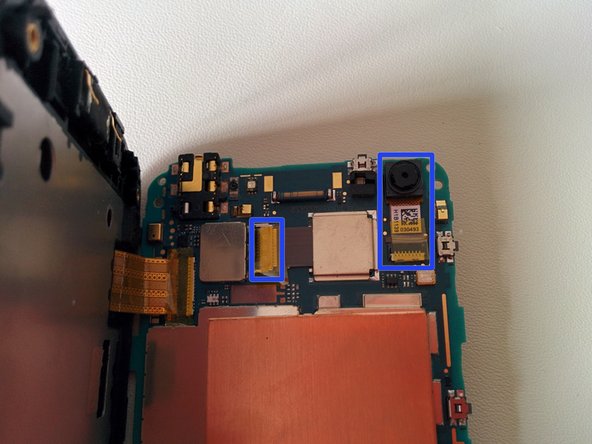
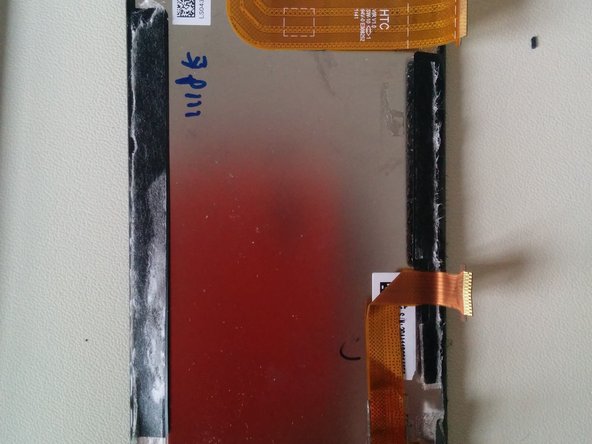
Ana içeriğe geç

Neye ihtiyacın var

Bu teardown bir tamir kılavuzu değildir. HTC Rezound cihazınızı onarmak için, servis kılavuzumuzu kullanın.

  1. HTC Rezound Teardown, HTC Rezound Teardown: adım 1, 3 resimden 1. HTC Rezound Teardown, HTC Rezound Teardown: adım 1, 3 resimden 2. HTC Rezound Teardown, HTC Rezound Teardown: adım 1, 3 resimden 3.
    • Remove rear cover using little notch located at bottom of phone

  2. HTC Rezound Teardown: adım 2, 1 resimden 1.
    • Remove 1620 mAh battery

    • Remove SD card

    • Phone comes with 16 GB SD card

  3. HTC Rezound Teardown: adım 3, 2 resimden 1. HTC Rezound Teardown: adım 3, 2 resimden 2.
    • Remove (6) Torx T7 screws

    • You may have to remove VOID sticker from one of the screws

  4. HTC Rezound Teardown: adım 4, 3 resimden 1. HTC Rezound Teardown: adım 4, 3 resimden 2. HTC Rezound Teardown: adım 4, 3 resimden 3.
    • Use opener tool to carefully pry cover off

    • Volume and power buttons are located in cover so be careful not to lose them

    • Speaker is located inside back cover

    • Main Camera

    • Headphone jack

    • Vibration motor

  5. HTC Rezound Teardown: adım 5, 3 resimden 1. HTC Rezound Teardown: adım 5, 3 resimden 2. HTC Rezound Teardown: adım 5, 3 resimden 3.
    • Carefully unplug board

    • Carefully remove camera cover, slowly peeling off tape to reuse

    • Remove and unplug vibration motor

  6. HTC Rezound Teardown: adım 6, 3 resimden 1. HTC Rezound Teardown: adım 6, 3 resimden 2. HTC Rezound Teardown: adım 6, 3 resimden 3.
    • Remove (2) Phillips heads screws (one is shown, the other is on the left lower side)

    • Disconnect two cables from logic board to screen. Be very careful not to break our bend too badly.

    • Main camera connection & front camera

  7. HTC Rezound Teardown: adım 7, 2 resimden 1. HTC Rezound Teardown: adım 7, 2 resimden 2.
    • Using pick or pry tool, slowly remove screen from frame. Tape and adhesive is holding it on so work slowly and use heat gun if needed.

  8. HTC Rezound Teardown: adım 8, 1 resimden 1.
    • For the most part, this teardown is pretty straightforward with the headphone jack fused to main board. The display looks to be fused to the screen so replacement of either means replacement of both.

Codyhatch24

Üyelik tarihi: 12/26/13

201 İtibar

1 Kılavuz yazıldı

Ekip

Android Alliance Android Alliance üyesi

Community

86 Üyeler

699 adet Kılavuz yazıldı

2 Yorum

If there's anything I can add to help make this more clear cut and easy to follow let me know as this is my first attempt at a guide.

Codyhatch24 - Yanıt

My rezound glass is cracked . It still operates fine but I would like to replace the glass. I ordered a glass from Amazon but it has a connection tail that I don't understand how to install?

Lee Ferguson -

Yorum Ekle

İstatistikleri Görüntüle:

Son 24 Saat: 0

Son 7 gün: 1

Son 30 gün: 4

Her zaman: 3,979