Sökmek
Bu teardown bir tamir kılavuzu değildir. LG Xpression C395 cihazınızı onarmak için, servis kılavuzumuzu kullanın.
Remove the back plate and battery
Remove the 7 Philips screws on the mid frame and un-clip it from the body
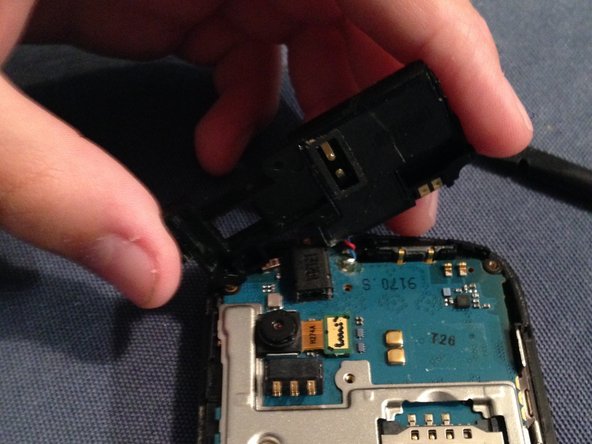
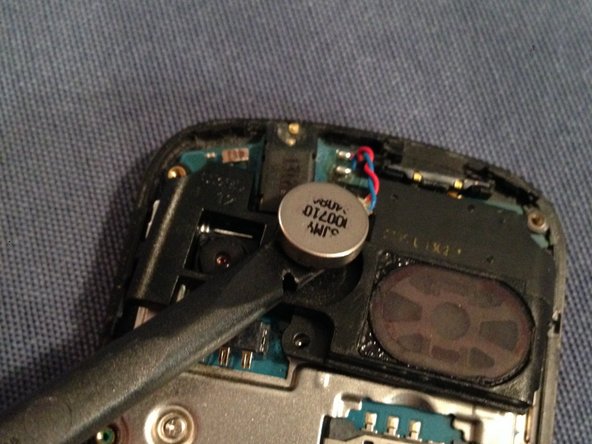
Take out the volume rocker daughter board, the black speaker plastic and the vibrate motor.
Remove the 2 Phillips screws and remove the motherboard
Remember there is a Ribbon cable under the motherboard
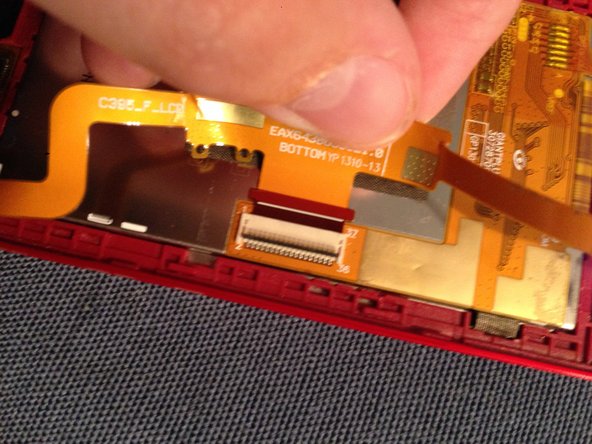
Remove the screen Ribbon cable and the keyboard
Remove the 4 Phillips screws holding in the keyboard plastic
Remove 4 more Phillips screws and remove the back of the screen
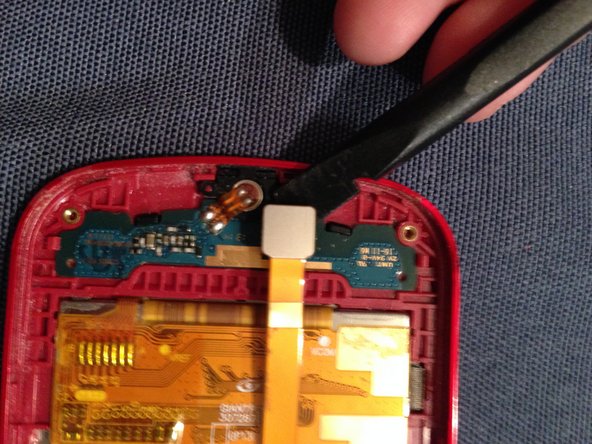
Remove the bottom button, earpiece and screen ribbon cable
After all of this you can remove the screen and conclude this teardown
1 tane daha katılımcı ile
Üyelik tarihi: 08/28/19
169 İtibar
1 Kılavuz yazıldı
Rozetler: 0
Business
1 Üye
Bu kılavuzu, sitenizin / forumunuzun içine küçük bir parçacık olarak yerleştirmek için, bir boyut seçin ve aşağıdaki kodu kopyalayın.
Son 24 Saat: 0
Son 7 gün: 0
Son 30 gün: 6
Her zaman: 681