Neye ihtiyacın var
-
-
-
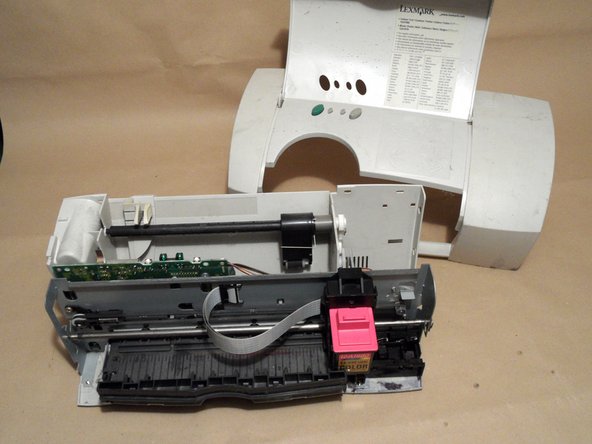
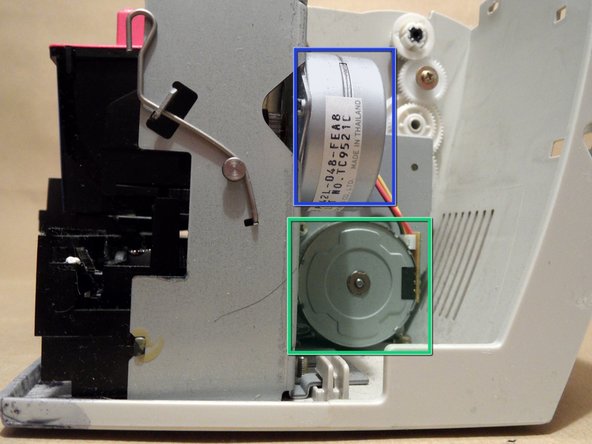
Press the nib marked in green inside and slightly lift the housing from the back plate shown in the first image here.
-
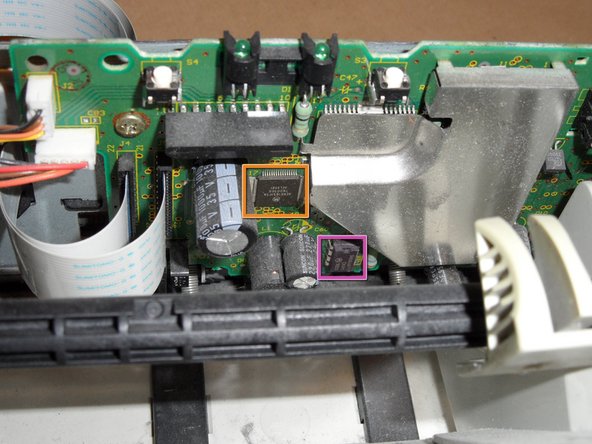
The housing can be removed by lifting and rotating it around the catches on the lower front side of the device highlighted in purple. Finally, it is shifted slightly to the front out of those catches.
-
-
-
With this inner part nearly everything is easily accessible. There are two stepper motors:
-
NMB PM42L-048-FEA8
-
4 wires
-
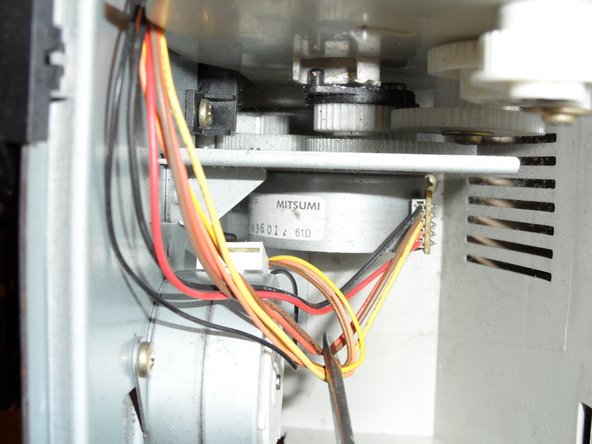
Mitsumi H9601
-
5 wires, can probably be resoldered to use 4 or 6 wires
-
There is also an electronics board as well as smaller useful parts like buttons, LEDs, light barriers.
-
Motorola XC901051FTA
-
Motorola 34063 (switching voltage regulator)
-