Ana içeriğe geç

Neye ihtiyacın var

Bu teardown bir tamir kılavuzu değildir. Power Mac G4 M5183 cihazınızı onarmak için, servis kılavuzumuzu kullanın.

  1. Power Mac G4 M5183 Teardown STEM Project, Case: adım 1, 2 resimden 1. Power Mac G4 M5183 Teardown STEM Project, Case: adım 1, 2 resimden 2.
    • Pull the tab to open the case.

  2. Power Mac G4 M5183 Teardown STEM Project, RAM: adım 2, 2 resimden 1. Power Mac G4 M5183 Teardown STEM Project, RAM: adım 2, 2 resimden 2.
    • Pull the white tabs down

    • Lift up the RAM

    • Repeat x4

  3. Power Mac G4 M5183 Teardown STEM Project, Heat-sink: adım 3, 2 resimden 1. Power Mac G4 M5183 Teardown STEM Project, Heat-sink: adım 3, 2 resimden 2.
    • Use a flat head screwdriver or spudger to lift up the tabs that hold down the heat-sink.

    • Repeat x2

    • The heat-sink should just lift right off.

  4. Power Mac G4 M5183 Teardown STEM Project, GPU: adım 4, 2 resimden 1. Power Mac G4 M5183 Teardown STEM Project, GPU: adım 4, 2 resimden 2.
    • Remove highlighted screw.

    • The GPU should lift right out.

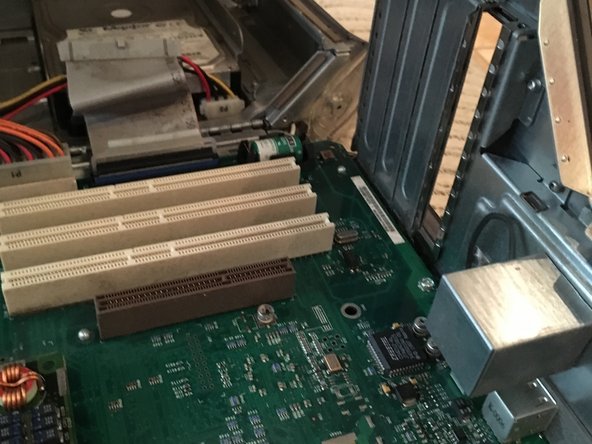
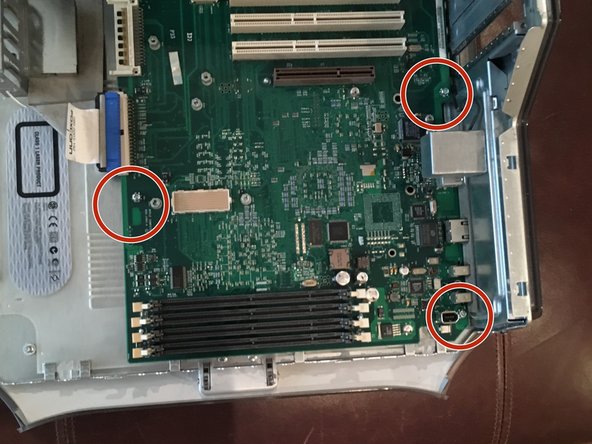
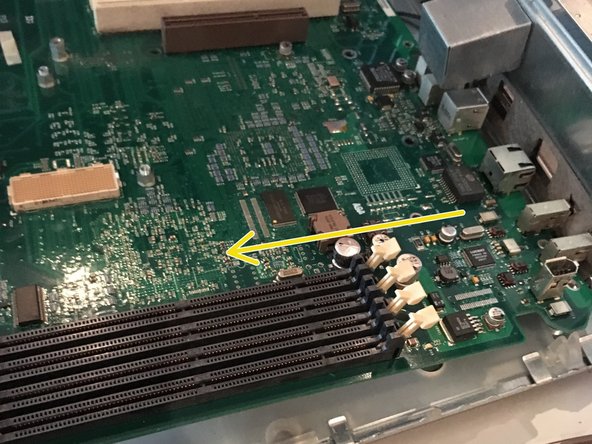
  5. Power Mac G4 M5183 Teardown STEM Project, Mother Board: adım 5, 3 resimden 1. Power Mac G4 M5183 Teardown STEM Project, Mother Board: adım 5, 3 resimden 2. Power Mac G4 M5183 Teardown STEM Project, Mother Board: adım 5, 3 resimden 3.
    • Remove highlighted cables.

    • Remove highlighted screws.

    • Lift out the motherboard. (Note: pull to the left to clear the ports from the case)

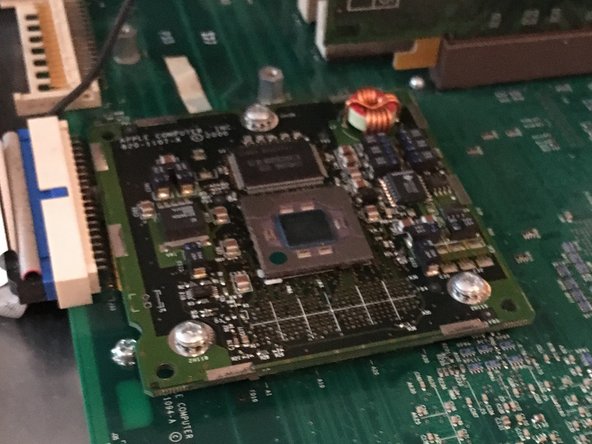
  6. Power Mac G4 M5183 Teardown STEM Project, CPU: adım 6, 2 resimden 1. Power Mac G4 M5183 Teardown STEM Project, CPU: adım 6, 2 resimden 2.
    • Remove highlighted screws.

    • After removing the screws, simply lift off the CPU from the connector. Use only a minimal amount of pressure when pulling the CPU from the connector.

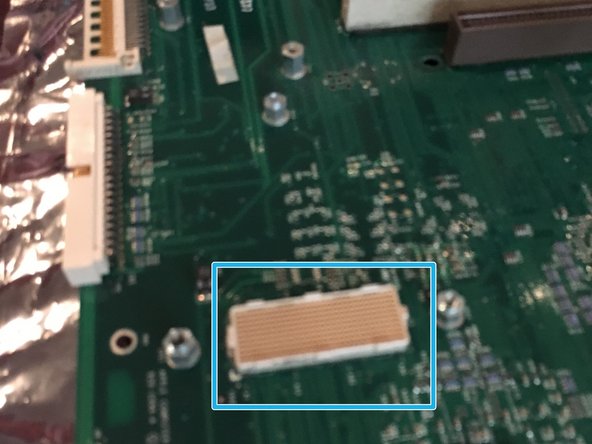
    • This is the connector after removal of the CPU.

  7. Power Mac G4 M5183 Teardown STEM Project, DVD/ROM drive: adım 7, 3 resimden 1. Power Mac G4 M5183 Teardown STEM Project, DVD/ROM drive: adım 7, 3 resimden 2. Power Mac G4 M5183 Teardown STEM Project, DVD/ROM drive: adım 7, 3 resimden 3.
    • Remove the face plate. You are supposed to press down the highlighted tabs from the inside.

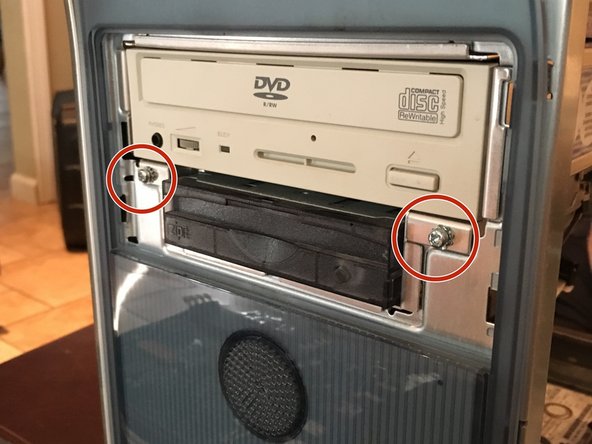
    • Remove highlighted screws.

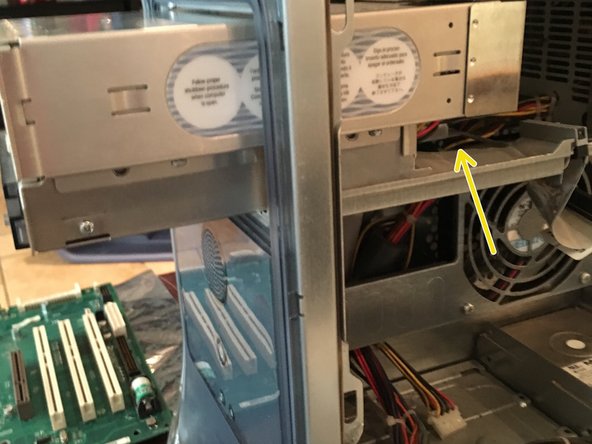
    • Slide out the drive. (MAKE SURE TO UNHOOK THE CABLES)

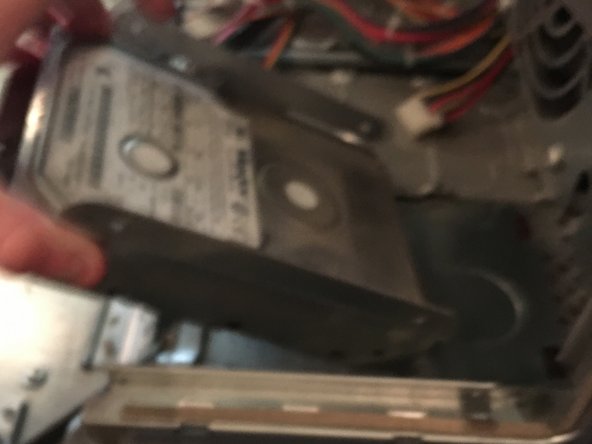
  8. Power Mac G4 M5183 Teardown STEM Project, Hard drive: adım 8, 3 resimden 1. Power Mac G4 M5183 Teardown STEM Project, Hard drive: adım 8, 3 resimden 2. Power Mac G4 M5183 Teardown STEM Project, Hard drive: adım 8, 3 resimden 3.
    • Remove the highlighted cables.

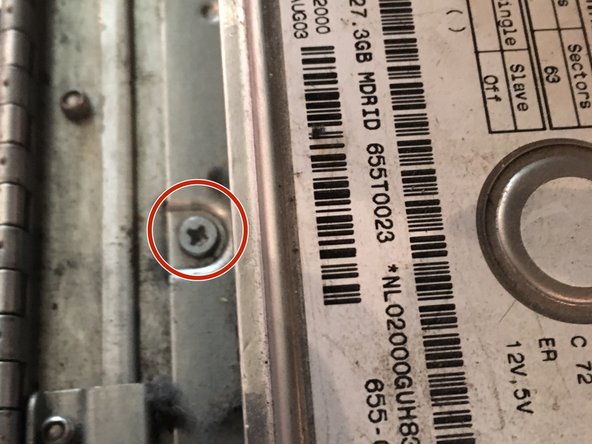
    • Remove highlighted screw.

    • Lift out the hard drive.

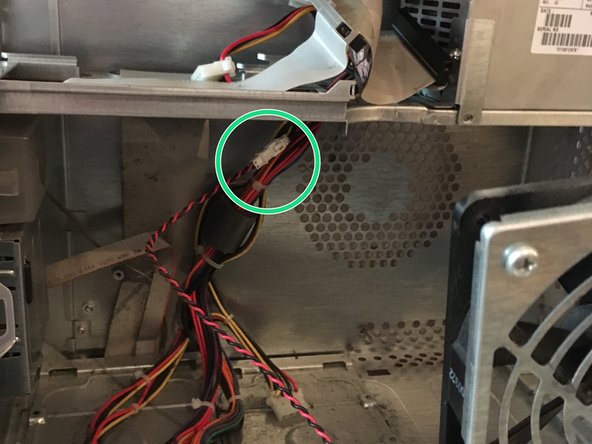
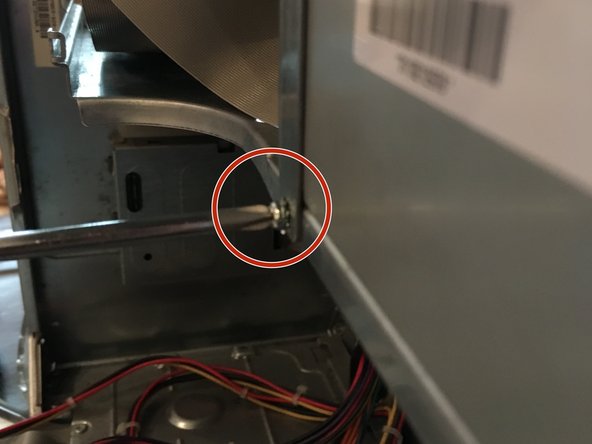
  9. Power Mac G4 M5183 Teardown STEM Project, Main Fan: adım 9, 2 resimden 1. Power Mac G4 M5183 Teardown STEM Project, Main Fan: adım 9, 2 resimden 2.
    • Remove highlighted screw. ( SAME SCREW ON OPPOSITE SIDE, REMOVE THAT AS WELL.)

    • Disconnect the connector.

    • After that, just pull it out.

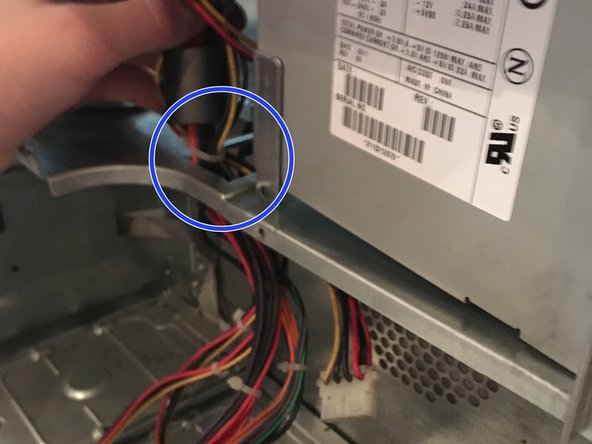
  10. Power Mac G4 M5183 Teardown STEM Project, Power Supply: adım 10, 3 resimden 1. Power Mac G4 M5183 Teardown STEM Project, Power Supply: adım 10, 3 resimden 2. Power Mac G4 M5183 Teardown STEM Project, Power Supply: adım 10, 3 resimden 3.
    • Use a 2.5 mm hex key to remove these screws.

    • Remove highlighted screw.

    • Feed the wires through the highlighted hole, then pull out the power supply.

  11. Power Mac G4 M5183 Teardown STEM Project, Finished!: adım 11, 1 resimden 1.
    • You will be left with an empty case.

Harrison Case

Üyelik tarihi: 11/06/16

128 İtibar

1 Kılavuz yazıldı

4 Yorum

Just a little tip.

APPLE tend to use screw connections as a means of ground continuity.

That is - if the CPU card is not screwed down - it might not power on.

Mal - Yanıt

The is a kit from thelaserhive.com to allow an mATX board to be used inside the G4 cases.

Pete Karnowski - Yanıt

como retiro las tapas de los lados para hacerlelimpieza

martin alonso moncada gonzalez - Yanıt

Yorum Ekle

İstatistikleri Görüntüle:

Son 24 Saat: 0

Son 7 gün: 12

Son 30 gün: 43

Her zaman: 3,371