Giriş
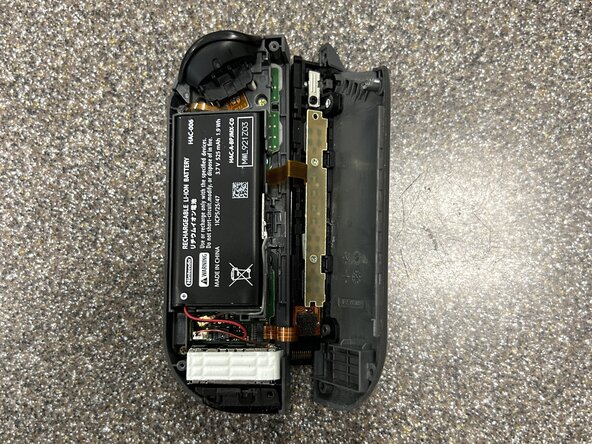
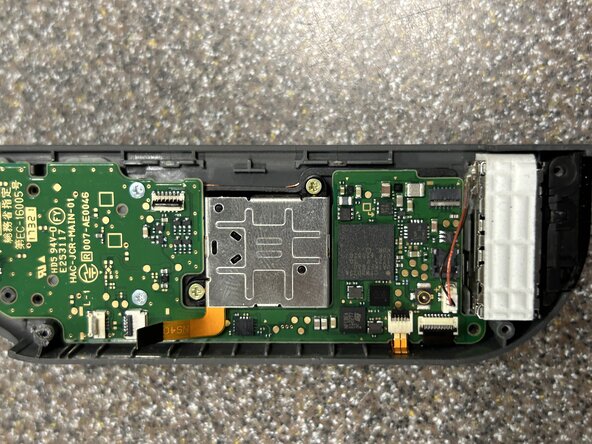
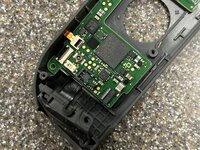
This guide aims to show how to completely disassemble your right joycon without hurting any parts. This disassembly is more difficult than the right joycon due to the additional IR sensor, Bluetooth antenna, and NFC reader.
In this guide I refer frequently to the iFixit Phillips PH000 which is designed to work with JIS screws. The screws in the Nintendo Joy Con are, if I understand it correctly, JIS screws which iFixit sells drivers for separately as well.
Neye ihtiyacın var
-
Bu adımda kullanılan alet:iFixit Opening Picks (Set of 6)$4.99
-
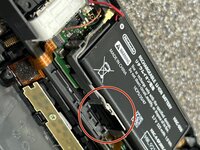
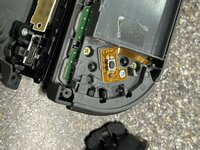
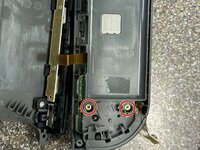
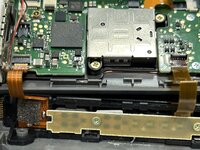
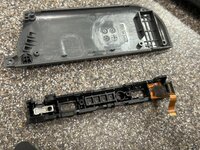
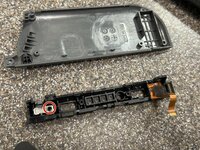
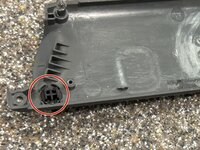
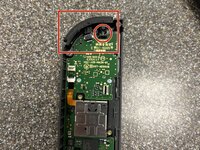
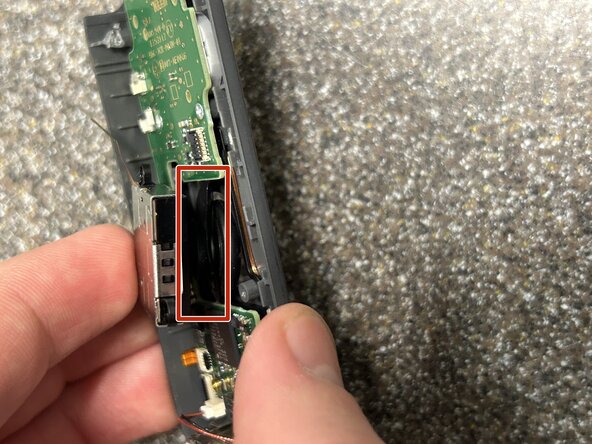
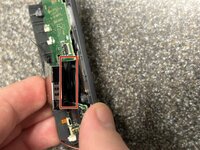
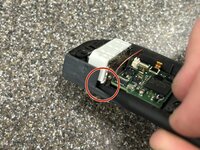
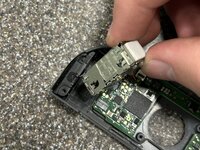
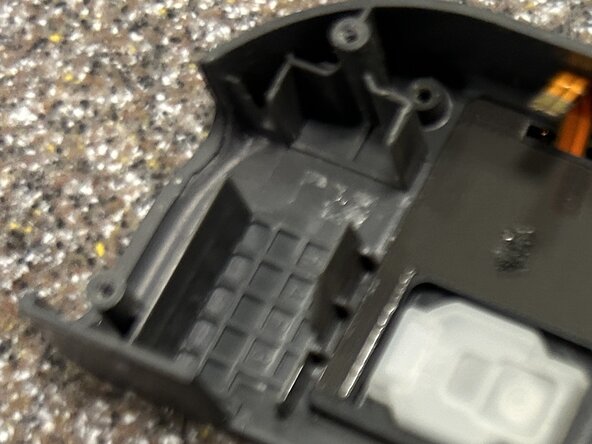
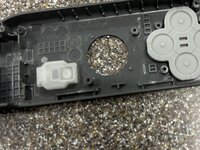
To separate the shell halves there are two options:
-
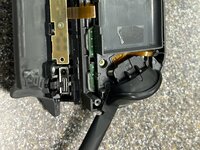
1. Use an opening pick and insert it between the IR sensor and the other half carefully prying them apart
-
2. Push up on the rail towards the shell halve not attached to the IR sensor
-
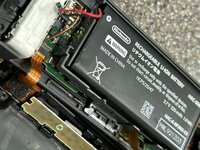
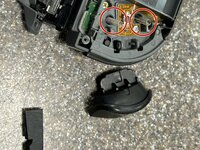
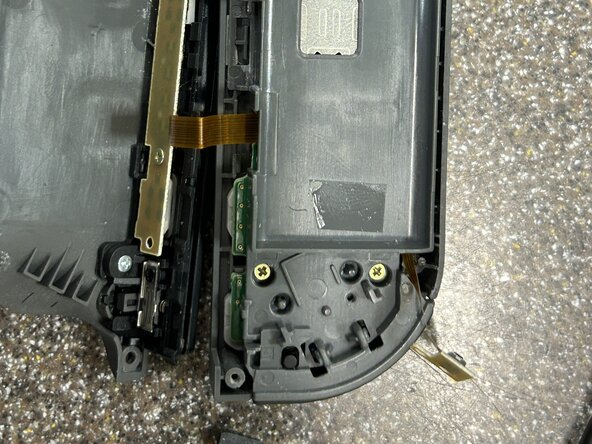
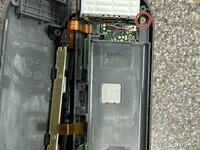
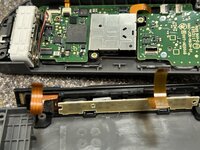
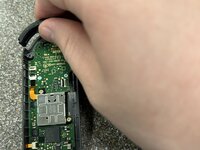
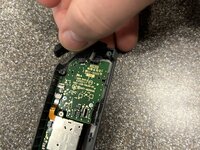
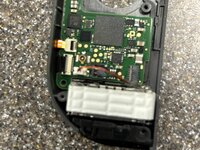
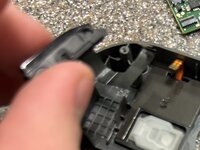
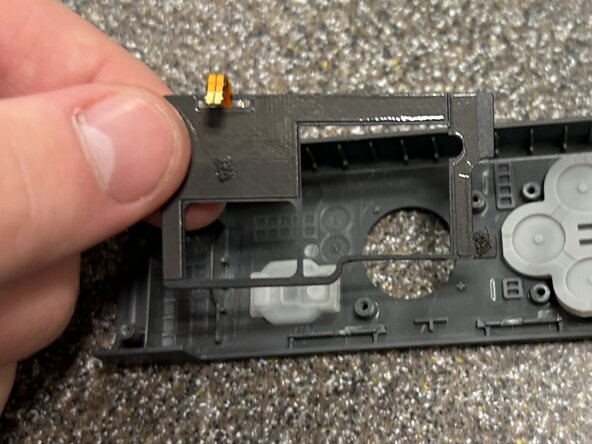
With the shell halves separated, carefully put the side with the rail next to the other half
-
-
-
Bu adımda kullanılan alet:Phillips #00 Screwdriver$5.49
-
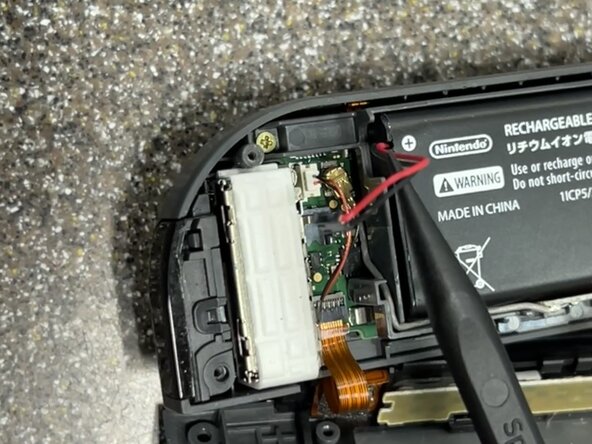
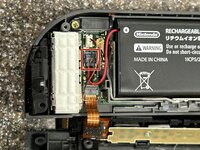
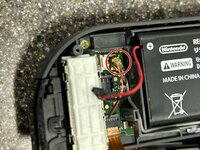
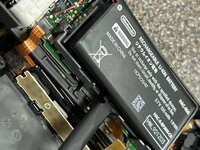
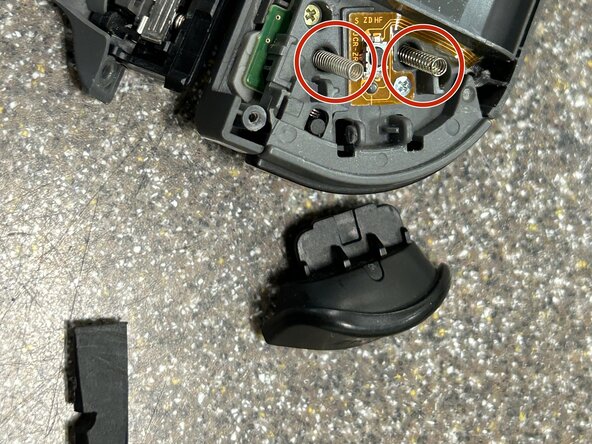
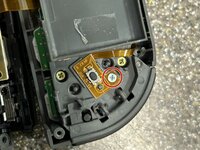
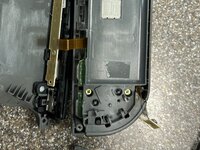
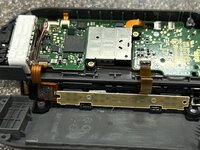
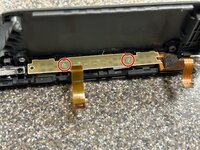
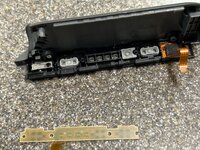
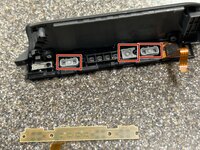
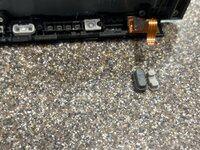
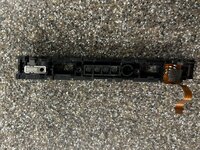
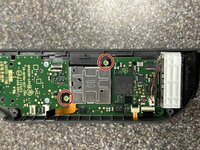
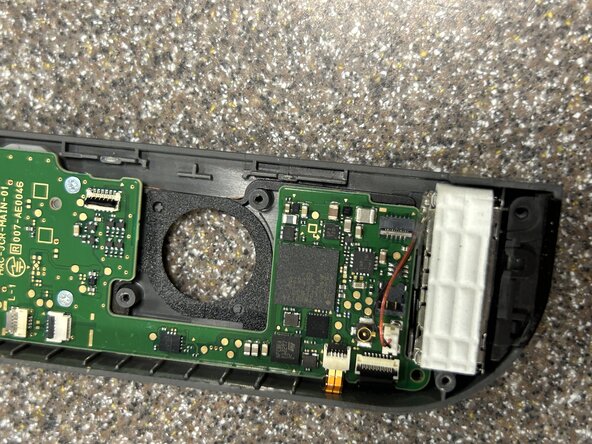
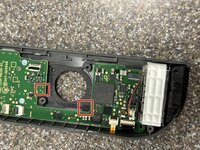
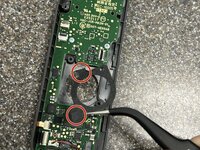
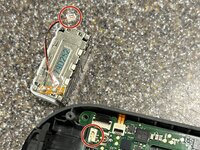
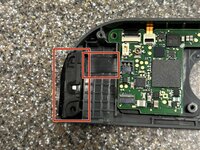
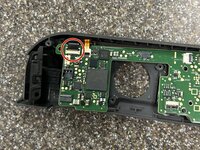
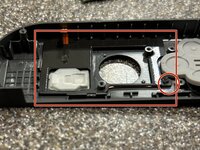
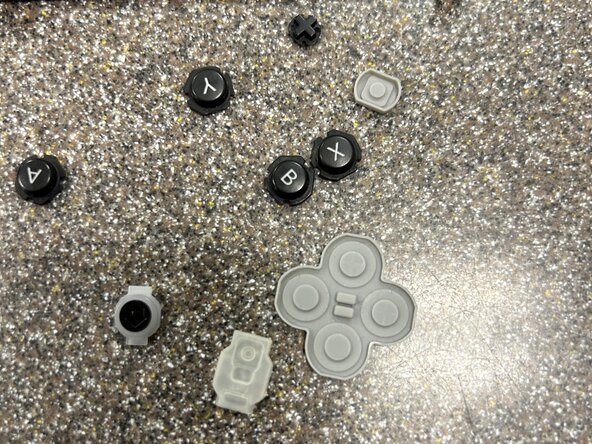
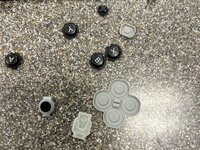
Working on the charging rail, remove the two Phillips PH000 screws holding down the buttons
-
-
-
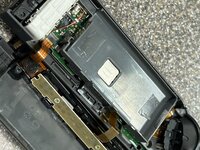
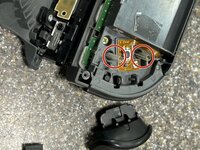
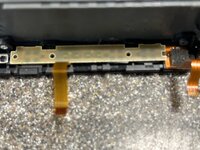
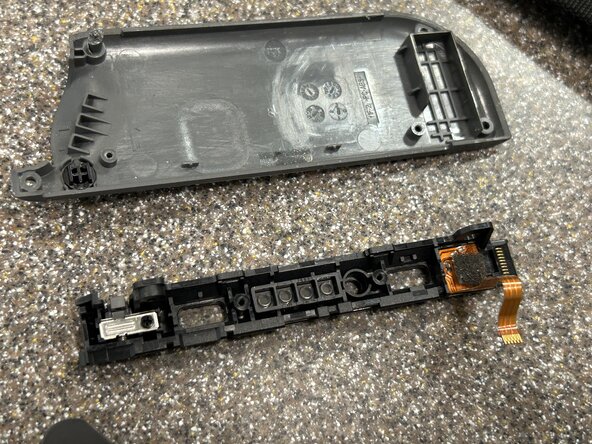
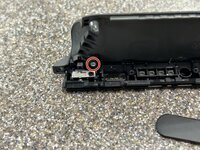
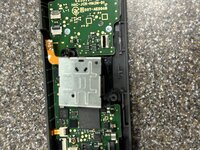
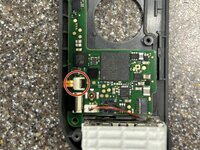
Remove the last Phillips PH000 screw in the rail holding down the buckle lock
-