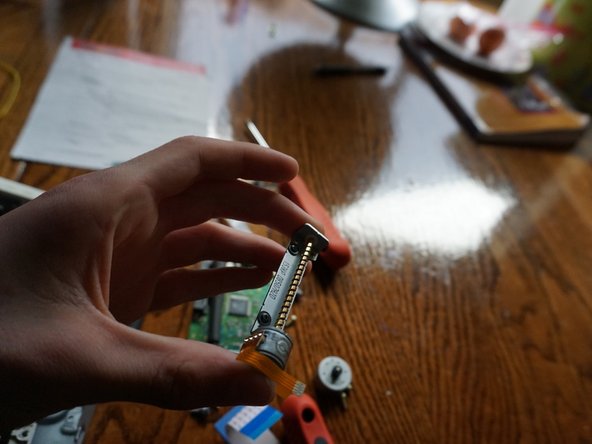
Ana içeriğe geç

Neye ihtiyacın var

Bu teardown bir tamir kılavuzu değildir. Toshiba Samsung Storage DVD Writer(TS-H653) cihazınızı onarmak için, servis kılavuzumuzu kullanın.

  1. Sony DVD-ROM Unit(DDU1615) Teardown, Sony DVD-ROM Unit(DDU1615) Teardown: adım 1, 2 resimden 1. Sony DVD-ROM Unit(DDU1615) Teardown, Sony DVD-ROM Unit(DDU1615) Teardown: adım 1, 2 resimden 2.
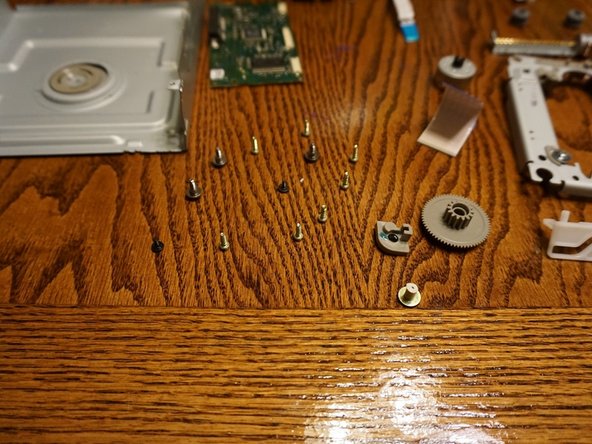
    • Remove outside screws using a screwdriver that fits a M3x6 screw

  2. Sony DVD-ROM Unit(DDU1615) Teardown: adım 2, 1 resimden 1.
    • Gently pry up the top casing with the model sticker facing down. Apply a wiggling motion side to side if necessary

  3. Sony DVD-ROM Unit(DDU1615) Teardown: adım 3, 2 resimden 1. Sony DVD-ROM Unit(DDU1615) Teardown: adım 3, 2 resimden 2.
    • Remove all detachable ribbons by wiggling back and forth on a horizontal axis

  4. Sony DVD-ROM Unit(DDU1615) Teardown: adım 4, 1 resimden 1.
    • Check for any remaining screws around the edge of the board, if there are none apparent double check the ribbons and the slide the board back until it slides free

  5. Sony DVD-ROM Unit(DDU1615) Teardown: adım 5, 1 resimden 1.
    • To remove the tan plastic, ensure all of the screws have been removed on the metal tabs shown in red

    • apply a teetering pull apply more lift to one side that the other

    • My part was already broken! It might be slightly different for you

  6. Sony DVD-ROM Unit(DDU1615) Teardown: adım 6, 2 resimden 1. Sony DVD-ROM Unit(DDU1615) Teardown: adım 6, 2 resimden 2.
    • Now most inside components should be loose and removable

    • This is a picture of the removal process of the laser diode component(it is still encased in the moving and refraction related parts)

    • Ensure to hand this with care!

  7. Sony DVD-ROM Unit(DDU1615) Teardown: adım 7, 2 resimden 1. Sony DVD-ROM Unit(DDU1615) Teardown: adım 7, 2 resimden 2.
    • Remove the three screws surrounding the second component

    • Remove and check for removal of all ribbons on this component(note the orange is labeled "lead free")

  8. Sony DVD-ROM Unit(DDU1615) Teardown: adım 8, 2 resimden 1. Sony DVD-ROM Unit(DDU1615) Teardown: adım 8, 2 resimden 2.
    • Undo the screws on the side of the stepper component with A DIFFERENT SCREWDRIVER TO AVOID STRIPPING

    • The screwdriver will be smaller than the M3x6 fit

    • Gently extract after screw removal

  9. Sony DVD-ROM Unit(DDU1615) Teardown: adım 9, 3 resimden 1. Sony DVD-ROM Unit(DDU1615) Teardown: adım 9, 3 resimden 2. Sony DVD-ROM Unit(DDU1615) Teardown: adım 9, 3 resimden 3.
    • flip the leftovers over and slide the peice of black plastic far forward to remove the screws holding the metal in place

    • Slide the disk tray back if you can not remove it completely and proceed to unscrew the final and 3rd screw.

    • You will need a different screwdriver! Use the wiggle test to find the right fit! They will strip extremely easily!

  10. Sony DVD-ROM Unit(DDU1615) Teardown: adım 10, 3 resimden 1. Sony DVD-ROM Unit(DDU1615) Teardown: adım 10, 3 resimden 2. Sony DVD-ROM Unit(DDU1615) Teardown: adım 10, 3 resimden 3.
    • Gently remove any clips to allow the only holder to be the rubber wheels to be holding it(circled in red)

    • Gently apply pressure to pull away from the main casing

    • Un-clip the clips seen in photo 2

  11. Sony DVD-ROM Unit(DDU1615) Teardown: adım 11, 3 resimden 1. Sony DVD-ROM Unit(DDU1615) Teardown: adım 11, 3 resimden 2. Sony DVD-ROM Unit(DDU1615) Teardown: adım 11, 3 resimden 3.
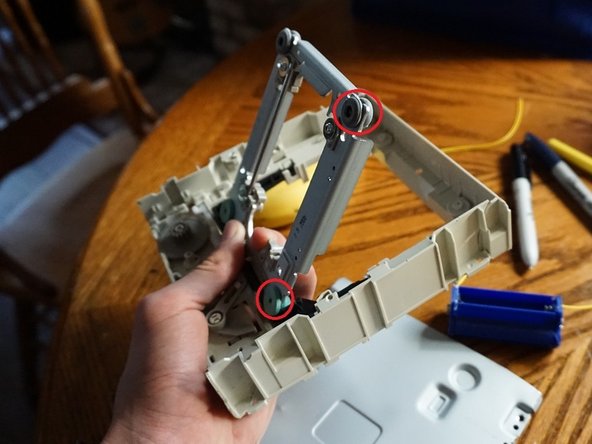
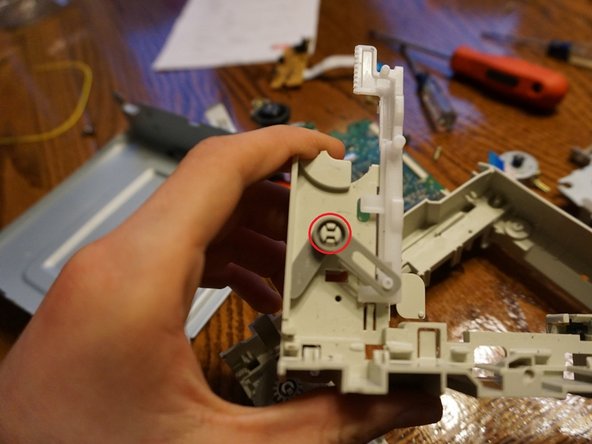
    • To remove the pole that was in the picture before it was removed, push down on the spring with a screw at one end removed the tilt one end up and remove

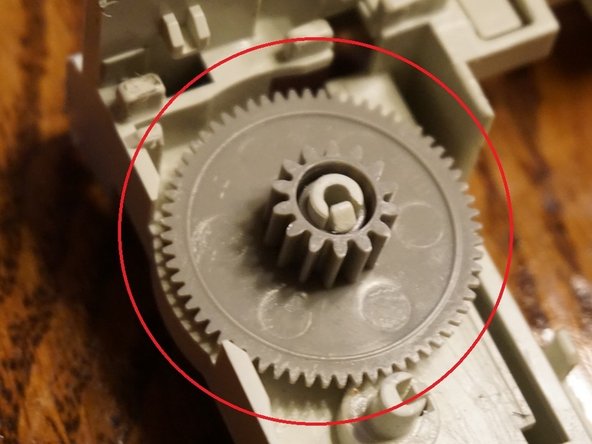
    • To remove toothed gears push the clip inside the spire in the middle of the gear, and maintaining pressure on the clip pull away the gear

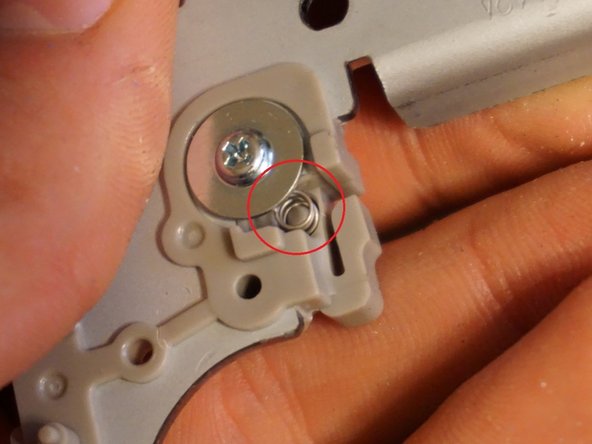
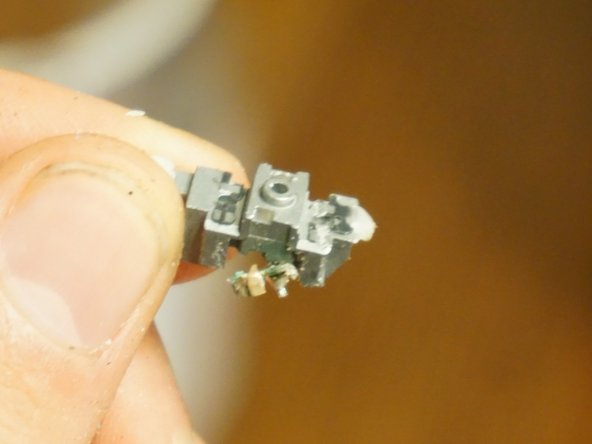
    • Apply the same technique as in picture 2 but with the clip in picture 3

  12. Sony DVD-ROM Unit(DDU1615) Teardown, Finished!: adım 12, 3 resimden 1. Sony DVD-ROM Unit(DDU1615) Teardown, Finished!: adım 12, 3 resimden 2. Sony DVD-ROM Unit(DDU1615) Teardown, Finished!: adım 12, 3 resimden 3.
    • Your pretty much done with this deconstruction

    • If you wish to remove the laser diode be careful! Picture #3 is evidence of my failure to this

Owen Preece

Üyelik tarihi: 04/10/18

643 İtibar

3 adet Kılavuz yazıldı

0 Yorum

Yorum Ekle

İstatistikleri Görüntüle:

Son 24 Saat: 0

Son 7 gün: 0

Son 30 gün: 9

Her zaman: 708