Giriş
We're taking apart Starbucks' brew-it-yourself Barista Espresso Maker to take the mystery out of these relatively simple espresso machines.
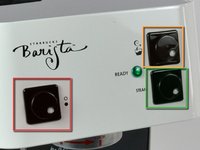
This espresso machine uses pump pressure to brew concentrated coffee, and steam pressure to make frothy milk. A steam wand found on nearly every espresso machine allows the operator to froth and steam milk to make drinks ranging from the simple cappuccino to the addictive macchiato. Let's dig inside Starbuck's most popular model to see exactly how it makes these wonderful caffeinated beverages we love so much.
Neye ihtiyacın var
-
-
The Starbucks Barista Espresso Maker is marketed for home use and is generally regarded as a good beginner's espresso machine.
-
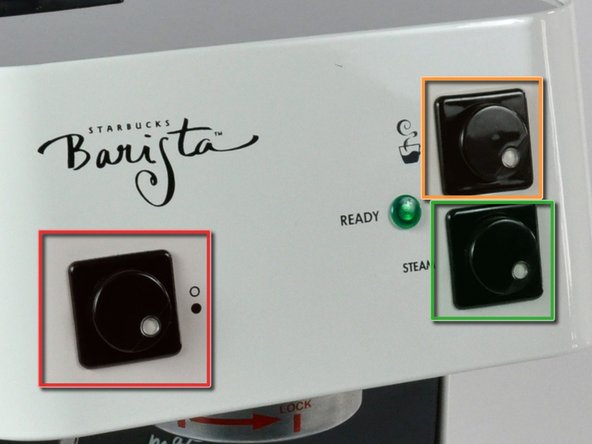
The Barista will allow you to:
-
Brew espresso.
-
Steam milk.
-
Lose your masculinity. -
We started the teardown by removing the accessory drawer, drip tray, and water tank. All three parts simply slide out of the frame.
-
-
-
Remove the six Phillips screws securing the chrome rear panel to the Barista.
-
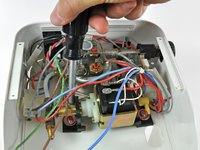
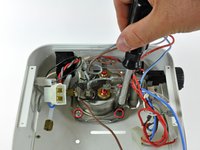
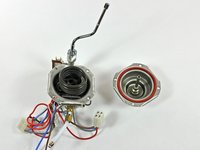
Once the chrome panel is gone, you get a pretty comprehensive look at what makes the Barista boil. Major components include:
-
A reciprocating pump.
-
A pressure release valve
-
A boiler (with an internal heating coil).
-
A steam valve which, as you guessed it, allows steam into the steam wand for making frothy milk.
-
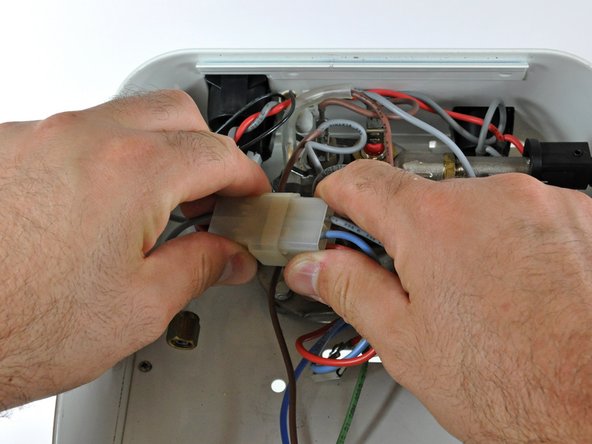
A bird's nest of wiring supplying power to everything.
-
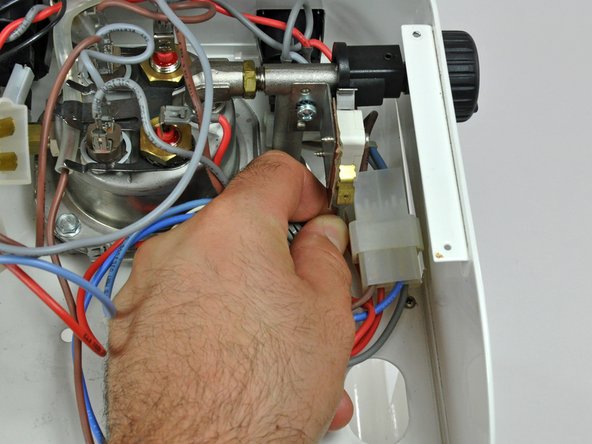
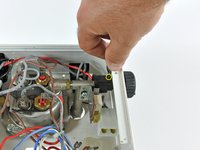
Remove all the Phillips screws holding the AC power cord and distribution block to the frame.
-
-
-
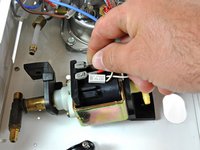
Our first target was the pump.
-
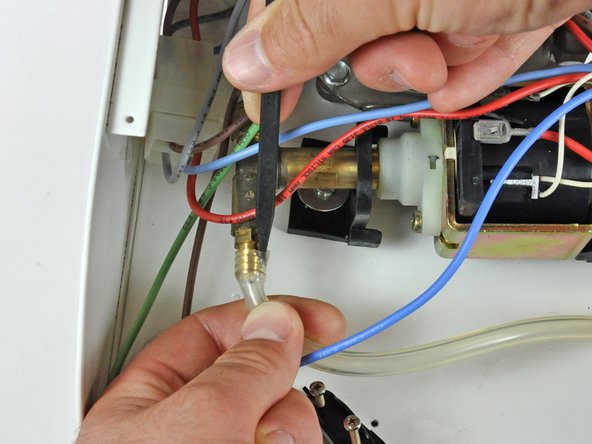
First, remove the two clear plastic hoses from the barb fittings on either end of the pump.
-
One hose is responsible for drawing water up from the reservoir and the other returns excess water if the boiler is filled to capacity and reaches the preset pressure of the pressure release valve.
-
-
-
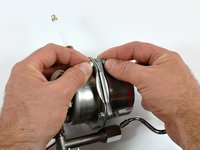
Use a wrench to remove the boiler hose from the pressure release valve.
-
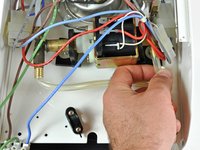
Remove the two slotted screws securing the pump brackets to the frame of the Barista.
-
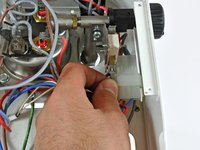
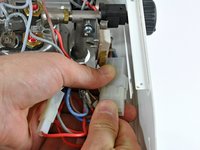
Disconnect the two female AC power spade connectors from the pump and slip the thermal fuse out from its holder on the body of the pump.
-
-
-
-
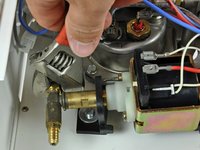
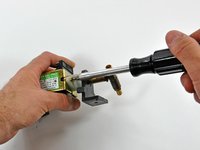
Remove the two Phillips screws from the pump manifold and lift it off the end of the pump, minding the two locking tabs near its base.
-
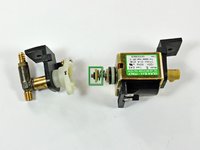
The pump used in the Barista utilizes the electromechanical properties of a solenoid to pump water up from the reservoir.
-
An iron core placed in the center of a cylindrical coil of wire is reciprocated back and forth through the coil when AC voltage is applied to it. Springs on either end of the core absorb its kinetic energy.
-
The core is attached to a plunger (outlined in green) that fits tightly into a cylinder on the pump manifold which creates the pumping action when the core moves back and forth.
-
The pressure difference between the inside of the cylinder and the water tank causes water to be drawn up from the reservoir into the pump, whenever the steam valve is opened, to assure the boiler is supplied with water.
-
-
-
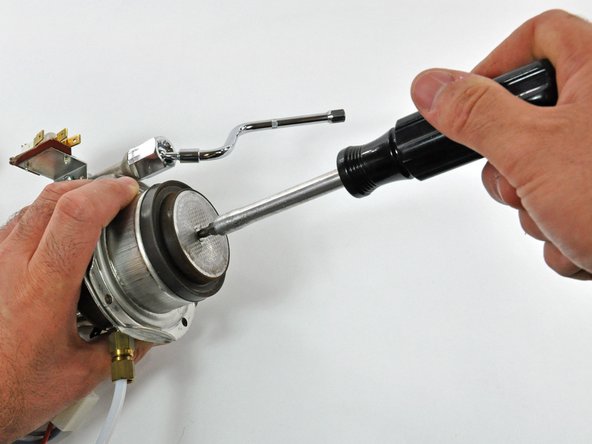
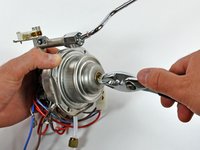
Use an 8 mm bit driver to remove the four hex bolts from around the perimeter of the boiler (only two are shown).
-
Remove the 2 mm hex set screw from the steam valve knob and pull it away from the piping to remove it from the Barista.
-
At this point, the boiler is free from the Barista and can be removed.
-
-
-
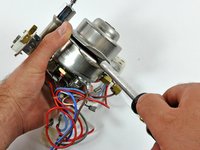
Remove the four hex bolts securing the brew head to the boiler assembly.
-
Lift the brew head off the boiler.
-
Remove the single Phillips screw securing the brew screen and gasket to the boiler housing.
-
The brew screen helps to evenly disperse water across the grounds in the basket.
-
Use a a large standard screwdriver (we used a washer and a pair of pliers) to remove the one-way valve spring retainer from the bottom of the boiler.
-
-
-
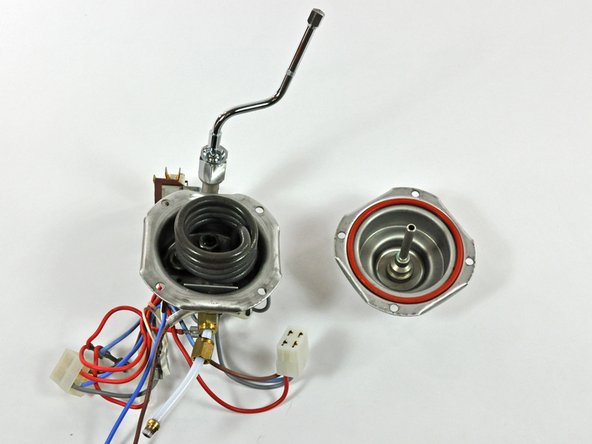
Use a flat blade screwdriver to separate the two halves of the boiler. Inside the boiler, you can see the main components:
-
Boiler housing (to contain water and steam).
-
Heater coil.
-
Dual thermal sensors, presumably one to maintain steam temperature and one for max temperature shut down.
-
There are also two Klixon thermal sensors. The numbers stamped around their bases are:
-
1NT01L-0036 L95-10 9910 M 10/250~T200
-
1NT01L-0499 L127-15 9912 M 10/250~T200
-


122Kılavuz Yorumları
I used this instruction to pull out the pump but felt the pump was the problem and since I did not see a "fix an ULKA model E Type EX5" guide here I looked again to the net and found this site:
http://ulkapumprepair.blogspot.com/2008/...
Seems like the pump not working is a common problem so I hope this helps you all out there.
The pump in this machine is actually not a common failure point, but it is the first thing many people assume is the problem due to their lack of troubleshooting experience and general operational knowledge of espresso machines. Given that a new pump can be had for as little as $30 and they often last 10-15 years we've found it isn't worth the time trying to repair a failed pump, especially since if one part has deteriorated to the point of failure then others are sure to follow. I can certainly understand the desire to fix what you've got rather then replace it though, it's what got me into this business in the first place.
Henry H -
I got the Barista Starbucks machine apart, but I can't find a place to order the part that needs replacing. Fixit doesn't have it!!
www.partsguru.com has most of not all of the parts needed for the Barista.
Henry H -