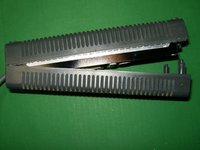
Ana içeriğe geç

Neye ihtiyacın var

Bu teardown bir tamir kılavuzu değildir. Xbox 360 cihazınızı onarmak için, servis kılavuzumuzu kullanın.

  1. Xbox 360 Power Supply Teardown, Xbox 360 Power Supply Teardown: adım 1, 3 resimden 1. Xbox 360 Power Supply Teardown, Xbox 360 Power Supply Teardown: adım 1, 3 resimden 2. Xbox 360 Power Supply Teardown, Xbox 360 Power Supply Teardown: adım 1, 3 resimden 3.
    • Here is an image that shows the different plugs for the different power supplies

    • The one to be tore down is Model # HP-AW175EF3. Input 100V-127V output 12V 14.2A, 5V 1A

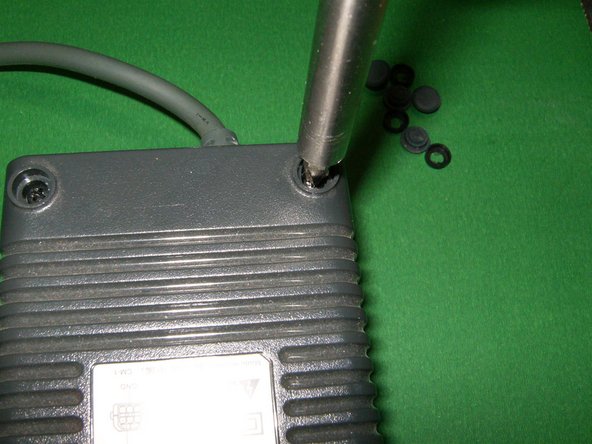
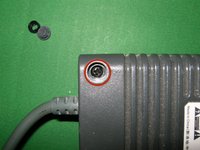
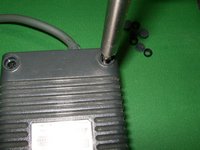
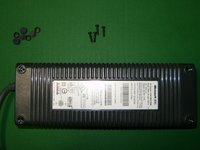
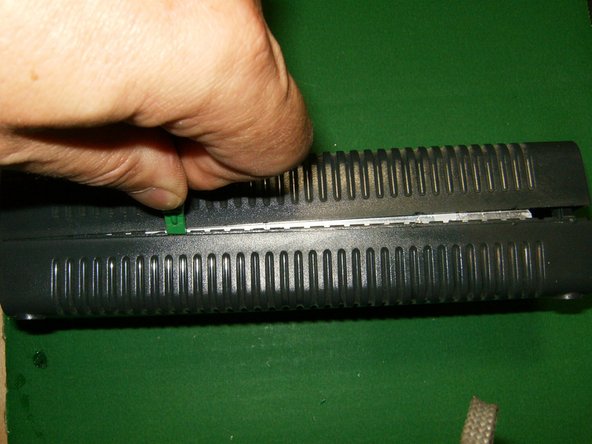
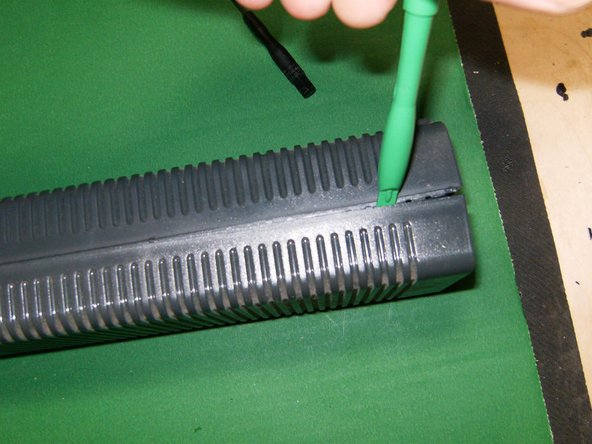
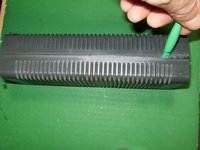
    • Remove all four rubber feet from the bottom of the PSU. Simply flip them out with a small screwdriver or similar instrument.

  2. Xbox 360 Power Supply Teardown: adım 2, 3 resimden 1. Xbox 360 Power Supply Teardown: adım 2, 3 resimden 2. Xbox 360 Power Supply Teardown: adım 2, 3 resimden 3.
    • Once the rubber feet are removed, there will be another plastic cap visible.

    • Insert a small screwdriver or similar instrument

    • and just flip it out.

  3. Xbox 360 Power Supply Teardown: adım 3, 3 resimden 1. Xbox 360 Power Supply Teardown: adım 3, 3 resimden 2. Xbox 360 Power Supply Teardown: adım 3, 3 resimden 3.
    • With the rubber feet and the plastic cap removed, the Phillips screws will now be visible.

    • Remove all four of those

    • All the Phillips screws are 3/4 inch long. Here are the feet, caps and screws that needed to be removed.

  4. Xbox 360 Power Supply Teardown: adım 4, 3 resimden 1. Xbox 360 Power Supply Teardown: adım 4, 3 resimden 2. Xbox 360 Power Supply Teardown: adım 4, 3 resimden 3.
    • Use a plastic opening tool, or similar instrument, to widen the gap between the top and bottom half of the PSU.

    • Slide the opening tool along the gap will release the tabs that hold the two parts together.

    • Do the same on the opposite side of the PSU

  5. Xbox 360 Power Supply Teardown: adım 5, 3 resimden 1. Xbox 360 Power Supply Teardown: adım 5, 3 resimden 2. Xbox 360 Power Supply Teardown: adım 5, 3 resimden 3.
    • Once the snaps are released by the opening tool,

    • gently move the two parts apart. First at an angle,

    • then finally pull them straight apart. There is no glue or any other material that holds the PSU together.

    • Do not try to totally separate the two pieces. There is a fan wire that still needs to be disconnected.

  6. Xbox 360 Power Supply Teardown: adım 6, 3 resimden 1. Xbox 360 Power Supply Teardown: adım 6, 3 resimden 2. Xbox 360 Power Supply Teardown: adım 6, 3 resimden 3.
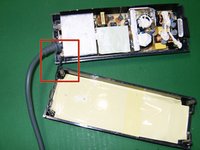
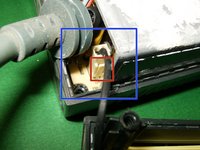
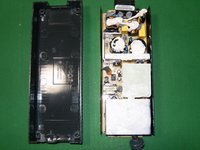
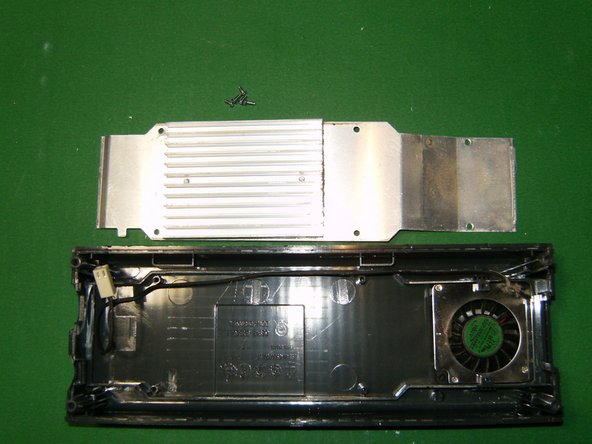
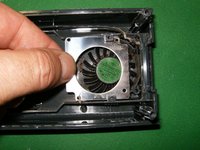
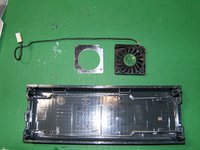
    • Here are the two parts separated and the fan wire is visible.

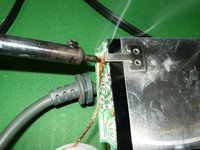
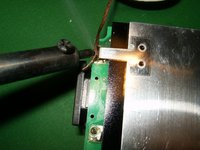
    • Remove the connector by

    • pulling the tab in a direction away from the connector and then pulling upwards.

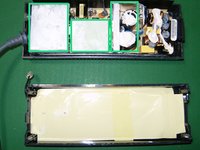
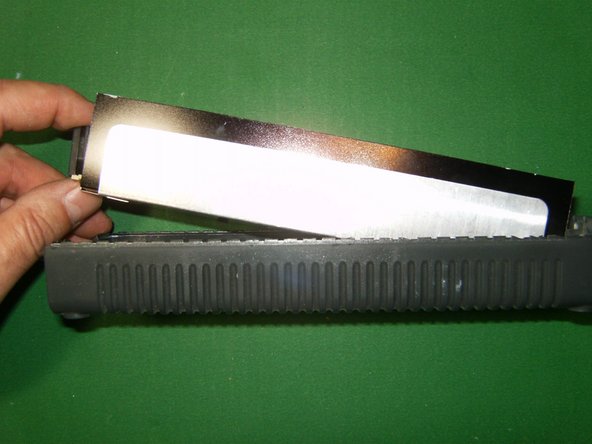
    • With the fan disconnected both pieces can now be separated.

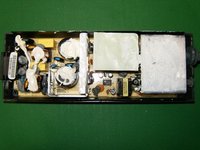
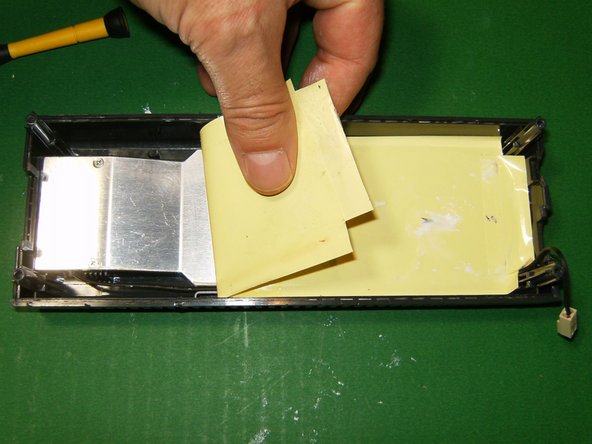
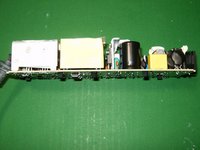
    • The first obvious thing visible is the abundant use of thermal paste. It is found on top of every heatsink and large capacitor.

  7. Xbox 360 Power Supply Teardown: adım 7, 3 resimden 1. Xbox 360 Power Supply Teardown: adım 7, 3 resimden 2. Xbox 360 Power Supply Teardown: adım 7, 3 resimden 3.
    • Here is the circuit board still in the bottom case.

    • Nothing holds it down, simply lift it out of the case.

    • Circuit board and case separated

    • A PDIP IC is found on this board; a Power Integrations TNY276P AC-DC converter

  8. Xbox 360 Power Supply Teardown: adım 8, 3 resimden 1. Xbox 360 Power Supply Teardown: adım 8, 3 resimden 2. Xbox 360 Power Supply Teardown: adım 8, 3 resimden 3.
    • There is large EMI metal shield soldered to the PCB, that needs to be removed.

    • Use a soldering iron, flux and a desoldering wick to remove the left

    • and right solder connection.

  9. Xbox 360 Power Supply Teardown: adım 9, 3 resimden 1. Xbox 360 Power Supply Teardown: adım 9, 3 resimden 2. Xbox 360 Power Supply Teardown: adım 9, 3 resimden 3.
    • Remove the shield.

    • Here is the PSU circuit board without shield.

    • On the inside of the top part of the case, is a plastic (may be Kapton) tape that need to be removed. Simply pulling on it will release it.

  10. Xbox 360 Power Supply Teardown: adım 10, 3 resimden 1. Xbox 360 Power Supply Teardown: adım 10, 3 resimden 2. Xbox 360 Power Supply Teardown: adım 10, 3 resimden 3.
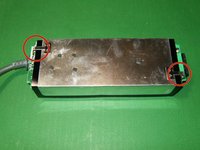
    • Here is the reason for the abundant amount of thermal paste seen earlier. All the top ends of the heatsinks as well as the capacitors make contact to this larger heatsink. The previously removed plastic sheet is an electrical insulator

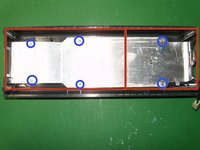
    • Remove the six Phillips screws.

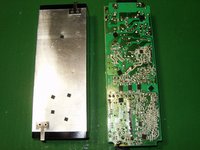
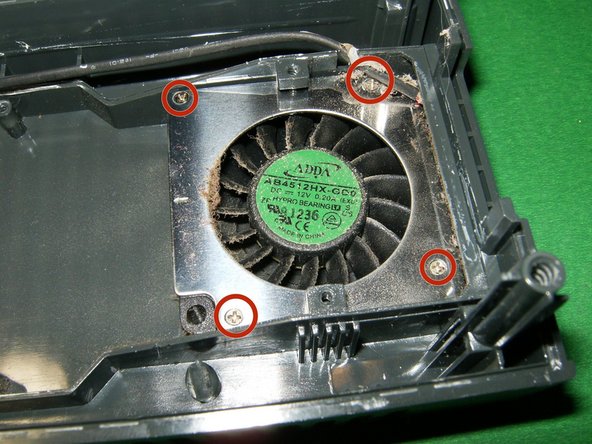
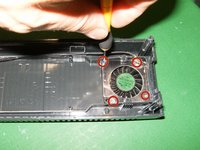
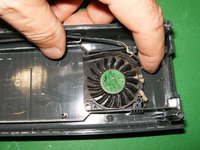
    • Remove the heatsink from the case. The six screws are identical in length. Underneath the heatsink is the fan

  11. Xbox 360 Power Supply Teardown: adım 11, 3 resimden 1. Xbox 360 Power Supply Teardown: adım 11, 3 resimden 2. Xbox 360 Power Supply Teardown: adım 11, 3 resimden 3.
    • Remove the four small Philips screws. They are 1/4 inch in length and all are identical.

    • pull the metal top out,

    • and then the fan. Dust and debris from usage are clearly visible.

  12. Xbox 360 Power Supply Teardown: adım 12, 3 resimden 1. Xbox 360 Power Supply Teardown: adım 12, 3 resimden 2. Xbox 360 Power Supply Teardown: adım 12, 3 resimden 3.
    • Here is the top part of the PSU, minus the heatsink and the fan.

    • The disassembly was quick and easy. Interestingly enough there are PSU's with a T10 Security screw. The next two images are from a 150W PSU. Make sure you have the right tools for the job.

  13. Xbox 360 Power Supply Teardown: adım 13, 1 resimden 1.
    • Parts that need to be checked if the PSU has failed, are

    • the fuse

    • and the thermistor.

oldturkey03

Üyelik tarihi: 09/29/10

778.171 İtibar

118 adet Kılavuz yazıldı

Ekip

Global Fixers Global Fixers üyesi

Community

31 Üyeler

520 adet Kılavuz yazıldı

11 Yorum

PSU fan spins up the a red light. Checked thermistor and it seems in range 8ohm at room temperature, around 5 ohm at 100c, consistent increase with cooling and decrease with heat, no equipment to test under full load. All big caps look good and test OK in circuit. Starting to think there is something else a muck here. Anybody got any thoughts?

Denis - Yanıt

Does the Xbox 360 slim PSU also use a 12v fan? Or does that PSU use a 5v fan?

Tech Savvy - Yanıt

If the termistor is gone and I meant disappear how I find what kind I need to get also the fuse can I put a higher amp one in like a 10 amp instead of a 8 ?

negrochiquitablanca - Yanıt

No, the amperages are set at that amount for a reason. If you use higher, the fuse may not blow in time to prevent damage to the Xbox.

Roger Murphy -

just want to know I am in the same boat. I have a X808155-005 with no light and no output. the fuse is good. Haven't checked the thermistor yet but doubt that it would be the problem. I might just buy another. in case someone fixes it, I will check back.

William Peck - Yanıt

Yorum Ekle

İstatistikleri Görüntüle:

Son 24 Saat: 20

Son 7 gün: 168

Son 30 gün: 675

Her zaman: 105,585