Neye ihtiyacın var
-
-
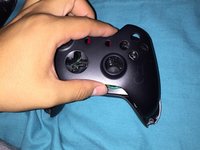
Start with removing the battery pack and exposing the T8 security screw. The screw should be hidden behind a warranty sticker.
-
-
-
Remove the side panels exposing the second T8 security screw using a spudger, an IFixit Opening Tool, or your nails, each choice is fun.
-
-
-
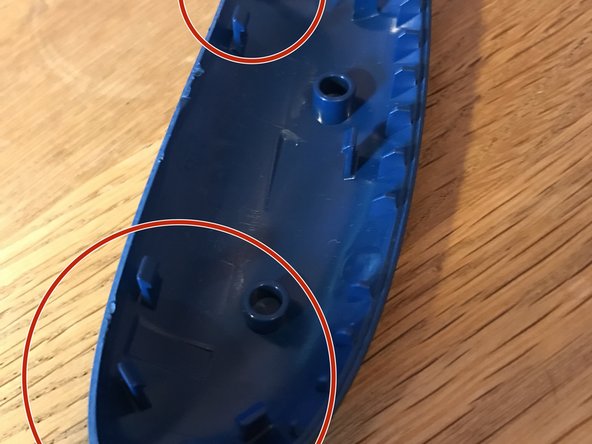
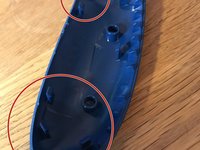
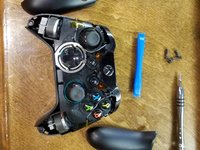
By removing all side panels all 5 TR8 security screws have appeared!
-
-
-
-
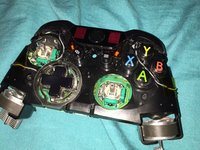
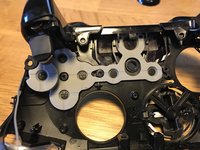
Once you removed the T8 security screws remove the front face plate.
-
-
-
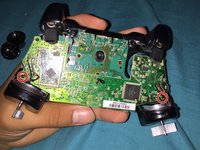
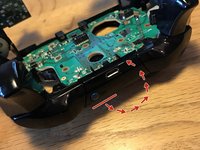
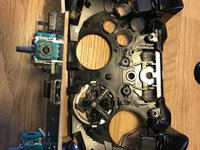
Tape down the rumbler motors to prevent them from falling out.
-
-
-
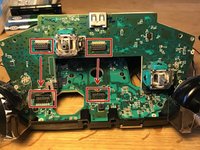
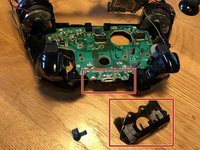
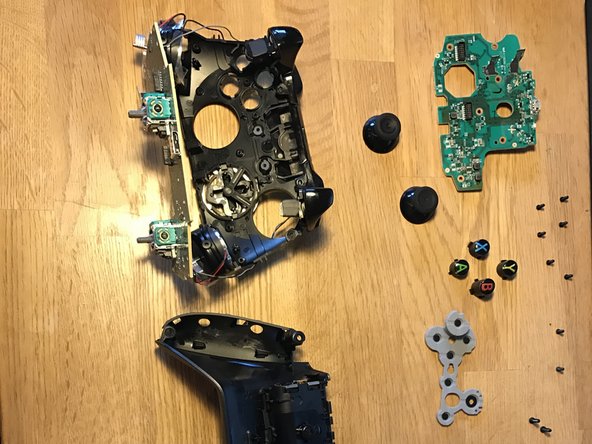
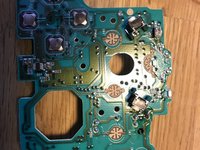
Remove the T6 screws to remove the PCB's.
-
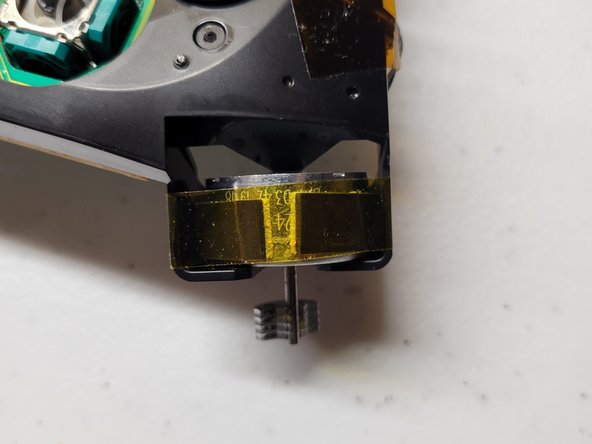
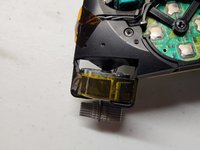
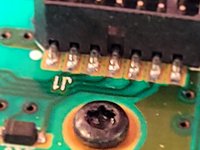
It takes a pull to seperate the connectors.
-
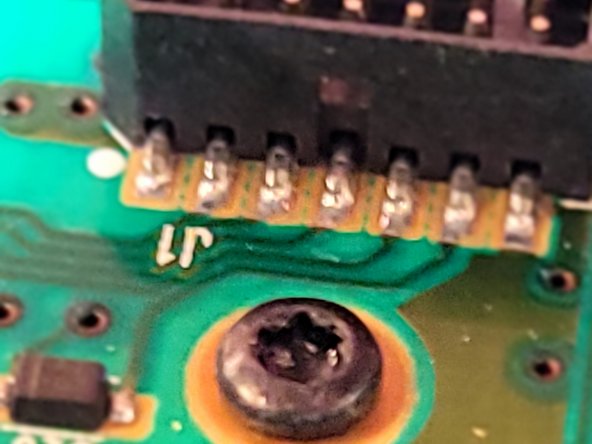
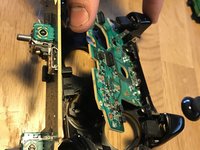
Watch the wires! You can not fully remove the circuit board without removing the wires and it requires soldering.
-


16Kılavuz Yorumları
Very good instructions...
Do you think that you can label the internals of the controller.
How do you put the sync buttom back in? Which way does it face?