Ana içeriğe geç

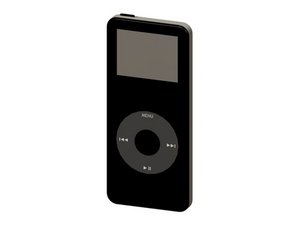
Model A1137 / 1, 2, or 4 GB capacity / black or white plastic front

68 Soru Tümünü görüntüle

Simpler battery replacement process?

Could the process shown at iPod Nano 1st Generation Battery Replacement be simplified at step 7 by simply cutting and stripping the wires and soldering new battery wires together and covering with heat shrink tubing? This would remove the requirement to disassemble the logic board, thumbwheel and front face of the iPod nano.

Yanıtlandı! Cevabı görüntüle Ben de bu sorunu yaşıyorum

Bu iyi bir soru mu?

Puan -1
Yorum Ekle

2 Cevap

Filtre ölçütü:
Seçilen Çözüm

That's a little too ghetto for iFixit.

The whole point of that guide is to remove the logic board so you're not messing with any of the other components while using the soldering iron. iFixit presented the safest option. I wouldn't recommend that people follow your advise (even though it sounds feasible) just because it's kinda of jerry-rigged.

If you want to take a step further, you could technically just follow the soldering steps without removing the board. I do NOT recommend that. There's no reason to use heat shrink tubing at all.

Bu yanıt yardımcı oldu mu?

Puan 0
Yorum Ekle

dont know if its the battery how do I identify the problem

Bu yanıt yardımcı oldu mu?

Puan 0

1 Yorum:

matthew, it would work great for you if you post your own question. Click on the link on the right side of the screen "Ask a question" and give as much detail as possible. Like what device, what problem. has it just happened, anything you were doing just prior to? Need more info than the one sentence you posted as an answer to someone elses question ;-)

tarafından

Yorum Ekle

Yanıtını ekle

fredvandenhout sonsuza kadar minnettar olacak.
İstatistikleri Görüntüle:

Son 24 Saat: 0

Son 7 gün: 0

Son 30 gün: 1

Her zaman: 939