Giriş
This guide is used for the replacement any buttons on your 8BitDo SN30 Pro+ controller. This includes A, B, X, Y, Start, Select, Star, Home, and D-Pad buttons.
This guide is also used for the replacement Conductive Rubber Pads.
Neye ihtiyacın var
-
-
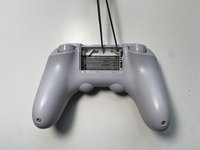
Place the controller face down.
-
Remove the battery cover.
-
Remove rechargeable battery or AA batteries.
-
-
-
Remove L2 and R2 trigger buttons by pushing them away from the grips.
-
-
Bu adımda kullanılan alet:Tweezers$4.99
-
Use Tweezers to uncover two screws under the label in the battery compartment.
-
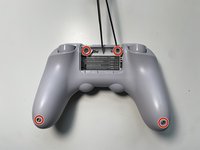
Use a T6 screwdriver to remove the four 7.3 mm screws securing the rear cover.
-
-
-
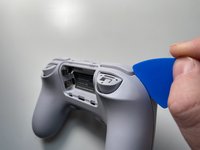
At the end of each grip, pry apart the covers.
-
Use fingernail or opening pick to undo the two top clips.
-
One clip next to L button.
-
One clip next to R button
-
Undo the final clip between the joysticks.
-
-
-
-
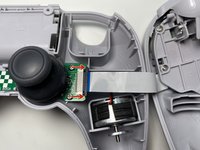
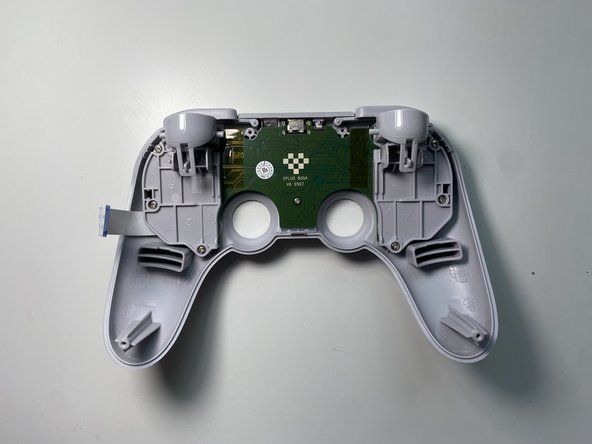
Carefully move the rear cover away and from the front cover. Place it to the left.
You have to be careful not to break the clip on the middle bottom (between the analog sticks)
-
-
-
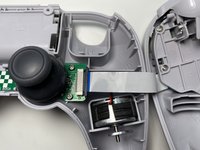
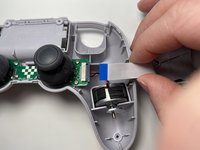
Unlock the ribbon cable by push open the black plastic tab.
-
Pull the ribbon cable out of the connector in the direction of the cable.
-
-
-
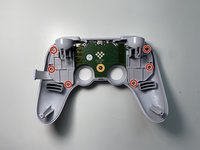
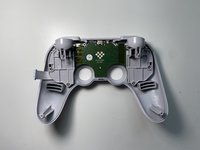
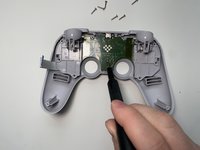
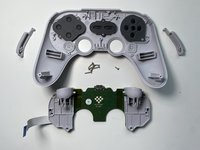
Use a Phillips screwdriver to remove the seven screws securing the main circuit board.
-
Six 10.1mm screws
-
One 5.8mm screws
-
-
-
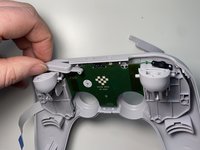
Slide the R buttons up and off its peg.
-
Slide the L button up and off its peg.
-
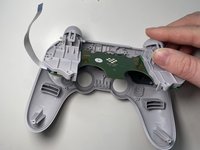
Remove the main board by rotating it towards the USB-C port. Then lift it out.
-
-
Bu adımda kullanılan alet:Tweezers$4.99
-
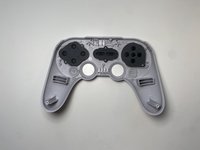
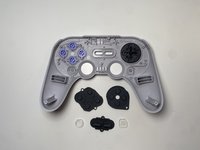
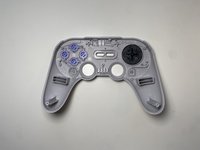
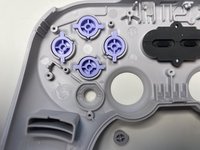
Use a pair of tweezers or your fingers to remove the five silicone rubber pads.
-
Three black conductive pads.
-
Two clear pads.
-
-
-
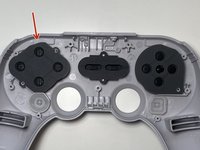
Use a pair of tweezers or your fingers to remove the buttons you wish to replace.
-


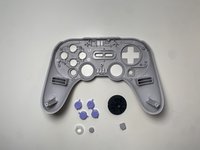
To reassemble your device, follow these instructions in reverse order.
To reassemble your device, follow these instructions in reverse order.
İptal et: Bu kılavuzu tamamlamadım.
9 farklı kişi bu kılavuzu tamamladı.

4Kılavuz Yorumları
Hi, it looks like the buttons have little notches that limit where they can go. I was really hoping to modify it so that my a button is green and my b is red would that work if I file down that little notch?
The buttons are all the same height, so feel free to file down. Those nubs are just part of assemble process.
But do leave the 2 longer stems on each side of the button, they stop it from rotating freely.
Brian W -
I just completed this guide, and it is 100% perfection. The photos are useful and clear, and explanations are on point. Many thanks.
I especially appreciate mention of screw length as I'm prone to mixing them up. Lovely guide 🫠