Giriş
This guide will show you how to locate, remove, and replace the buttons on the AT&T NVG510 modem. In the event that a button becomes stuck or your router becomes unresponsive when you press a button, you may need to replace it. This guide does require you to be able to operate a soldering iron carefully.
Neye ihtiyacın var
-
-
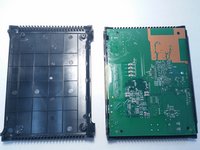
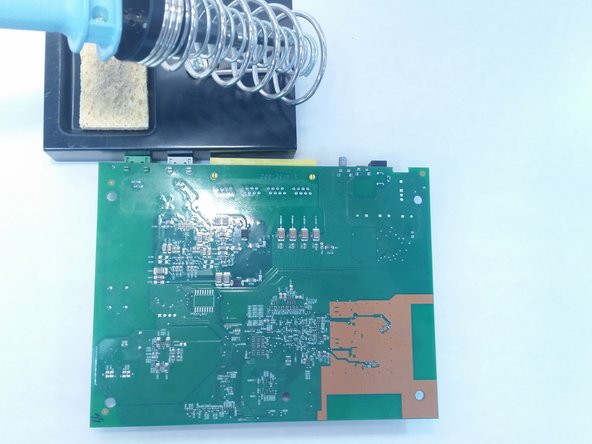
Place the router on one side so that the rubber stands are facing upward.
-
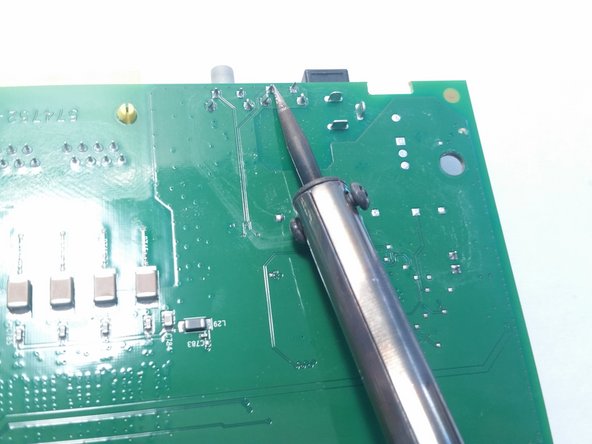
Remove the stands from the left corners only, relative to the AT&T logo if facing upright.
-
-
Bu adımda kullanılan alet:Flathead 3/32" or 2.5 mm Screwdriver$5.49
-
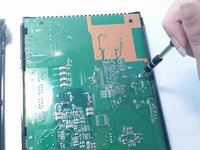
Remove two screws using a 2.0 flathead screwdriver.
-
-


To reassemble your device, follow these instructions in reverse order.
İptal et: Bu kılavuzu tamamlamadım.
3 farklı kişi bu kılavuzu tamamladı.
Ekip

Central Coast New Tech High, Team 7-4, Rushing Spring 2016 Central Coast New Tech High, Team 7-4, Rushing Spring 2016 üyesi
CCNTH-RUSHING-S16S7G4
2 Üyeler
2 adet Kılavuz yazıldı